Timing matters with mulch. Here’s when to mulch veggies in spring, summer, and fall, which crops love it most, how much to use, and the easy mistakes to av...
Gardening insights
Prepare Garden Beds for Spring Planting
A step-by-step spring checklist for vegetable and flower beds: clear debris, test soil, loosen compaction, add compost, fix drainage, plan spacing, and mulch so you can plant with confidence.

Elena Rosales
Elena Rosales is a certified Master Gardener and lifelong plant enthusiast who believes anyone can cultivate a green thumb. After transforming her tiny urban balcony into a thriving plant oasis, she moved to a half-acre homestead to grow her own food and flowers. Today, she shares practical, hands-on gardening advice to help the Hortello community bring more green into their lives.
Published October 1, 2026
Updated October 1, 2026
There is a particular kind of hope in the first truly mild spring day. The soil smells awake again, birds are busy, and suddenly you are convinced you can grow everything. I love that energy. I also know that spring planting goes so much smoother when you do a little bed prep first. Think of it as making the bed before you tuck plants in for a long season.
This checklist works for vegetable beds, flower borders, raised beds, and even big containers. Start where you are, do what you can, and do not worry if your garden is not picture perfect. Mine never is, and it still feeds us.
A quick note on timing: “Spring” looks different everywhere. You can prep as soon as the soil is workable, but let your last frost date and soil temperature guide what you actually plant and when.
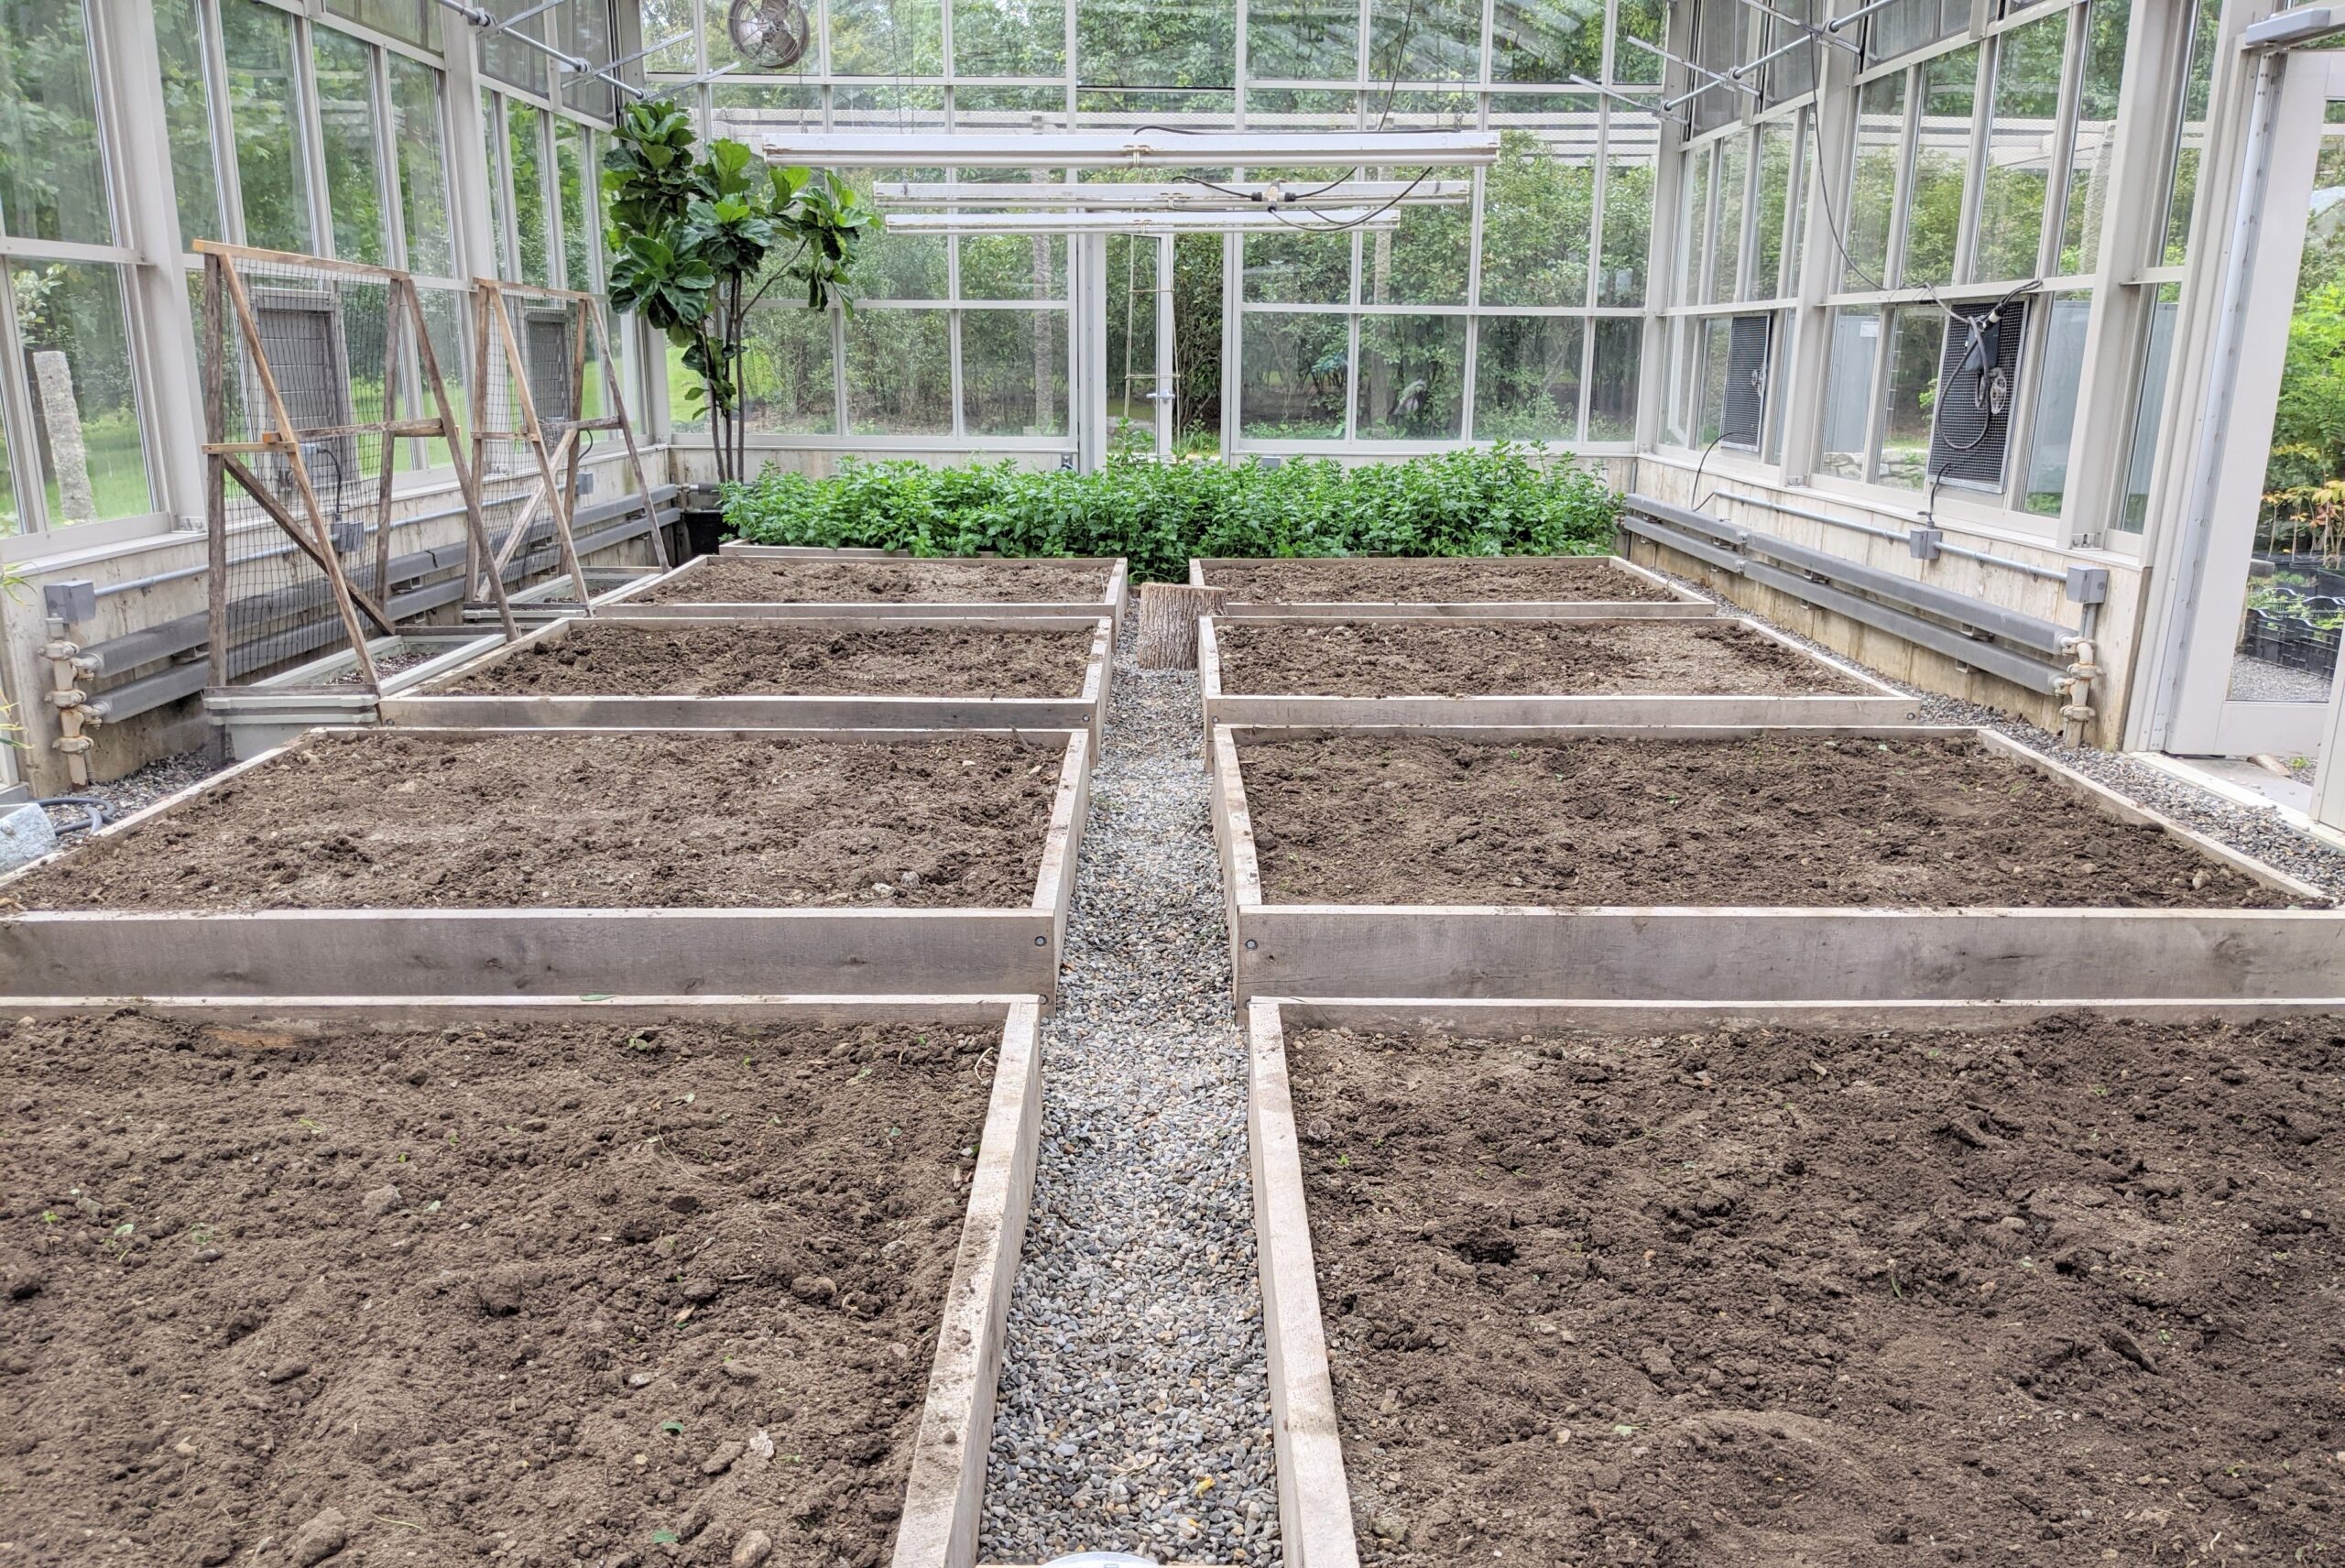
Spring bed prep checklist (quick version)
- Wait until soil is workable, not sticky
- Clear debris and weeds, keep what is useful
- Check for winter damage and fix edges, paths , and irrigation
- Test soil (or at least do a quick pH check)
- Loosen compaction and improve drainage if needed
- Add compost and any amendments your soil test suggests
- Rake level, then plan spacing and plant supports
- Water the bed lightly and let it settle before planting
- Mulch after planting (and after soil warms for heat lovers)
1) Start at the right time: workable soil
The fastest way to create clods and compaction is to dig or till when the ground is too wet. Here is my no-fancy test:
- Grab a handful of soil from 3 to 4 inches down.
- Squeeze it into a ball.
- If it stays in a slick, sticky lump or water oozes out, wait.
- If it crumbles apart when you poke it, you are good to go.
If you are itching to garden while it is still soggy, focus on above-ground tasks first: clean tools, set up trellises, start seeds, and top up pathways.
2) Clear debris, but do it thoughtfully
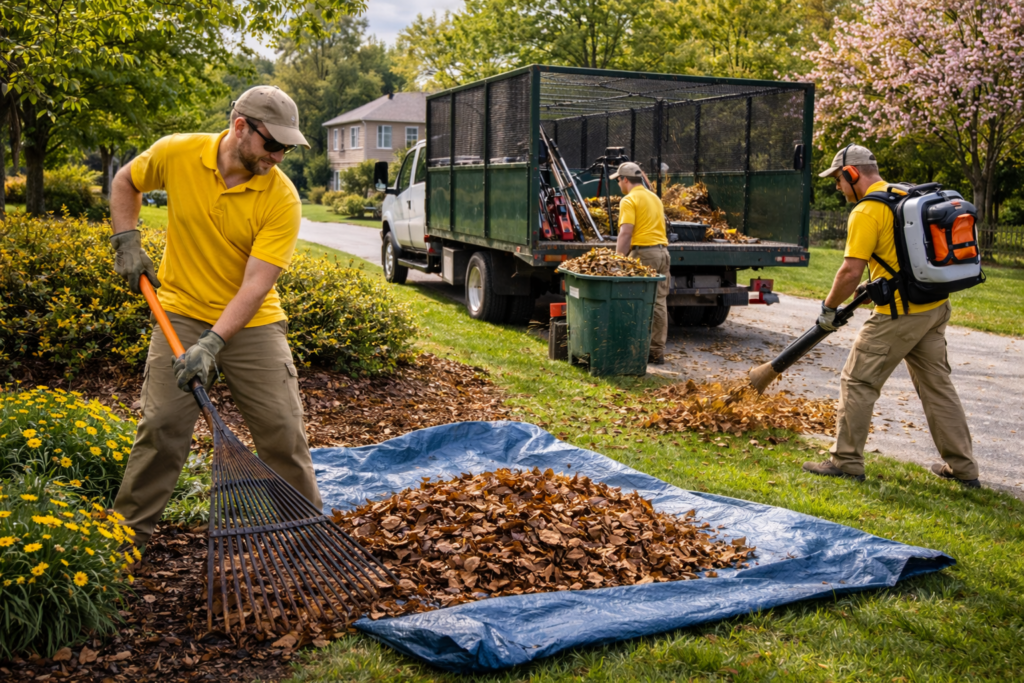
Spring cleanup is not just about tidiness. It reduces disease pressure, makes room for new growth, and keeps the good organic matter where it helps.
What to remove
- Diseased plant material: Any leaves or stems that had powdery mildew , blight, rust, or leaf spots last year should be removed from the bed. Do not toss it in a cool, slow backyard compost pile. Bag it for trash, or send it to municipal green waste if your program hot-composts.
- Seed-filled weeds: Pull and remove them so you are not planting next year’s headache.
- Thick mats of leaves: A light layer is fine, but dense layers can block air and slow warming.
What to keep (or reuse)
- Healthy leaves: Chop and use as a thin mulch, or add to compost.
- Old annuals that were healthy: Cut at the base and compost the tops. Leaving roots in place can feed soil life as they break down.
- Last year’s mulch: If it is not moldy and not harboring pests, rake it aside while you work, then return a fresh layer later.
If you left some stems standing for overwintering beneficial insects, you can cut them down gradually as temperatures warm and you see consistent new growth.
3) Inspect the bed: edges, paths, pests, and plumbing
This is the unglamorous step that saves your back later.
- Raised beds: Check boards for bowing, loose screws, and rot. Tighten hardware now.
- In-ground beds: Recut a clean edge if grass is creeping in. A sharp spade makes this oddly satisfying.
- Paths: Top up chips or gravel so mud does not migrate into your beds.
- Irrigation: Turn on drip lines or hoses and look for clogs and leaks before plants are in the way.
- Early pest clues: Slug hiding spots under boards, clusters of snail eggs, and vole runs are easier to deal with before planting.
4) Test your soil (yes, even once helps)
If I could go back in time and give my balcony-gardening self one gift, it would be a soil test. I used to throw fertilizer at every problem, which is how I ended up with gorgeous leaves and disappointing tomatoes more than once.
You have two solid options:
- Lab soil test: Best for long-term success. You will get pH and nutrient levels, plus recommendations.
- At-home pH test: Not as complete, but still useful. Most vegetables and many flowers are happiest around pH 6.0 to 7.0. There are exceptions, like blueberries and azaleas, which prefer more acidic soil.
How to take a simple bed sample
- Use a trowel to collect small scoops from 6 to 8 spots across the bed (about 6 inches deep for most garden beds).
- Mix them in a clean bucket.
- Let it air-dry, then submit according to the lab’s instructions.
Tip: If you are amending multiple beds, label your samples. “Front bed by the fence” is much better than “Bed A” once you are standing in the yard with a report in hand.
5) Loosen compacted soil without overworking it
Roots need tiny air pockets to explore. When soil is compacted, water runs off, plants struggle, and you end up watering and fertilizing more than you want to.
The gentle approach I use most
- Broadfork (in-ground beds): Push it in, rock back slightly to lift and crack the soil, then move to the next spot. You are not flipping layers, just loosening.
- Garden fork (raised beds): Similar idea. Lift and wiggle. Try not to pulverize the structure.
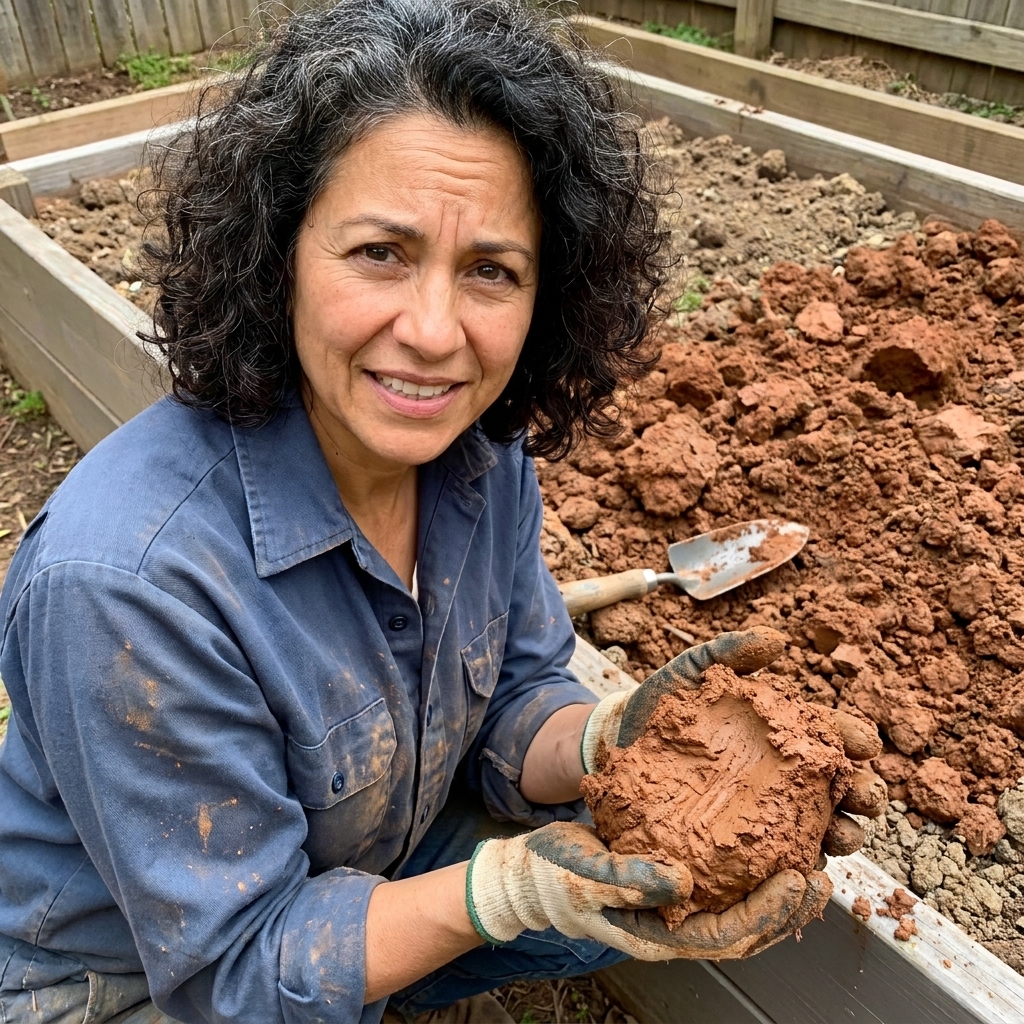
If your soil is heavy clay
Clay can be wonderful once it is improved, but it needs patience.
- Add compost regularly (more on that next).
- Avoid adding sand unless you are following a tested recommendation and adding it in large, correct proportions. A little sand mixed into clay can create a concrete-like texture.
- Consider a season of deep-rooted cover crops (like daikon radish) in a future rotation to naturally open soil.
If your soil is very sandy
Sandy beds drain fast and nutrients wash through. Compost helps with both water holding and fertility, and mulch reduces how quickly things dry out.
6) Add compost and amendments the smart way
If you do nothing else, add compost. It is the closest thing we have to a general-purpose soil upgrade because it improves texture, moisture management, and biology.
How much compost?
- Established beds: Spread 1 to 2 inches over the surface.
- New or struggling beds: 2 to 3 inches can help you get traction faster.
If you are building a truly brand-new bed on poor native subsoil, you may need more than a topdressing. Many new beds do best with a deeper layer of quality garden soil blended with compost so roots have real depth to grow into.
Then either:
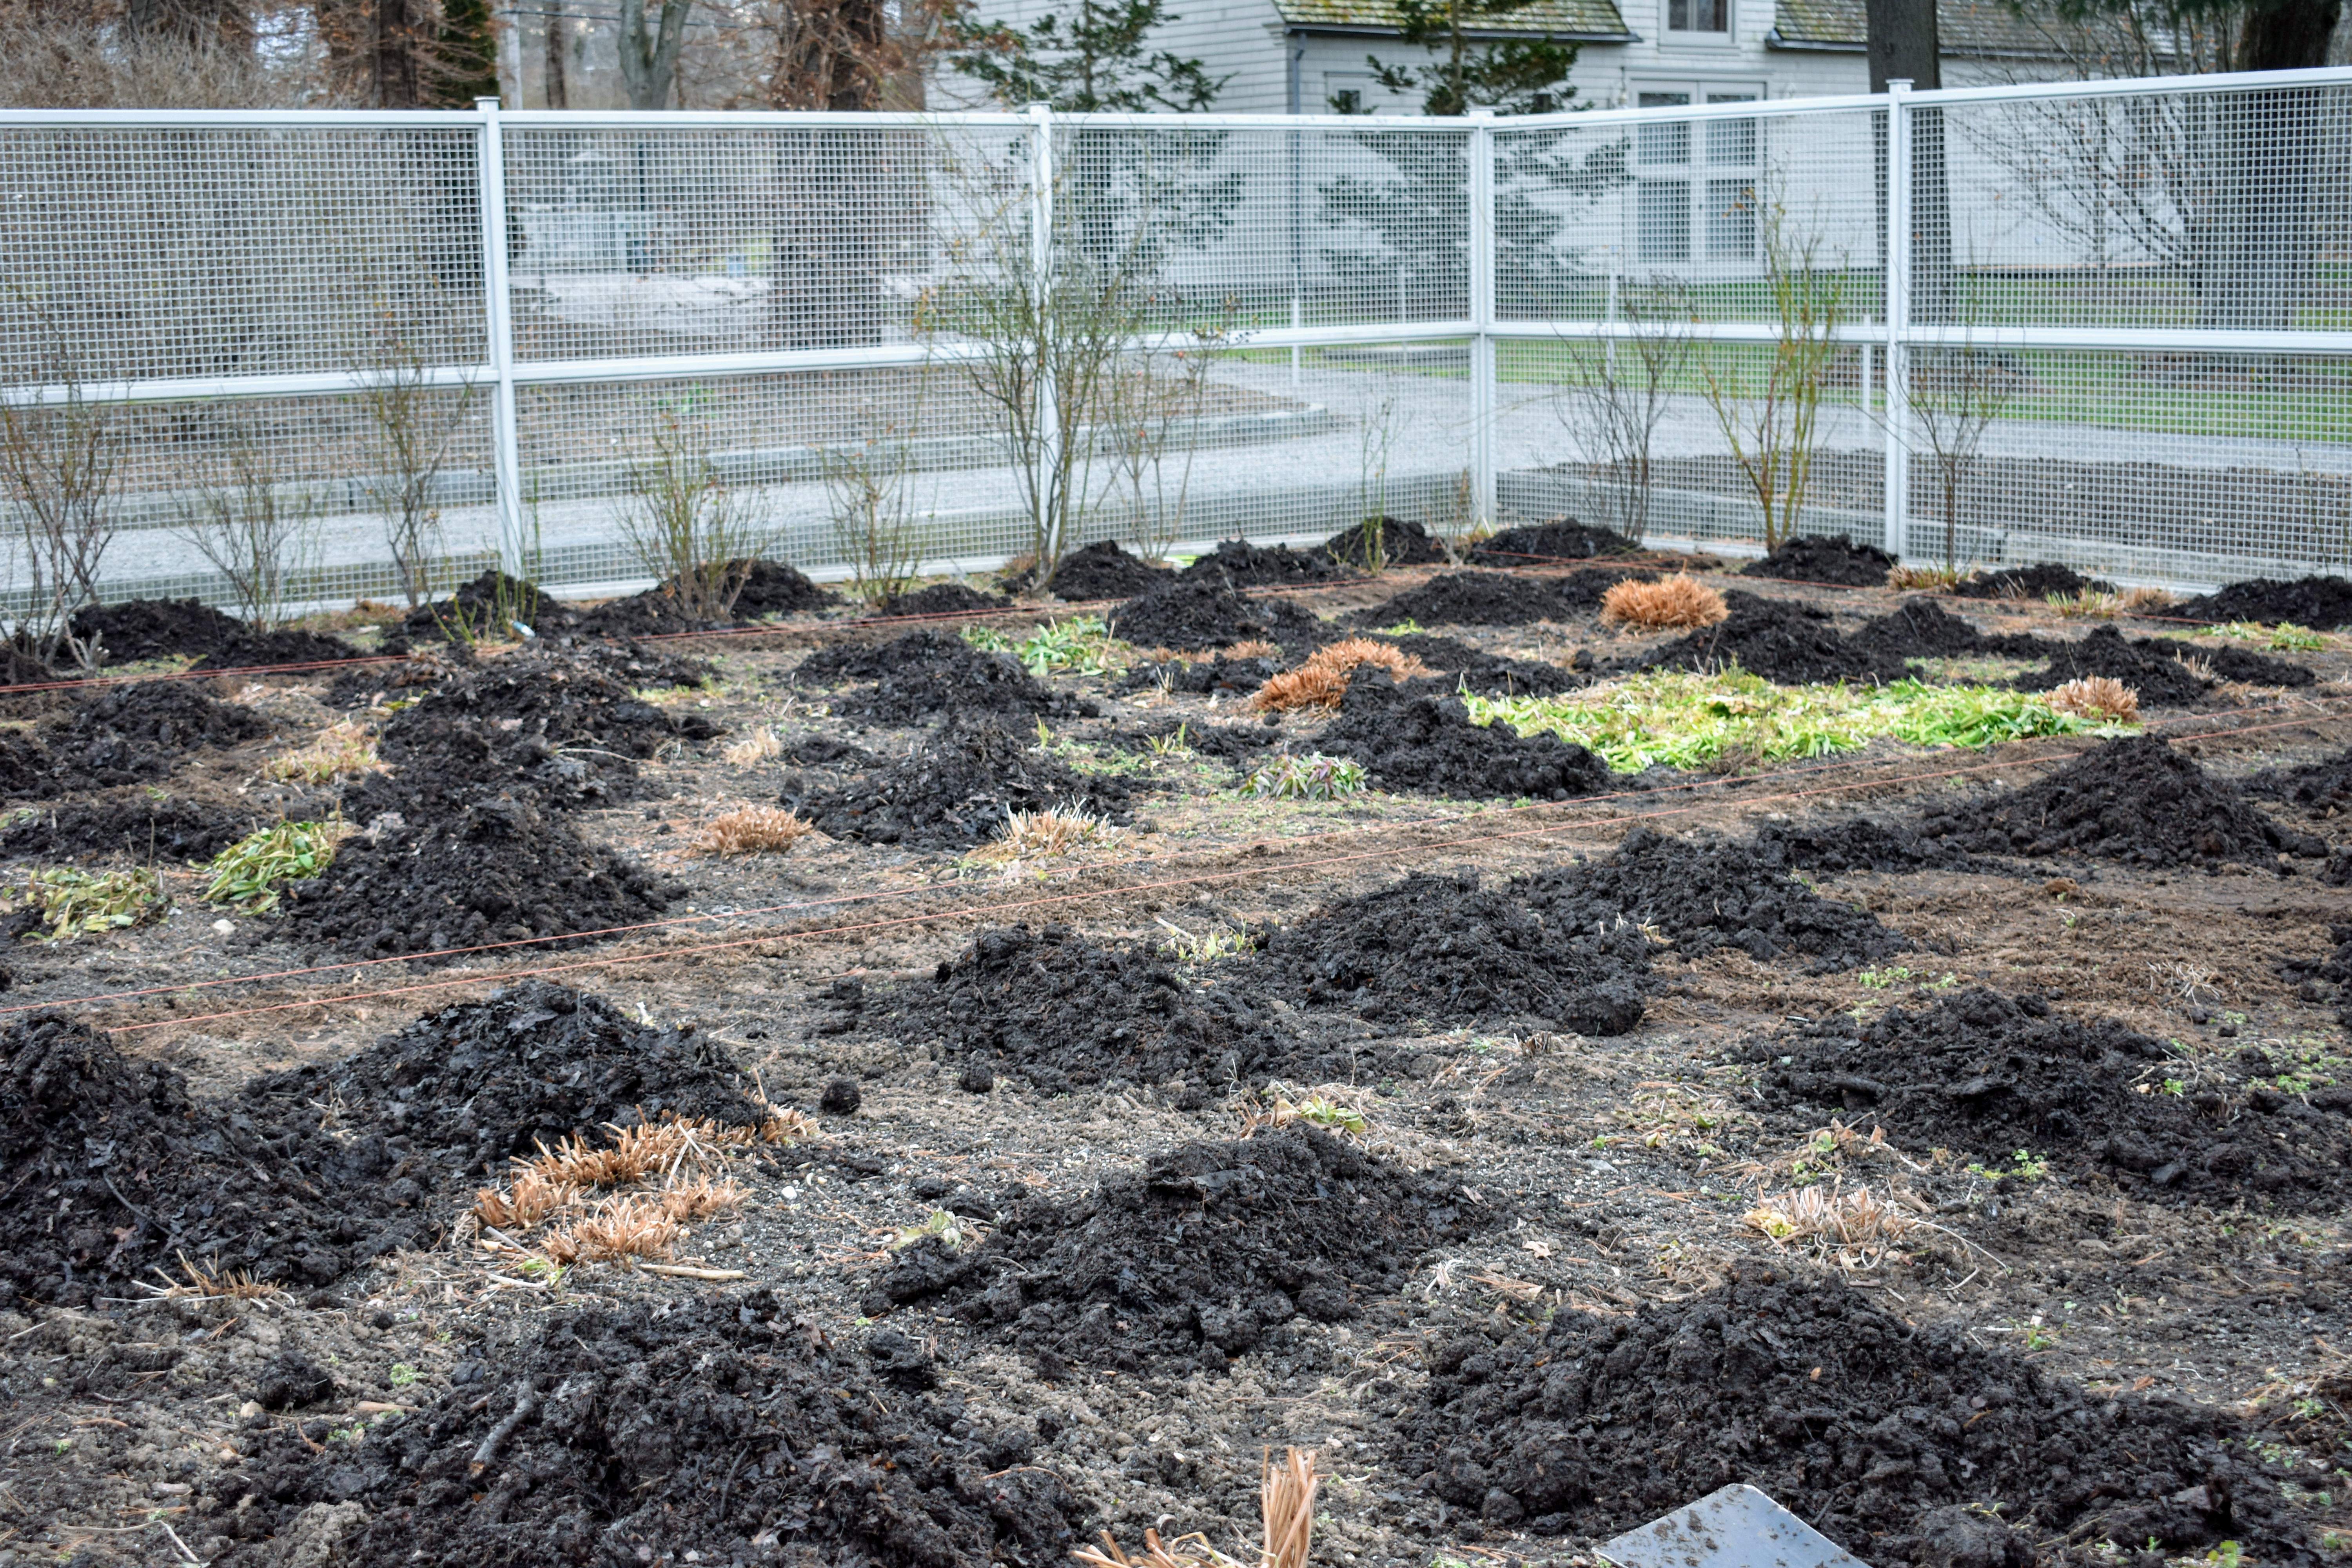
- Option A (best for soil life): Leave it on top and let worms and weather work it in.
- Option B (faster): Mix the top 2 to 4 inches lightly with a rake or fork.
What about fertilizer?
Use your soil test as the decision-maker. If you do not have one, go lighter than you think, especially with nitrogen. Too much can cause lush leafy growth and fewer flowers or fruits.
For many gardens, a modest, balanced organic fertilizer at planting time is plenty, with compost doing the heavy lifting.
7) Fix drainage and bed shape before you plant
Water should soak in, not sit in puddles for days.
Signs you need drainage help
- Standing water after a normal rain
- Soil that smells sour or rotten
- Plants that yellow and stall even though you are watering
Quick fixes
- Raise the planting area: Mound the bed slightly, or top up raised beds. Even a few inches helps.
- Add organic matter: Over time, compost helps both heavy and light soils behave better.
- Check downspouts and runoff: Sometimes the problem is simply roof water dumping into a bed.
Once your amendments are in, rake the surface level. A smooth bed is easier to sow and water evenly.
8) Plan spacing and supports now
Spring enthusiasm has a way of turning into crowded chaos by June. I learned this the hard way during the Great Zucchini Invasion of 2019, when I planted “just one more” and ended up gifting squash to strangers like it was my part-time job.
Spacing basics that work for vegetables and flowers
- Read the spacing on the seed packet or plant tag: It is not a suggestion. It is the plant’s adult personal space.
- Account for airflow: Good spacing reduces mildew and leaf spot, especially for zinnias, squash, tomatoes, and phlox.
- Plant in blocks, not single rows: For many crops and flowers, blocks make watering easier and look fuller. They also help pollination for some plants.
Set supports before planting
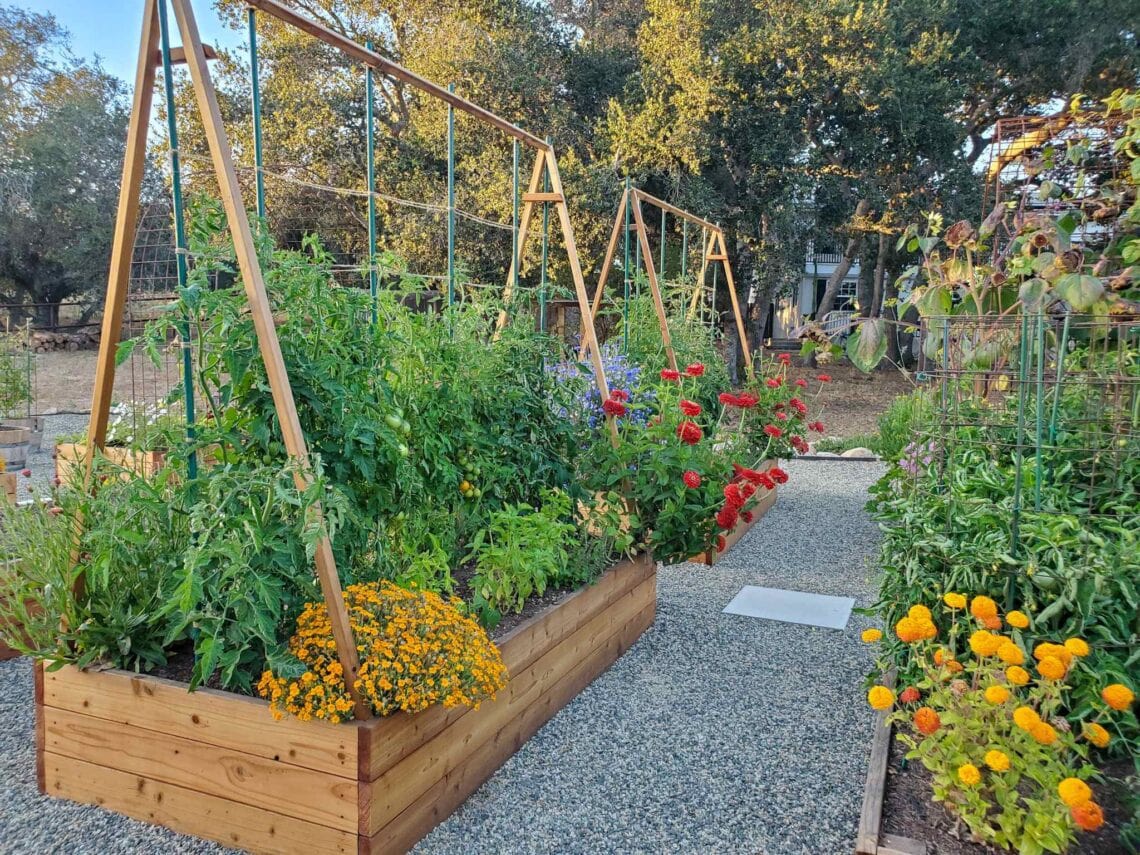
- Install trellises for peas, beans, cucumbers, and climbing flowers first so you do not stab roots later.
- Add tomato cages or stakes at transplanting time, not “sometime soon.”
- For floppy perennials, place discreet supports early so stems grow through them naturally.
9) Pre-water and let the bed settle
If you added compost or loosened soil, give the bed a gentle watering and let it sit for a day if you can. This helps settle air pockets and shows you how water moves across the surface. It is also a great time to spot low areas that puddle so you can re-rake before seeds go in.
10) Mulch and block weeds
Mulch is not just for looks. It cuts down weeds, reduces splash (which helps with disease), and saves water.
- When to mulch: After planting is fine for most beds. If you are growing heat lovers like tomatoes, peppers, and basil, let the soil warm first, then mulch.
- What to use: Straw, shredded leaves, and finished compost all work. Wood chips are great for paths and around shrubs, and less ideal for mixing into annual veggie beds.
- How to apply: Keep mulch pulled back from plant stems to prevent rot and discourage pests.
If weeds are already popping, try a shallow pass with a stirrup hoe on a dry day. For new beds or stubborn weedy spots, a few weeks under an opaque tarp can make spring planting feel like cheating in the best way.
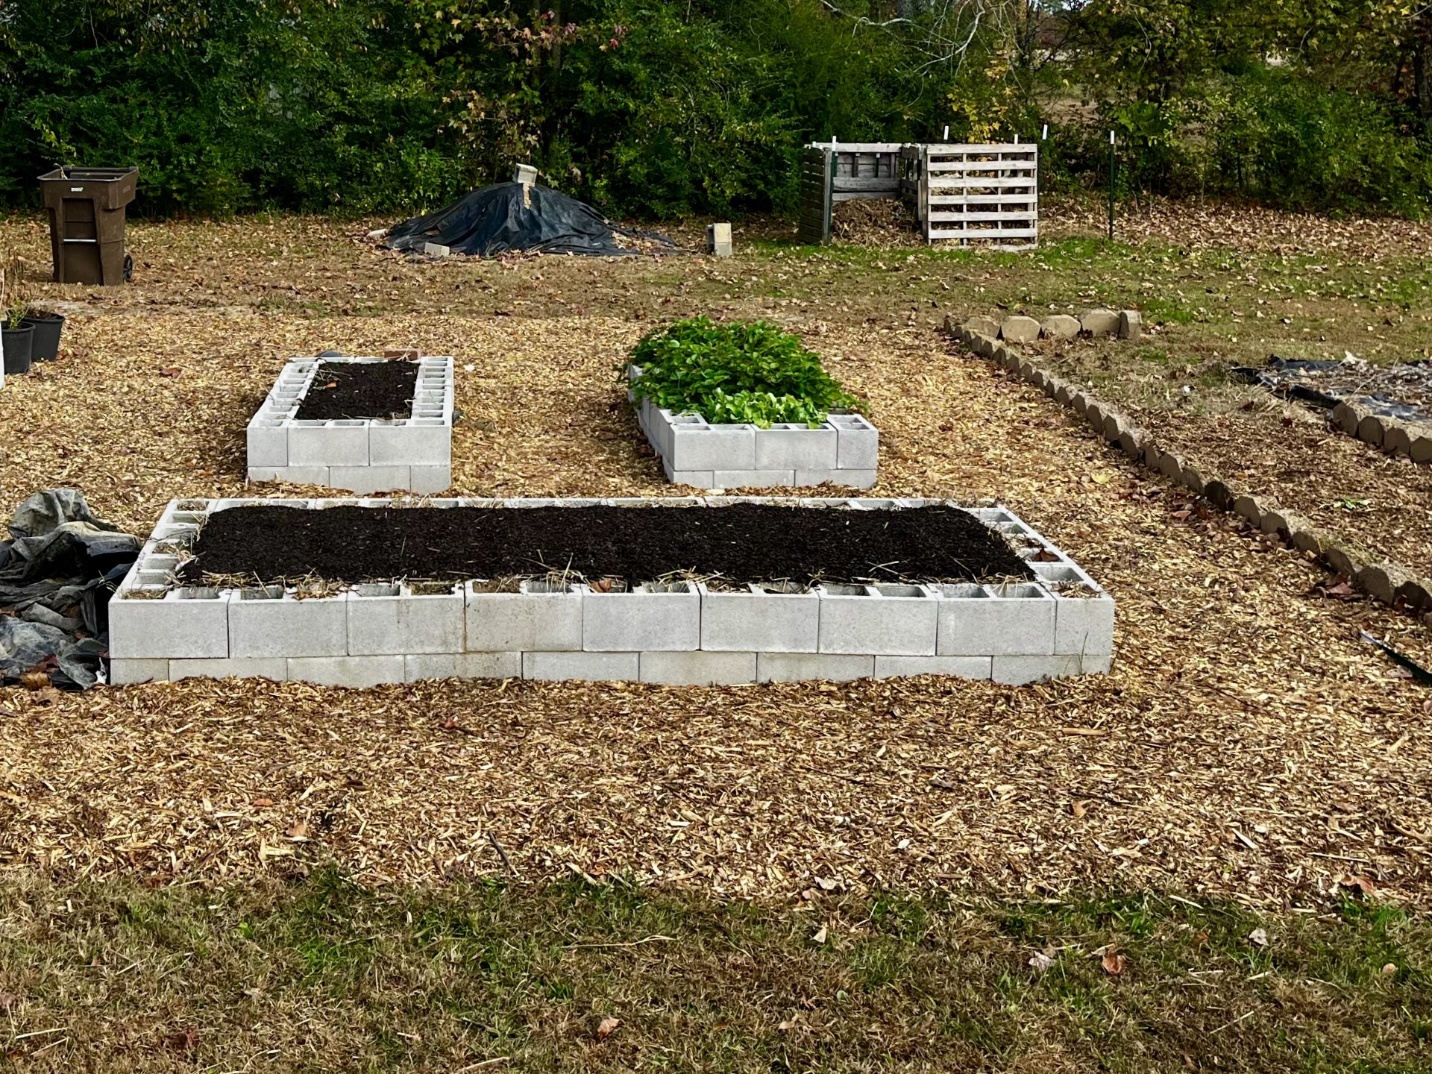
Spring bed prep for raised beds and containers
Raised beds
- Top up with compost (and soil if the bed has sunk significantly).
- Check for hydrophobic soil (water beading and running off). If you see this, water slowly in pulses or mix in compost and re-wet gradually.
- Refresh mulch after planting to reduce splash and weeds.
Containers
- Remove the top 2 to 4 inches of old potting mix and replace with fresh mix plus compost.
- If the container held a diseased plant, dump and replace all the soil.
- Make sure drainage holes are open and not blocked by roots.
Common spring prep mistakes (and easy fixes)
- Digging wet soil: Fix by pausing, letting it dry, then loosening gently instead of aggressively turning.
- Over-fertilizing just to be safe: Fix by leaning on compost and using a measured, slow-release fertilizer only if needed .
- Skipping weeds because they are small: Fix by doing a quick 10-minute weed pass now, then mulching after planting.
- Planting too close: Fix by thinning seedlings early or transplanting extras while small.
FAQ
Should I turn my soil in spring?
Usually, no. Lightly loosening and top-dressing with compost preserves soil structure and the beneficial life in it. Turning can be helpful for a brand-new bed full of turf or when you are incorporating a large amount of organic matter, but it is not required for healthy gardens.
Do I need to remove last year’s roots?
Not if the plant was healthy. Cut stems at the soil line and leave roots to decompose in place.
If you had a known, serious plant disease, focus first on removing and disposing of infected plant debris and rotating crops. For soilborne diseases, pulling roots rarely “solves” the problem because many pathogens can persist in soil. When in doubt, check local extension guidance for the specific crop and disease.
How early can I start prepping?
As soon as your soil passes the crumble test and you are not walking on saturated ground. You can always do cleanup and planning early, then wait to loosen soil and amend until conditions are right.
Can I add compost and plant right away?
Yes, if the compost is well-finished: dark, crumbly, earthy-smelling, and not heating up. If you are using fresh manure or unfinished compost, wait because it can burn plants and tie up nitrogen.
A calm way to begin the season
If spring gardening feels like a starting gun, let this be your reminder that steady beats frantic. Clear what needs clearing, feed your soil, and set yourself up for easy watering and sane spacing. Your plants will respond, and so will your mood.
When your bed is prepped, you are not just ready to plant. You are ready to enjoy it.