A step-by-step curb appeal guide: front yard layout, foundation planting, walkway and entry upgrades, maintenance basics, and plant choices that look great y...
Gardening insights
Garden Pathways: Materials and Layouts
Learn how to design and install a garden pathway that feels natural underfoot and looks beautiful year-round. Compare stepping stones, brick, and crushed stone, then follow simple layout, base prep, and maintenance tips.

Elena Rosales
Elena Rosales is a certified Master Gardener and lifelong plant enthusiast who believes anyone can cultivate a green thumb. After transforming her tiny urban balcony into a thriving plant oasis, she moved to a half-acre homestead to grow her own food and flowers. Today, she shares practical, hands-on gardening advice to help the Hortello community bring more green into their lives.
Published September 21, 2026
Updated September 21, 2026
A good garden path does two quiet jobs at once: it guides your feet where you actually want to walk, and it gives your landscape a sense of structure even when the beds are between seasons. On my first balcony garden, my “pathway” was basically the worn strip of concrete I kept pacing while checking pots. On our homestead, I learned the hard way that if you do not give people a clear route, they will invent one. Usually right through your seedlings.
This guide will help you choose the right material, map a layout that feels natural, and install a stepping stone, brick, or crushed stone walkway that holds up to weather, kids, wheelbarrows, and muddy boots.
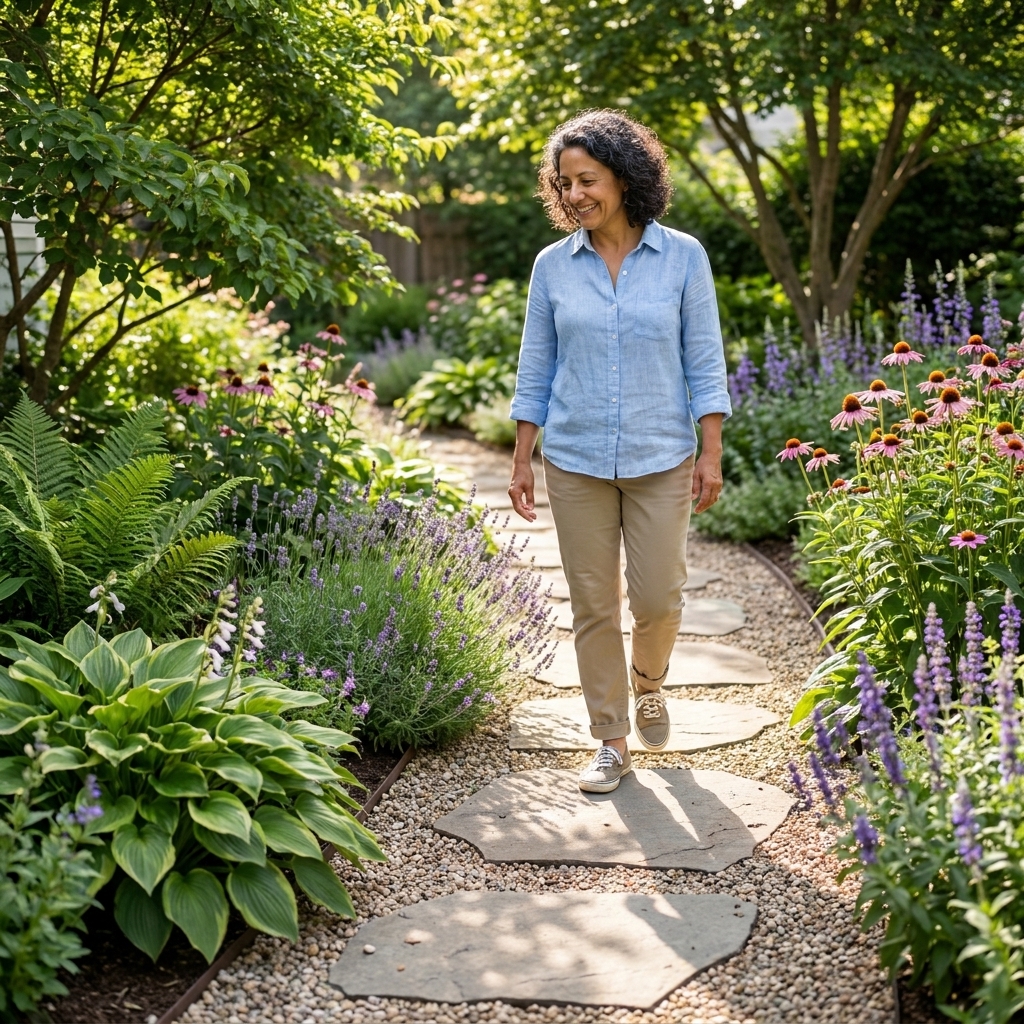
Start with what your path must do
Before you fall in love with a material, get clear on how the path will be used. This one step saves so much money and rework.
- Main route (front gate to door, patio to shed): Plan for two people to pass or for a wheelbarrow. Aim for 36 to 48 inches wide.
- Garden access path (between beds): Usually 24 to 36 inches is plenty, depending on whether you bring carts in.
- Maintenance path (behind shrubs, to the compost bin): 18 to 24 inches can work, but go wider if you will carry bulky things.
- Occasional stepping route (to a bird bath or seating nook): Stepping stones with groundcover in between can be perfect.
Accessibility note: If you want a path that is easy for strollers, walkers, or wheelchairs, choose a smooth, stable surface (brick or well-compacted stone fines) and avoid loose, shifting gravel as the top layer. For truly accessible or public-facing paths, check local codes and ADA guidance for clear width, slope, and landing requirements.
Layout that feels natural
Follow desire lines
The best paths mirror how you already move. If you are not sure, do a quick low-tech test:
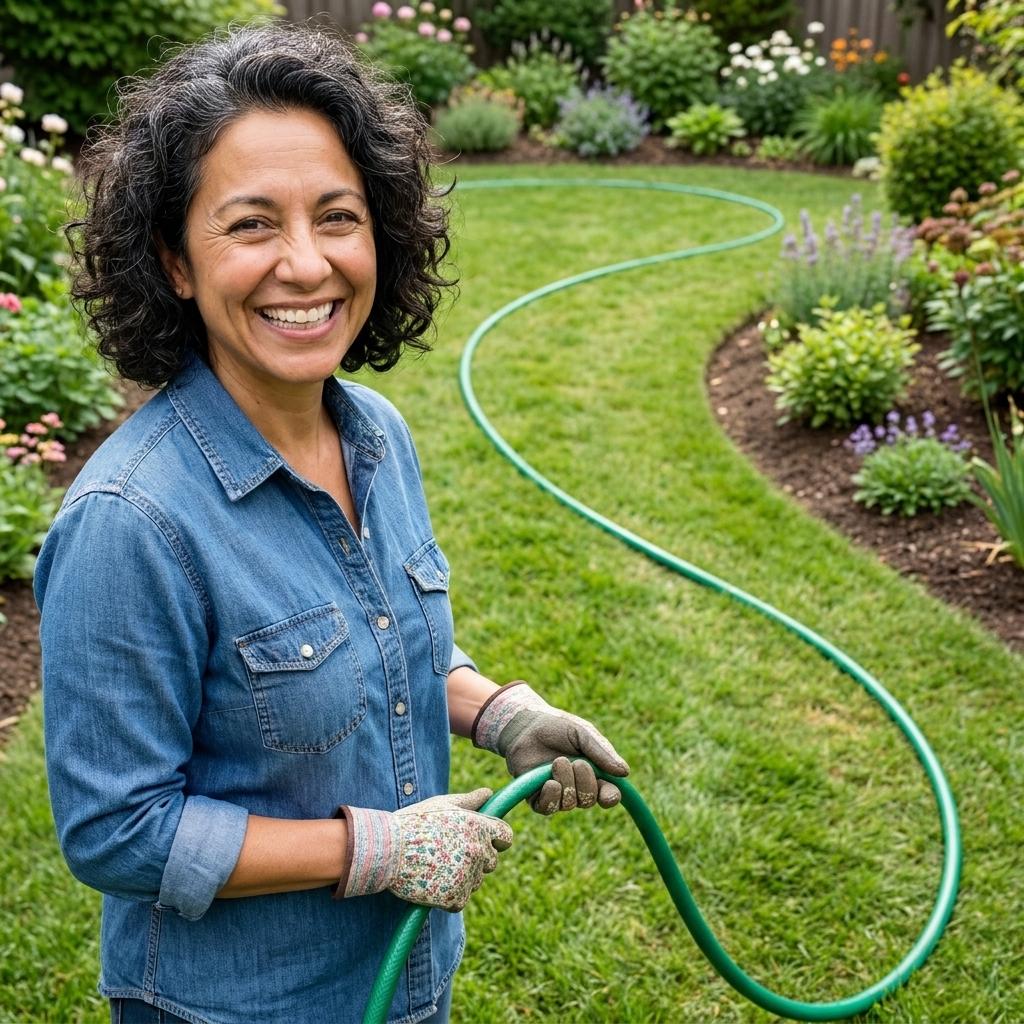
- Mark your intended route with a garden hose, rope, or flour line.
- Live with it for a few days. Walk it at night, in the rain, with a basket of laundry or a watering can.
- Adjust curves until it feels effortless.
Keep curves easy
Gentle curves look more intentional and are easier to build than tight, wiggly ones. A good rule is: if you cannot push a wheelbarrow through comfortably, the curve is probably too sharp for a main path.
Plan endpoints
Paths feel finished when they lead somewhere on purpose. Think in “destinations”:
- A gate, bench, arbor, or patio edge
- A focal plant like a small tree or a pot cluster
- A practical endpoint like the compost area or shed door
Tools and prep checklist
You can build a great path with simple tools. Borrowing or renting a plate compactor for pavers and longer gravel paths is worth it.
- Layout: tape measure, stakes, string, hose, marking paint or flour
- Digging: shovel, flat spade, hand trowel, wheelbarrow, tarp for soil
- Base work: hand tamper or plate compactor, landscape rake, a straight 2x4 or screed board, level
- Edging: metal or plastic edging, spikes, mallet
- Materials: crushed stone base, leveling sand or stone dust, geotextile (optional), pavers or stones, joint sand (polymeric for pavers if desired)
Safety note: Call before you dig and double-check for irrigation lines, landscape lighting, and shallow utilities. Also, hardscape materials are heavier than they look. Protect your back and your fingers.
Choose your pathway material
All three materials can look gorgeous. The best choice depends on budget, maintenance tolerance, climate, and whether you want a crisp formal look or a softer, cottage feel.
Stepping stones
Best for: Informal routes, garden beds, and anywhere you want plants between steps.
Pros: Flexible layout, easy to expand, charming in cottage or naturalistic gardens.
Cons: Can get wobbly if set on soil alone, spacing matters for comfort, mowing around them can be fiddly.
Great pairings: Creeping thyme, Irish moss (cooler climates and consistent moisture), woolly thyme, dwarf mondo grass (milder climates and part shade), or simply gravel between stones for cleaner lines.
Brick (or concrete pavers that look like brick)
Best for: Front walks, patios, and formal or classic garden styles.
Pros: Stable, easy to sweep, looks tidy year-round, can be repaired by lifting and resetting sections.
Cons: More labor and base prep, edges must be contained, weeds can sneak into joints if not finished properly.
Style tip: If you love the look of reclaimed brick, buy extra. Color and size variation is part of the charm, but matching later can be tricky.
Crushed stone (gravel paths done right)
Best for: Long paths, informal gardens, and cost-effective coverage with good drainage.
Pros: Budget friendly, fast to install, excellent drainage, easy to refresh by topping off.
Cons: Requires edging to stay put, can migrate into beds, needs occasional raking, not ideal for all mobility needs.
Material note: For a stable walking surface, choose angular stone. Avoid round pea gravel for primary walking areas because it rolls underfoot. In many regions, “3/8-inch minus,” decomposed granite, or stone dust compacts well as a top layer.

Build the base
If there is one place gardeners (including me, repeatedly) try to cut corners, it is the base. Then winter comes, the ground heaves, and suddenly every stone is a tiny ankle trap. Your base depth depends on soil and climate, but these guidelines keep most DIY paths solid.
Important: The depths below are for light-duty pedestrian paths. If your soil stays wet, you have heavy clay, you expect frequent wheelbarrow loads, or you live in a serious freeze-thaw zone, go deeper and compact carefully. For driveable surfaces, follow local specs or a pro standard, because that is a different build.
Base depth guidelines
- Stepping stones: 2 to 4 inches of compacted base (crushed stone), plus 1 inch of leveling sand or stone dust. Increase the base depth in soft or wet soils.
- Brick/pavers: 4 to 8 inches of compacted base (deeper in freeze-thaw climates), plus 1 inch of leveling sand. For harsh winters or heavier use, 8 to 12 inches is common.
- Crushed stone path: 4 to 6 inches of compacted base in most yards, plus 1 to 2 inches of finer crushed stone or fines on top. In soft, wet, or high-traffic areas, 6 to 8 inches is not unusual.
Slope for drainage
Water is the enemy of long-lasting paths. Aim for a slight slope so water sheds off the surface:
- Target: About 1/8 to 1/4 inch of drop per foot of width (a gentle crown or side slope).
- Simple check: A long board plus a level is your best friend.
Weed barrier: yes or no?
In organic gardening circles, landscape fabric is controversial for good reason. It can clog with soil and become a weed nursery over time. For paths, I use it selectively:
- Good use: Under gravel or crushed stone to separate soil from stone and slow sinking. Choose a heavy-duty woven geotextile.
- Skip it: Under planting areas or anywhere you want self-seeding groundcovers between stepping stones.
Install stepping stones
Stepping stones look effortless when they are installed well. The goal is a flat, stable step that sits slightly above (or flush with) the surrounding surface.
Step-by-step
- Set spacing: Place stones on the ground first. A comfortable stride for many adults is 18 to 24 inches center to center, but test it with your own natural walk. If you think in edges, that often lands around 6 to 10 inches between stone edges depending on stone size. Adjust until it feels natural.
- Mark each stone: Trace around it with a trowel or spray marking paint.
- Excavate: Dig each footprint deep enough for your base layers and the stone thickness. If you want mower-friendly stones in lawn, set the top of the stone flush with the grass.
- Add base: Fill with 2 to 4 inches of crushed stone, compacting as you go (hand tamper works for small areas).
- Leveling layer: Add about 1 inch of sand or stone dust, then screed it level with a short board.
- Set the stone: Place the stone, then tap gently with a rubber mallet. Check level front to back and side to side.
- Lock it in: Backfill edges with gravel, soil, or plants. Water soil backfill to settle.
Elena confession: I once set stepping stones straight on soil because I was “just testing the look.” They felt great for two weeks, then turned into a wobbly obstacle course after a heavy rain. Base first saves you from future grumbling.
Install a brick path
Brick paths look crisp, and they are wonderfully satisfying to sweep clean. The secret is containment and compaction.
Step-by-step
- Excavate the path: Dig the full width plus space for edging. Depth usually equals base (4 to 8 inches) + 1 inch sand + brick thickness, plus a little room for final grade.
- Quick depth example: If your pavers are 2 3/8 inches thick and you want a 6-inch base, dig about 9 1/2 inches, then fine-tune so the finished surface meets adjacent grades cleanly.
- Compact subgrade: Tamp the soil so it is firm and even.
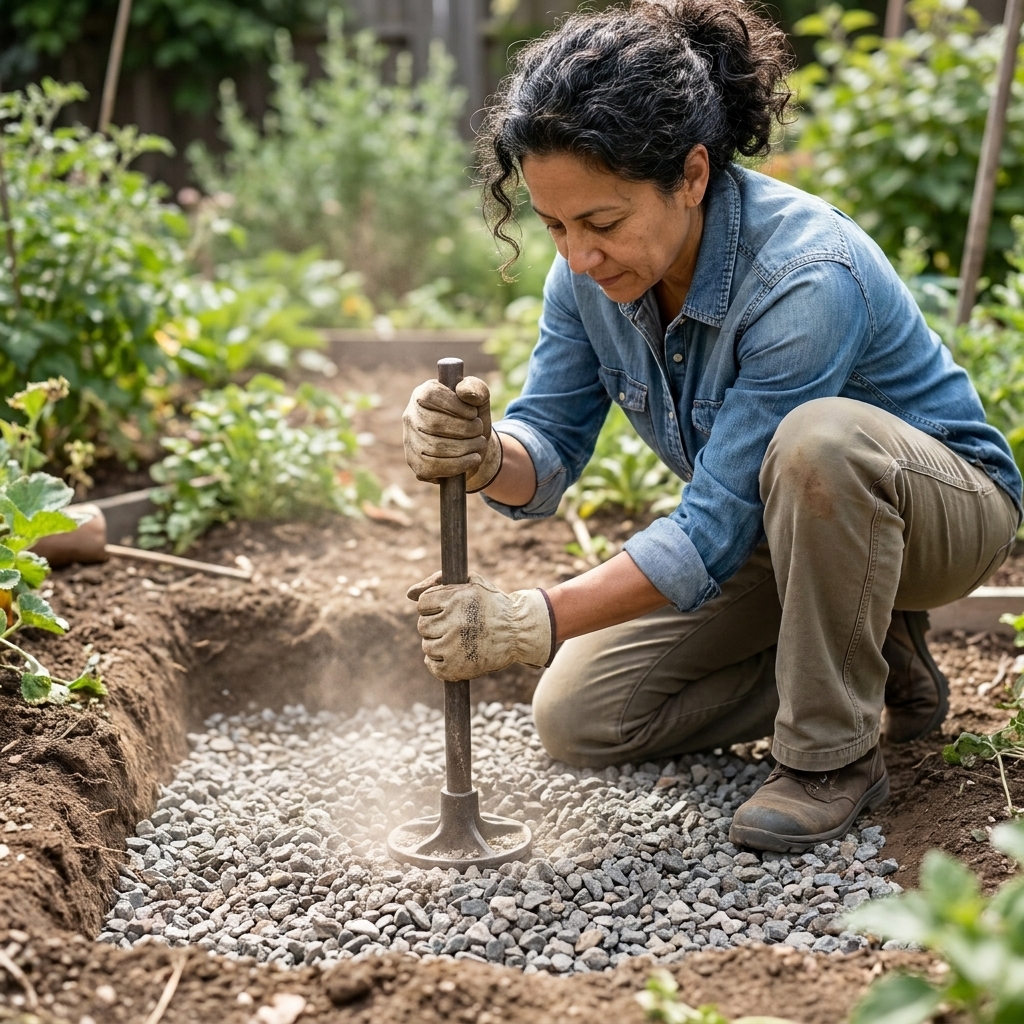
- Add base material: Install crushed stone in 2-inch lifts, compacting each layer. This is where paths become “forever” paths.
- Install edging: Plastic, metal, or concrete edging keeps bricks from drifting. Set edging before you lay bricks.
- Add leveling sand: Spread about 1 inch and screed it smooth.
- Lay your pattern: Running bond is beginner friendly. Herringbone is extra stable for heavy traffic. Work from a straight reference line.
- Cut edges: Use a masonry saw or brick splitter for clean edges.
- Sweep joints: Sweep polymeric sand into joints (it helps reduce weeds and ants, not eliminate them). Follow product directions, then mist lightly to set.
- Final compact: If you have access to a plate compactor, use it with a protective pad. For small paths, hand tamping is fine.
Pro tip: If your bricks are uneven, flip the “best face” up as you go. Small choices like that make the finished path look intentional, not patchy.
Install a crushed stone path
Gravel paths get a bad reputation because many are installed without a proper base and edging. Do those two things and a stone path can be neat, comfortable, and low drama.
Step-by-step
- Mark the edges: Use stakes and string or a hose to outline your path.
- Excavate: Dig 5 to 7 inches deep for many pedestrian paths (deeper in soft soils or freeze-thaw climates).
- Install geotextile (optional but helpful): Lay it flat with overlaps so stone stays separated from soil.
- Add base stone: Use larger, angular crushed stone. Compact well.
- Add top layer: Add 1 to 2 inches of finer crushed stone or decomposed granite and compact again.
- Edge it: Metal edging gives a crisp line. Thick timber can work in rustic gardens. Stone edging is beautiful but takes more labor.
- Finish grade: Keep the path slightly crowned or sloped so water runs off instead of pooling.

Details that make it look planned
Match the house
If you already have stone retaining walls, a brick porch, or concrete steps, echo that material somewhere in the path. Repeating one element ties the landscape together.
Soften the edges
I love a clean edge, but I do not want it to feel sterile. Try:
- Low spillers like creeping Jenny (watch it in moist areas), thyme, ajuga (where it is not invasive), or small sedges
- Clumps of ornamental grasses for movement
- Fragrant plants near seating: lavender, rosemary in mild climates, or chamomile tucked along the edge
Light the transitions
Solar stake lights can help, but I prefer a few well-placed, warm lights at transitions: steps, turns, and the point where the path meets a door or patio.
Leave room to work
Leave enough room to prune shrubs without standing in a bed. Your future self, holding loppers and trying not to crush a salvia, will be grateful.
Common mistakes
- Skipping compaction: Even a small hand tamper makes a big difference. Compact base layers in lifts, not all at once.
- No edging for loose stone: Gravel without edging migrates.
- Too narrow for the job: If you use a wheelbarrow, measure it and add wiggle room.
- Ignoring drainage: Fix low spots and plan a slight slope. Standing water shortens the life of every path.
- Overly tight stone spacing: Stepping stones should match your stride. Test, then adjust before digging.
Maintenance basics
A well-built path is not no-maintenance, but it can be very close.
- Stepping stones: Re-level any stone that settles. Pull creeping grass before it becomes a root mat under the edges.
- Brick/pavers: Top up polymeric sand when joints thin, and reset any area that dips before it spreads.
- Crushed stone: Rake back into place, top off fines as they wash or track away, and keep edging snug.
Quick FAQs
How wide should a garden path be?
For comfortable everyday walking, 24 to 36 inches works well. For a main route or wheelbarrow traffic, aim for 36 to 48 inches. If accessibility is a goal, verify local guidance for minimum clear width and turning or passing space.
What is the easiest DIY garden pathway?
Crushed stone with solid edging is usually the fastest for longer stretches. For small areas, stepping stones set on a compacted base are very approachable and forgiving.
How do I keep weeds out of a gravel path?
Start with a well-prepared base, consider a woven geotextile underlayer, and top up with fresh fines when the surface thins. For sprouting weeds, a quick hand pull after rain is easiest. If you use a spray, choose targeted products and avoid overspray near beds.
Do I need sand under stepping stones?
A thin leveling layer of sand or stone dust makes it much easier to set stones flat. The real stability comes from the compacted crushed stone base underneath.
A simple weekend plan
If you are feeling overwhelmed, here is your streamlined order of operations:
- Day 1: Lay out the route with a hose, adjust until it feels right, then measure and buy materials.
- Day 2: Excavate, compact the subgrade, build your base, and set edging.
- Day 3: Set stones or lay brick, then finish joints or top layer and tidy edges with plants.
A garden path does not need to be perfect to be wonderful. It just needs to be stable, easy to follow, and kind to your feet. Once you have that, the rest is pure joy: the crunch of gravel, the solid thunk of brick under your boots, and the little pause you take every time you walk it, just to see what is blooming today.