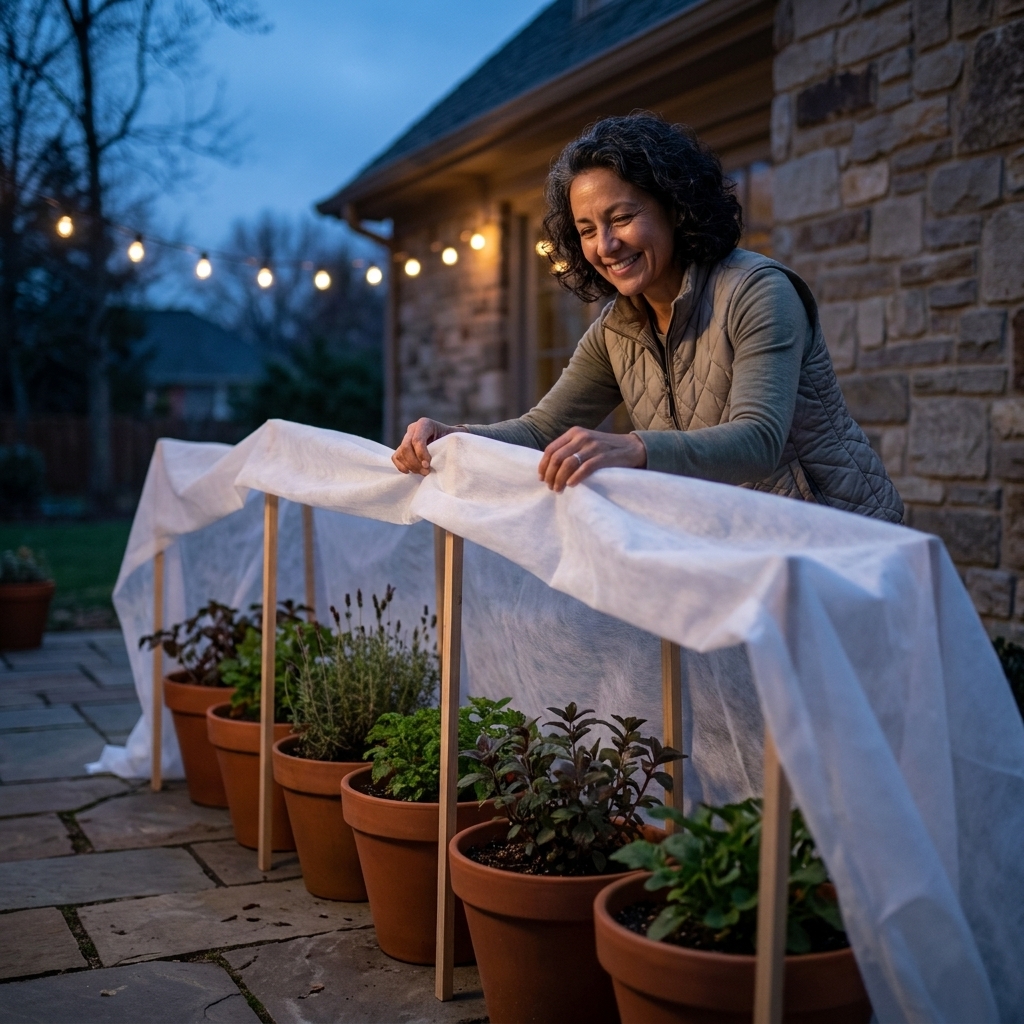
A simple seasonal checklist for overwintering outdoor potted plants: insulation, smarter placement, frost covers, and winter watering tips that actually work.
Gardening insights
How to Store Dahlia Tubers for Winter
Learn exactly when to dig dahlia tubers, how to clean and cure them, and how to store them at the right temperature and humidity so they don’t rot or shrivel.

Elena Rosales
Elena Rosales is a certified Master Gardener and lifelong plant enthusiast who believes anyone can cultivate a green thumb. After transforming her tiny urban balcony into a thriving plant oasis, she moved to a half-acre homestead to grow her own food and flowers. Today, she shares practical, hands-on gardening advice to help the Hortello community bring more green into their lives.
Published September 30, 2026
Updated September 30, 2026
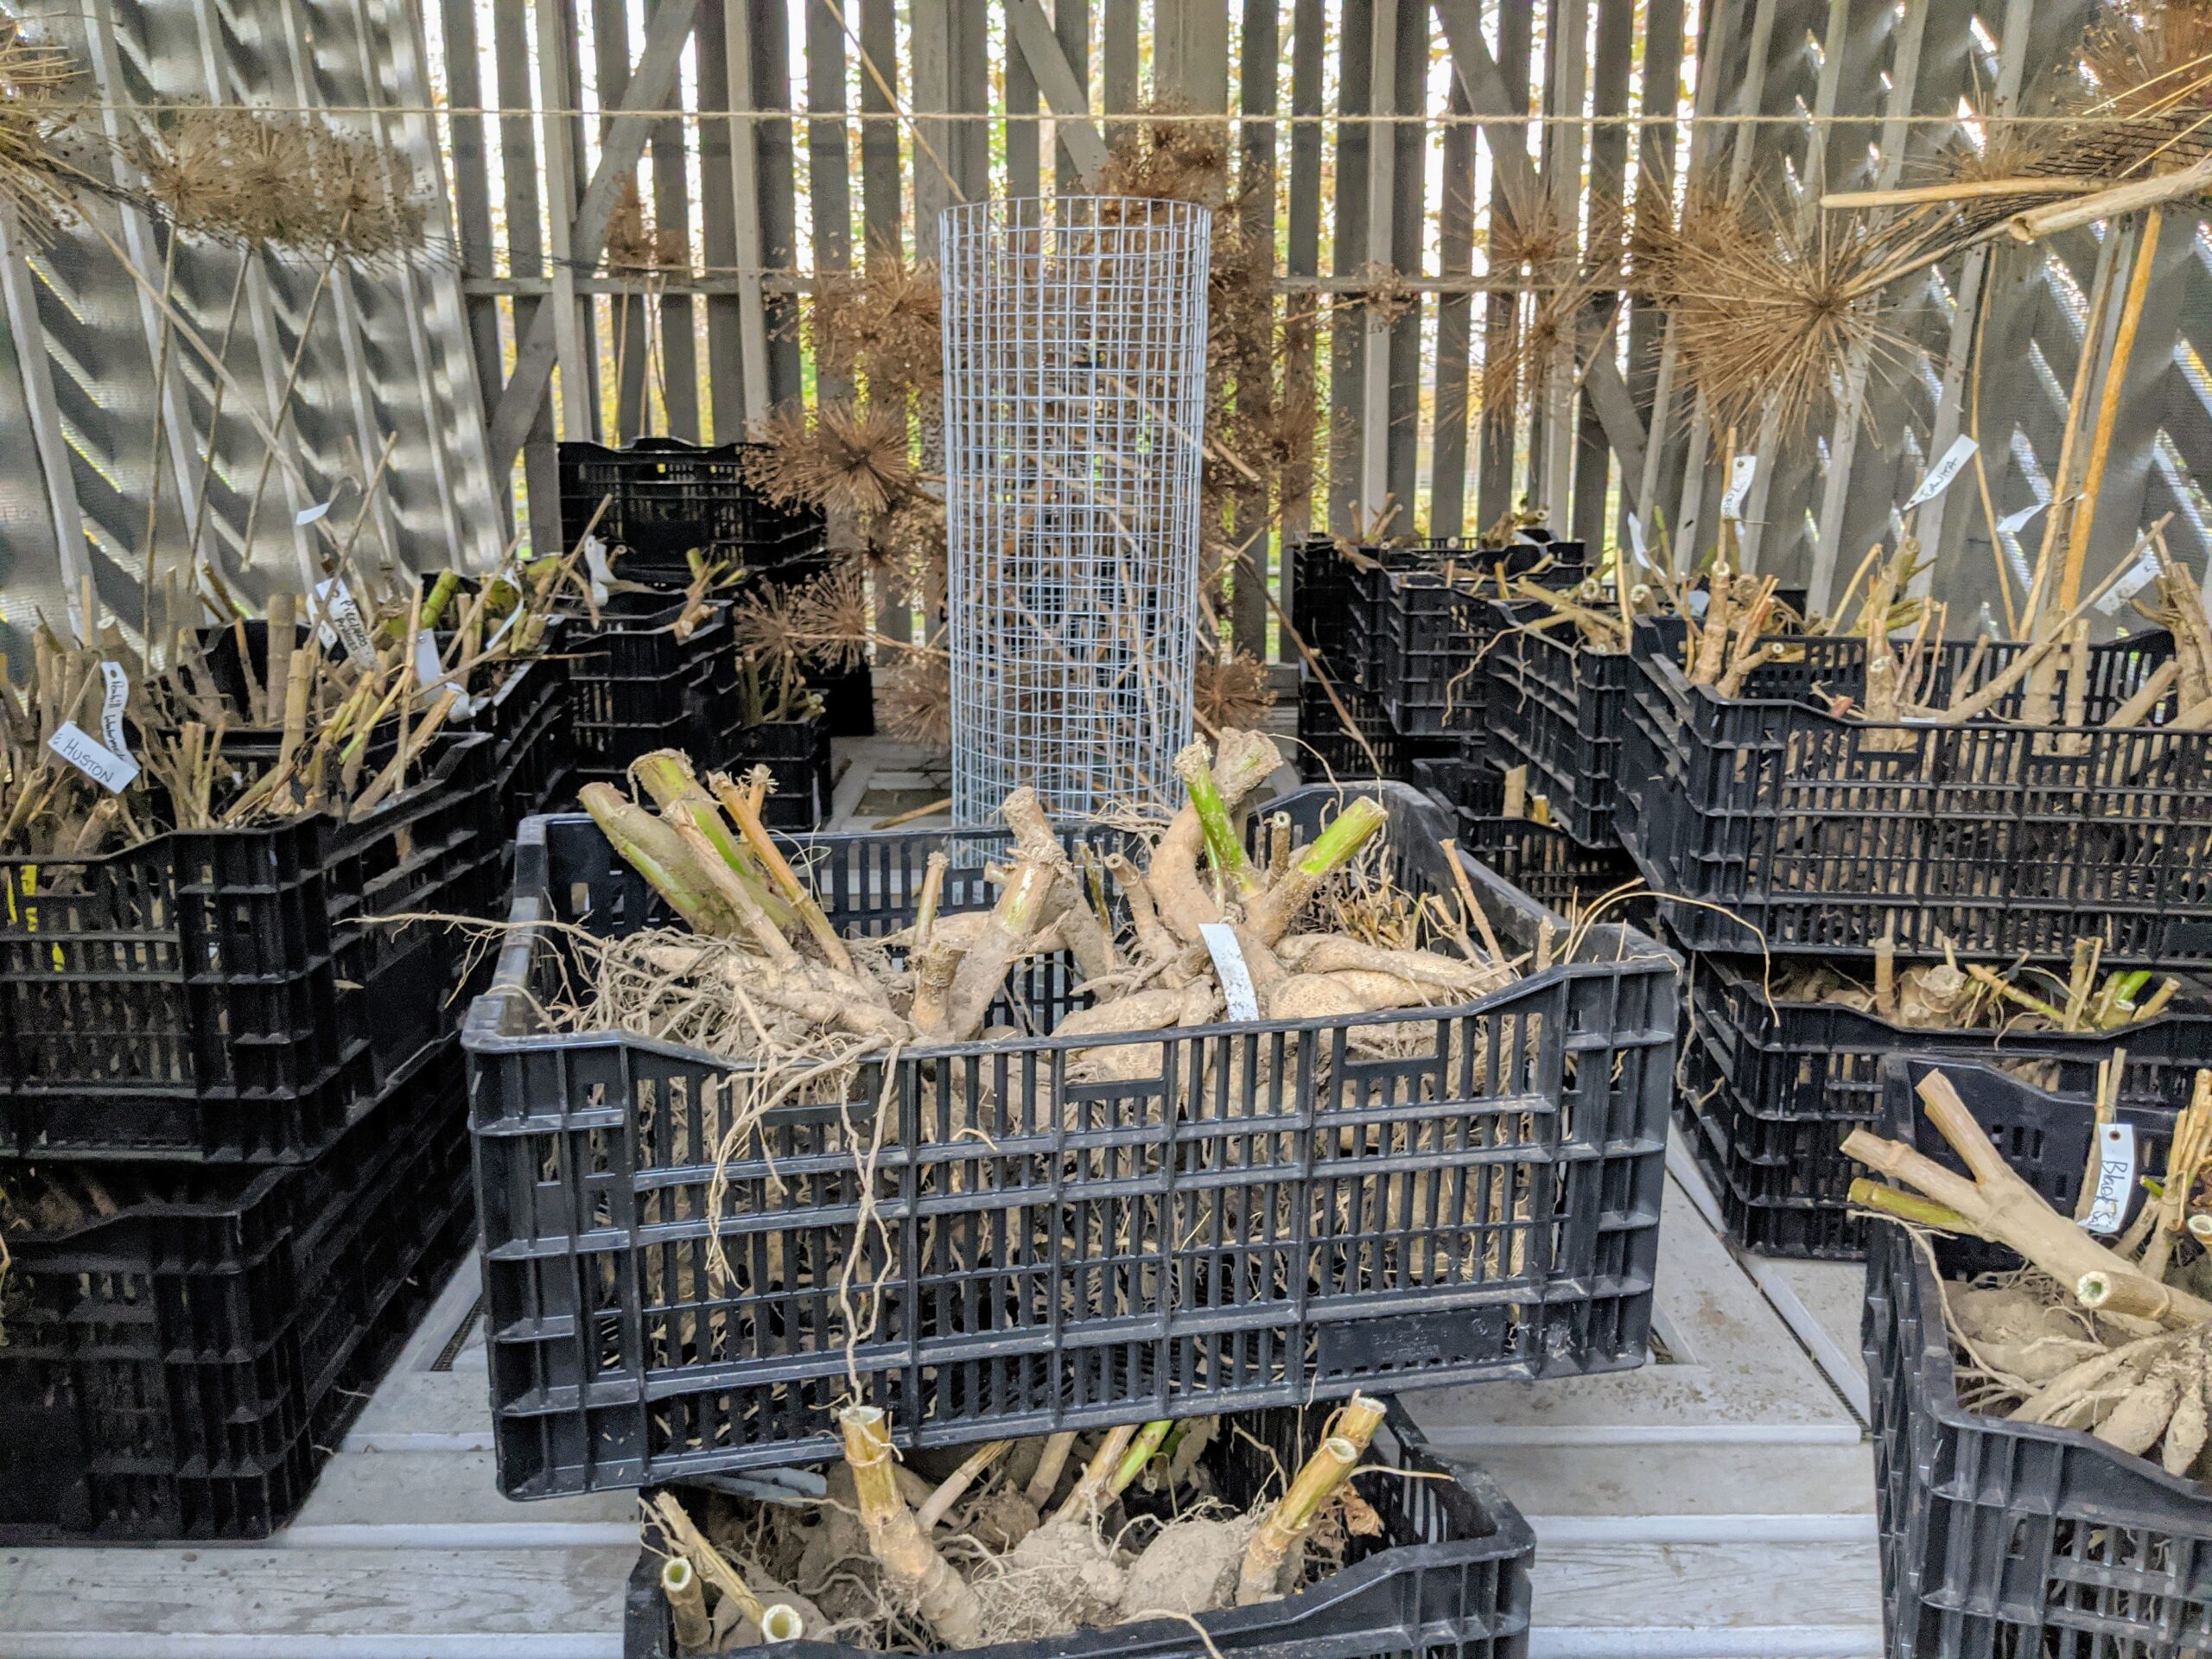
If you've ever fallen hard for dahlias, you already know the heartbreak of losing a favorite variety to winter rot or a shriveled, dried-out tuber by spring. The good news is that storing dahlia tubers is much more about steady, sensible conditions than fancy equipment. Once you dial in timing, drying, and storage humidity, dahlias become wonderfully repeatable year to year.
I learned this the stubborn way after my own early attempts: one year I stored tubers too wet (mold city), and another year I stored them too warm (they woke up in February like it was a spa weekend). Here is the method I use now to keep tubers plump, sleepy, and ready to grow when spring returns.
When to dig dahlia tubers
The best time to dig is after your first killing frost blackens the foliage. That frost is your signal that the plant has stopped actively growing and is ready to rest. Waiting for frost also helps the tubers finish hardening off in the ground, which can improve storage success.
Timing guidelines
- After the first hard frost: Let the tops get zapped, then dig within about 7 to 14 days if soil is not saturated. I usually aim for about a week, but you have some wiggle room.
- Before deep freezes: If your ground is about to freeze solid, do not wait. Frozen soil makes digging difficult and can damage tubers.
- If you never get frost: In mild climates where dahlias keep growing, dig when nights consistently cool and growth slows, or when you are ready to rotate beds. Many gardeners in USDA zones 8 to 10 can overwinter tubers in the ground if drainage is excellent, but lifting and storing can still be the safer move in very wet winters.
Quick cue: If the plant looks like it is wrapping up for the season and stems are no longer lush, it is time.
How to dig without breaking necks
Dahlia tubers connect to the crown, and the neck where each tuber joins is the most fragile part. If the neck snaps away from the crown tissue where the eyes form, that tuber will not sprout, even if it looks perfectly firm.
Digging steps
Cut back stems first. Trim stems to about 4 to 6 inches tall. This gives you a handle without leaving a tall lever that can snap the crown.
Loosen soil wide. Start digging 10 to 12 inches away from the stem all the way around. I like a garden fork for this, especially in heavier soils. Go slow and watch your hands and feet, because forks can slip in wet ground.
Lift from underneath. Work the fork under the clump and lift gently. Avoid yanking by the stem.
Shake off loose soil. A gentle shake is enough. Do not bang clumps together.
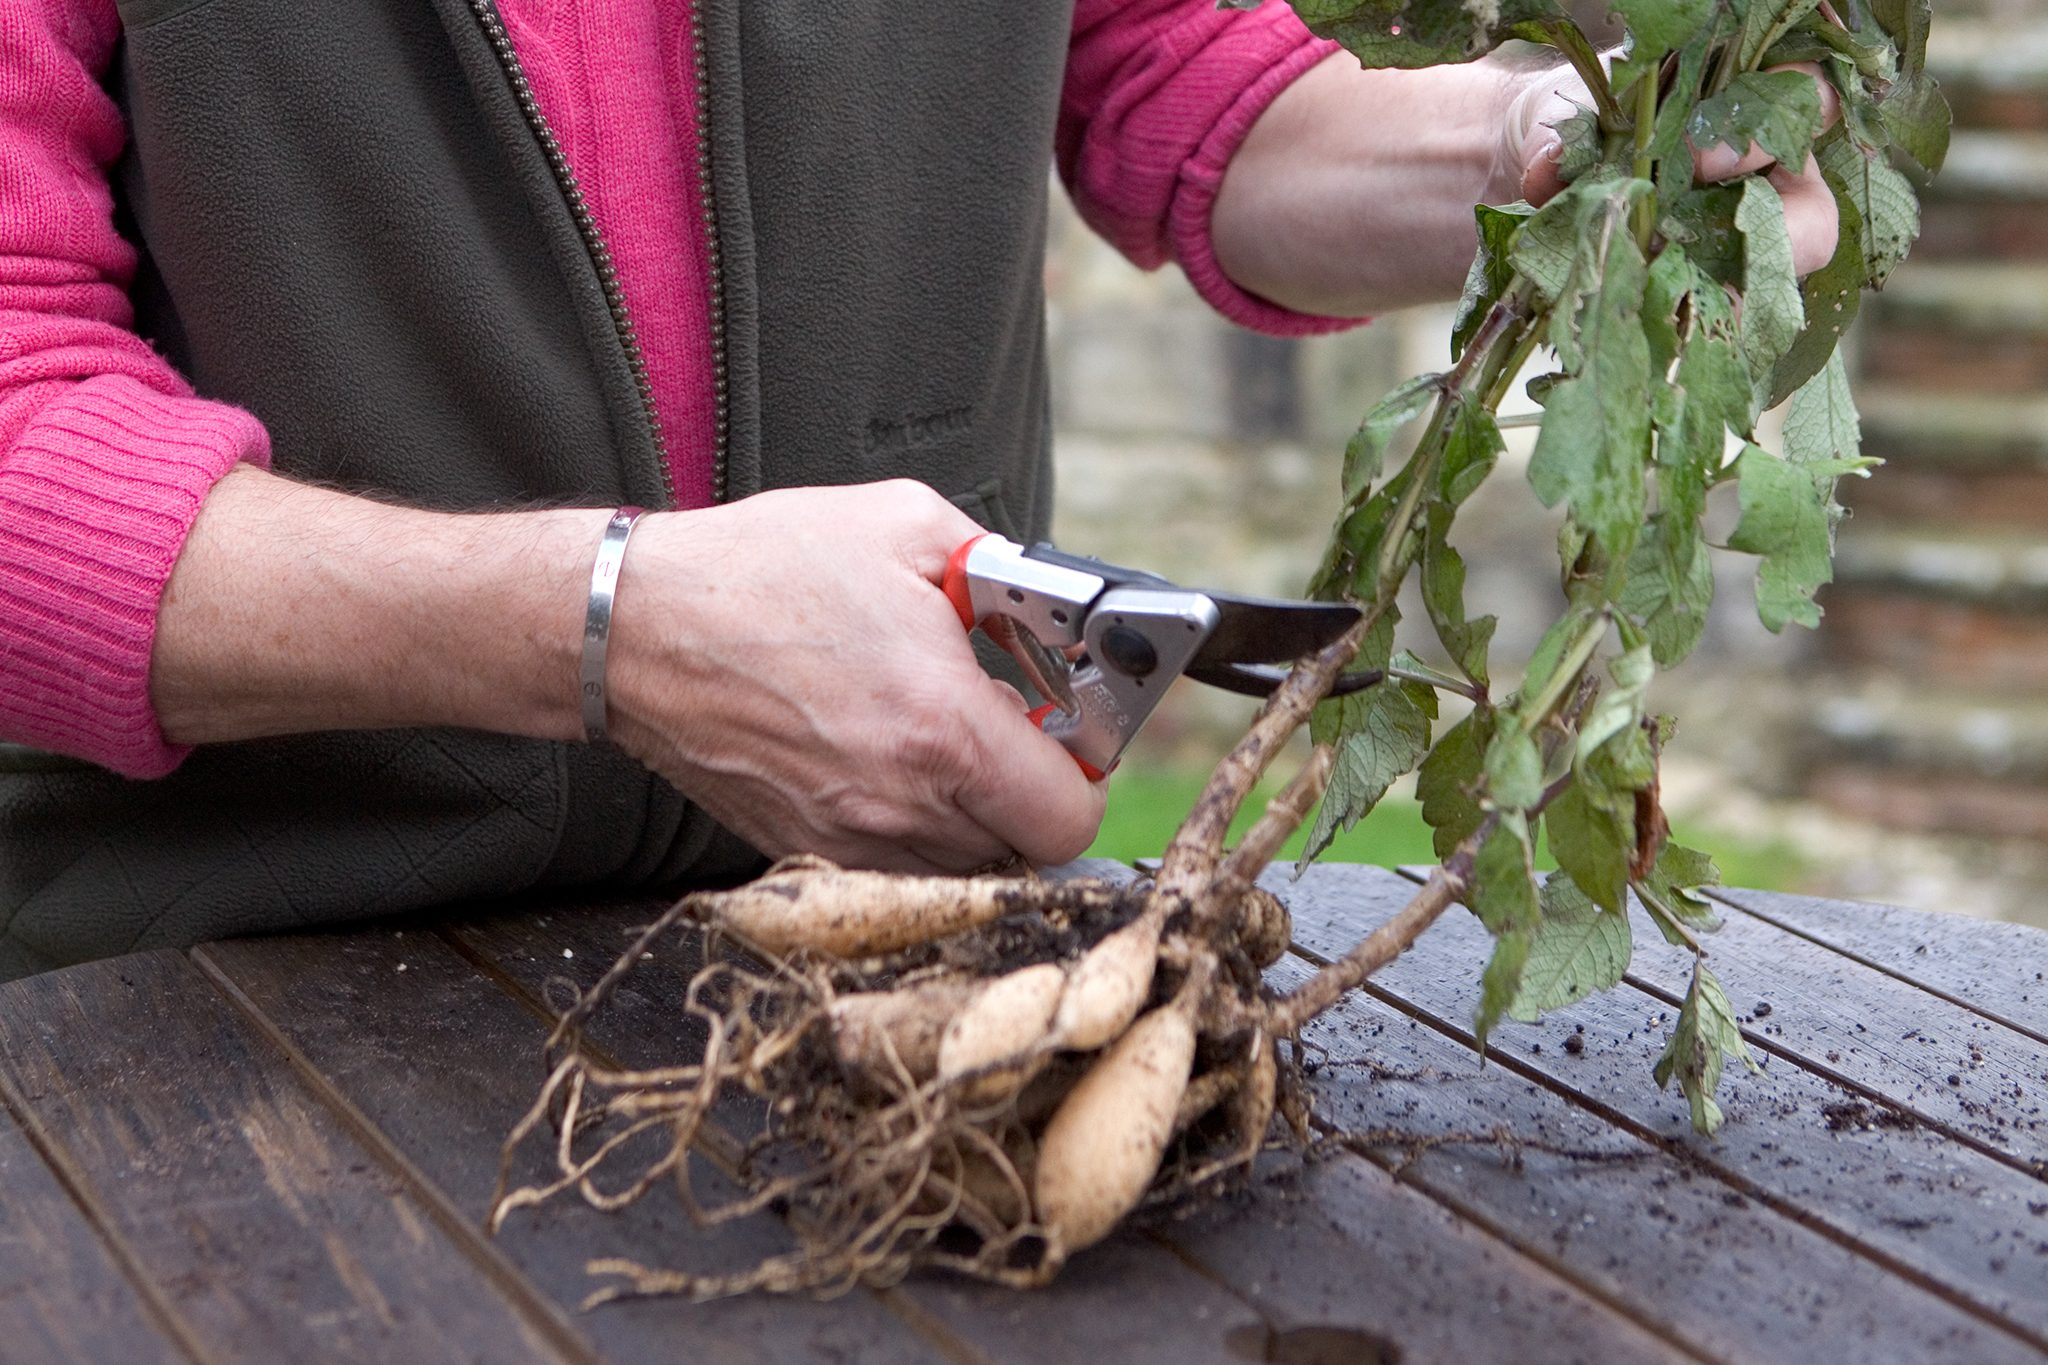
Cleaning: wash or not?
You will see two schools of thought: store tubers with soil attached, or wash them clean. Both can work. I wash when soil is heavy, wet, or full of organic debris that could hold moisture and encourage rot. I skip washing if the soil falls away easily and conditions are already dry.
If you choose to wash
- Rinse with a gentle spray to remove soil from the clump.
- Inspect for damage, soft spots, or obvious rot.
- Snip off thin feeder roots and any clearly broken tubers.
If you choose not to wash
- Brush off loose soil by hand.
- Make sure clumps are not muddy or wet before curing.
Either way: the next step, curing, is what prevents most storage failures.
Curing: the rot preventer
Curing lets small nicks dry and allows skins to toughen a bit before the tubers go into storage. Skipping this step is one of the easiest ways to end up with moldy tubers mid-winter.
How to cure tubers
- Place clumps in a single layer on cardboard, newspaper, or a screen in a sheltered spot.
- Keep them out of hot sun and drying drafts. You want good air exchange, just not a blast of wind that turns tubers into raisins.
- Choose a cool, airy location: 50 to 60°F is ideal for curing, like a garage, shed, or basement that is not freezing.
- Cure time: about 3 to 7 days, depending on humidity and how wet they were when dug.
You are aiming for tubers that feel dry on the outside, not wrinkly. If they start to look like little baked potatoes, they have dried too far.
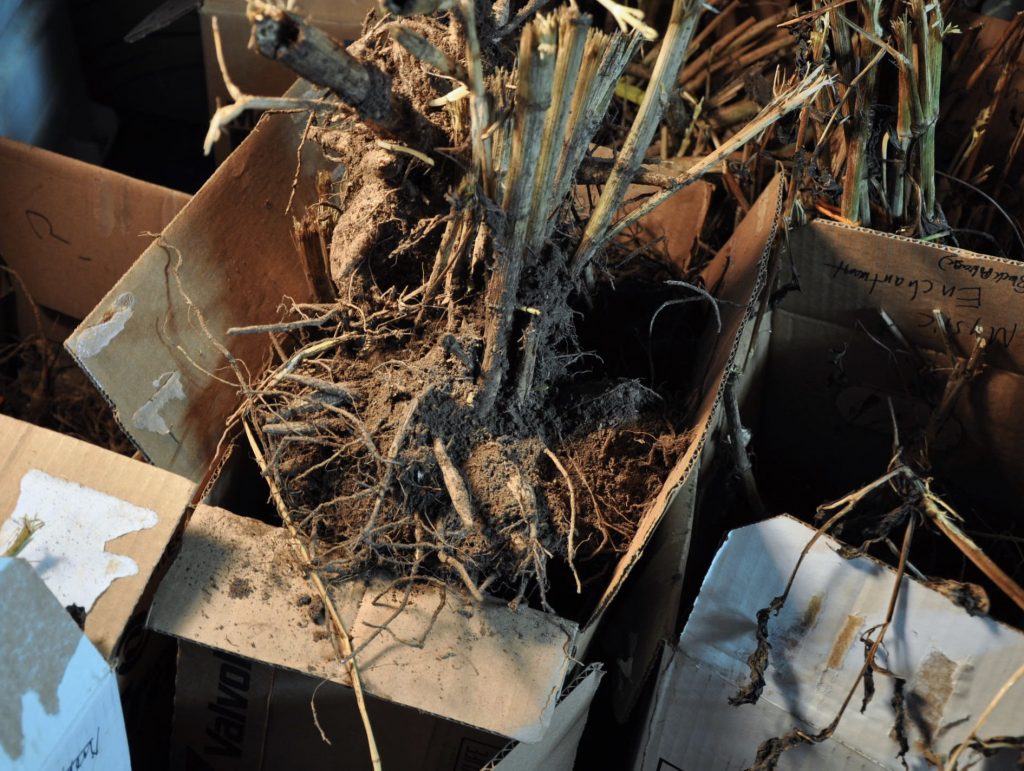
Divide in fall or spring
You can store tubers as whole clumps or divide them into individual tubers or smaller clusters. Both work, and your choice can depend on your storage space and how comfortable you are identifying viable divisions.
Fall dividing
- Pros: Saves space, easier to inspect, you can discard weak pieces now.
- Cons: Fresh cuts need extra curing time, and it can be harder to see eyes until spring on some varieties.
Spring dividing
- Pros: Eyes are often easier to spot as days lengthen, less time for cut surfaces to dry out in storage.
- Cons: Takes more storage room, and if one tuber in a clump rots it can spread.
My go-to: If I have a big clump and limited space, I divide in fall, then let cut surfaces dry for an extra day or two before packing.
Quick hygiene note: If you are dividing or cutting rot out, sanitize your snips or knife between clumps. It is a small habit that can prevent big problems.
Label now
Dahlia tubers have a magical ability to become mystery pink by April if you do not label them. Labels also help you track which varieties store best in your conditions.
- Use a weatherproof tag tied to the stem stub, or write directly on the tuber with a paint pen.
- If you store in boxes, label both the tuber and the outside of the box.
- Include variety name and bloom color, and if you like, the bed location from the season.
Best storage conditions
The goal is to keep tubers cool and moderately humid so they stay dormant without drying out or rotting.
Ideal storage targets
- Temperature: 40 to 50°F is the sweet spot for most home setups.
- Humidity: aim for moderate humidity, often somewhere around 60 to 80% depending on your packing medium and basement conditions. Practically, you want tubers that stay firm without condensation forming in the container.
- Darkness: store away from light to discourage premature sprouting.
- Air exchange: a little airflow is helpful. Stagnant, sealed environments are where rot loves to start.
If your storage area runs warmer than 50°F, tubers may sprout early. If it is colder than about 35 to 40°F, you risk freeze damage.
Storage methods at home
You do not need special bins. You need something that buffers moisture and allows a bit of breathing room.
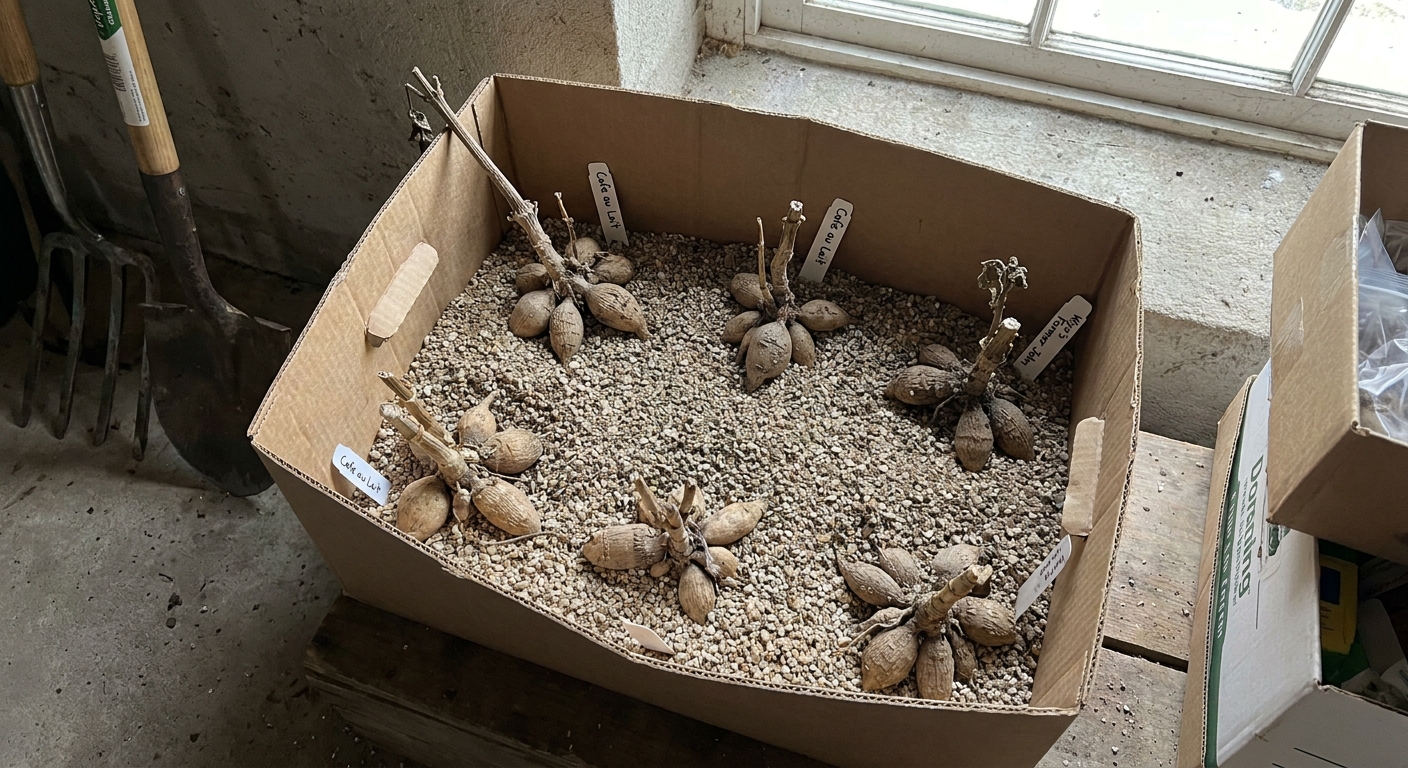
Method 1: Box plus packing material
This is my favorite for reliability.
- Use a cardboard box, wooden crate, or plastic tote with the lid cracked for airflow.
- Layer tubers in barely damp, not wet, packing material like peat moss, coconut coir, vermiculite, or shredded paper.
- What does barely damp mean? When you squeeze a handful, it should clump lightly, then fall apart when you poke it. It should not drip water.
- Keep tubers from touching if you have had rot issues in the past.
Method 2: Paper bags
- Place a few tubers in a paper bag with a handful of dry coir or vermiculite.
- Fold the bag closed and store in a cool spot.
This is simple and breathable, but bags can dry faster than boxed storage in arid basements.
Method 3: Wrap individually
- Wrap each tuber in dry paper such as newspaper or packing paper and place in a box.
- This slows the spread if one tuber goes bad.
Skip plastic wrap. It can trap moisture and encourage mold.
Big storage mistakes
Storing too wet
If tubers go into storage with wet skins or muddy crevices, rot often follows.
- Fix: Cure longer, increase airflow, and use a drier packing material.
- Watch for: fuzzy mold, soft spots, or a sour smell.
Storing too warm
Warm storage can trigger early sprouting, which weakens tubers and makes them prone to dehydration.
- Fix: Move them to a cooler location, such as an unheated basement, insulated garage, or a cool closet on an exterior wall.
- Watch for: pale sprouts in mid-winter.
Sealed plastic
Sealed plastic bins or zip-top bags hold humidity in the wrong way. They encourage condensation, then rot.
- Fix: If you use plastic totes, keep the lid ajar or drill ventilation holes. Better yet, use cardboard or paper-based containers.
Letting tubers shrivel
This happens when air is too dry or packing material is too dry.
- Fix: Slightly moisten the packing material, or switch to vermiculite or coir which hold humidity more evenly.
- Watch for: wrinkled skins and lighter weight tubers.
Not checking until spring
I get it. Out of sight, out of mind. But a quick monthly peek can save your whole stash.
Monthly check-ins
Set a reminder to check stored tubers about once a month. It takes five minutes and prevents one problem tuber from taking out the rest.
If you see rot
- Remove the affected tuber immediately.
- Cut away small soft spots with a clean knife until you reach firm tissue.
- Let the cut surface dry for a day, then return it to storage in fresh, dry packing material.
- Sanitize your blade afterward, especially if you are working through multiple clumps.
If tubers are shriveling
- Lightly mist the packing material, not the tubers directly.
- Move boxes away from heat sources like water heaters or furnace rooms.
If tubers are sprouting
- Move to a cooler spot and reduce light exposure.
- If sprouts are small, leave them. Snapping them off can remove future growth points.
Spring wake-up
About 2 to 4 weeks before your last expected frost, pull tubers out for inspection. This is a great time to divide if you stored clumps, and to discard anything mushy or hollow.
- Check firmness: Healthy tubers feel solid, like a firm potato.
- Look for eyes: Small bumps near the crown are what will sprout into stems.
- Pre-sprout if you want: Set tubers in slightly moist potting mix in a bright, warm place to get a head start, especially in shorter growing seasons.
If a tuber looks suspiciously lumpy, warty, or otherwise unhealthy, do not store it with the others. When in doubt, toss it and protect the rest of your collection.
Quick FAQ
Can I store dahlias in the refrigerator?
Sometimes, but it is tricky. Fridges can be very dry, and humidity can fluctuate, which can shrivel tubers. If it is your only cool option, pack tubers in a breathable container with vermiculite or coir and check frequently. Also keep tubers away from ripening fruit like apples, which give off ethylene gas.
Do I need sulfur or fungicide?
Not usually. Good curing and correct storage conditions do most of the work. If you routinely battle rot in storage, a light dusting of garden sulfur on cut surfaces can help, but it is optional.
Should I cut stems before digging or after?
Before. A short stem stub is easier to handle and reduces the chance of snapping the crown while you lift the clump.
Why did my tubers turn to mush?
The most common causes are storing them too wet, storing in sealed plastic, or keeping them too warm with poor airflow.
My simple storage recipe
If you want the no-fuss version, here it is:
- Dig after the first killing frost.
- Cure clumps 3 to 7 days in a cool, airy place out of hot sun and drying drafts.
- Label everything.
- Store at 40 to 50°F in a cardboard box with vermiculite or coir that is barely damp.
- Check monthly and remove anything soft or moldy.
Once you get through one winter successfully, you will feel that little jolt of confidence in spring when you open your box and find firm, healthy tubers ready for another season of blooms. And honestly, that feeling never gets old.