Reliable herbs to grow indoors year-round, with practical tips for light, watering, pruning, seasonal care, and troubleshooting common problems.
Gardening insights
Harvest, Dry, and Store Herbs for Winter
Learn when to harvest garden herbs for peak flavor, plus easy air-drying and dehydrator methods to preserve them. Store your herbs right so they stay fragrant all winter.

Elena Rosales
Elena Rosales is a certified Master Gardener and lifelong plant enthusiast who believes anyone can cultivate a green thumb. After transforming her tiny urban balcony into a thriving plant oasis, she moved to a half-acre homestead to grow her own food and flowers. Today, she shares practical, hands-on gardening advice to help the Hortello community bring more green into their lives.
Published September 21, 2026
Updated September 21, 2026
There is a very particular kind of joy in opening a jar of home-dried basil in January and getting that warm, peppery summer scent right back in your kitchen. The trick is simple, but not always obvious: harvest at the right moment, dry gently, and store like you mean it.
I learned this the hard way after my first big container herb haul on my old balcony. I dried everything “fast” in a too-warm oven and ended up with herbs that looked fine but tasted like, well, paper. Let’s save you from that.
When to harvest for the best flavor
Herbs are at their most flavorful when their essential oils are highest. Timing matters more than having a fancy setup.
General harvest timing (the easy rules)
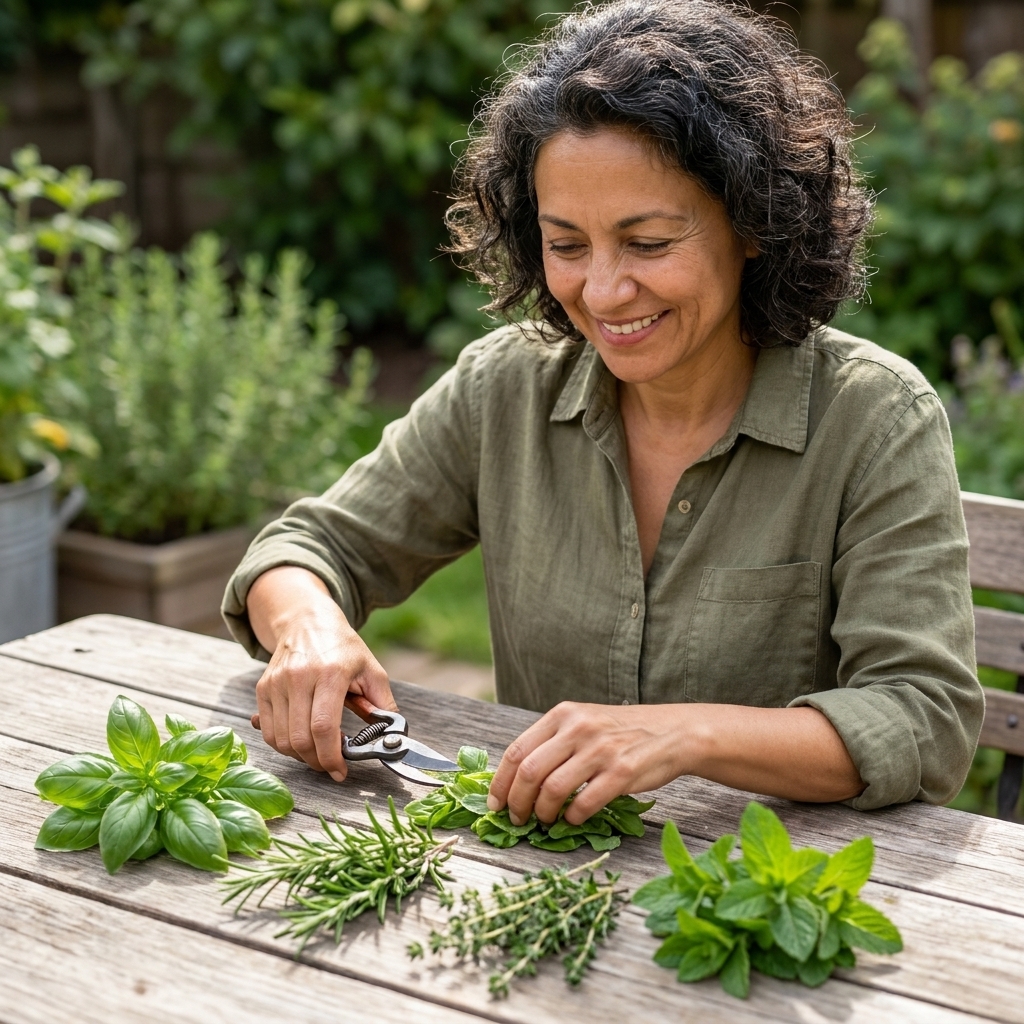
- Harvest in the morning, after dew has dried but before the day heats up. That’s when oils are concentrated and leaves are crisp, not wilted.
- Choose a dry day. Wet leaves are slower to dry and more likely to mold.
- Harvest before flowering for most leafy herbs. Once plants bloom, flavor can shift from bright and leafy to more bitter or woody. (And yes, some herbs are grown specifically for flowers or seeds, like chamomile blossoms, dill seed, and coriander seed. Those are their own special harvest windows.)
- Never take more than 1/3 of a plant at once if you want it to keep growing. For annuals late in the season, you can harvest harder, but keep it realistic for your climate and frost date.
Best moment on the plant
If you want the “chef-level” tip: harvest just before the plant shifts energy into flowering. On basil, that means snipping when you see the first flower buds forming. On oregano and thyme, it’s often when the stems are getting long and lush, before flowers fully open.
A quick herb-by-herb cheat sheet
- Basil: Harvest often, before flowering. Pinch above a pair of leaves to encourage branching.
- Mint: Best just before it flowers. Cut stems back and it’ll rebound quickly.
- Parsley and cilantro: Harvest outer stems first. Cilantro bolts fast in heat, so you’ll get the best leaves early. (And if you’re drying for storage, cilantro is usually better frozen than dried.)
- Rosemary, thyme, sage, oregano: Harvest tender new growth anytime, but best before flowering for drying. These woody herbs dry especially well.
- Dill: Harvest leafy fronds before it flowers for dill weed. Harvest seed heads when they turn tan for dill seed.
Prep: clean, sort, and set yourself up
A little prep prevents most drying failures.
Do you need to wash herbs?
If your herbs are clean and you don’t spray anything, you can often skip washing. I usually do a quick shake and inspect for hitchhikers.
If you do wash, you’ve got to dry the herbs thoroughly first:
- Rinse quickly in cool water.
- Spin in a salad spinner or pat gently with clean towels.
- Lay out in a single layer until no surface moisture remains.
Drying wet herbs is the fastest path to musty jars.
Sort by drying style
Think of herbs in two groups:
- Tender-leaf herbs: basil, mint, parsley, cilantro, tarragon, chives. These are more likely to darken or lose flavor if dried too warm or too slowly. (Also, real talk: chives and cilantro usually keep better flavor frozen, so consider drying your “extra” and freezing your “best.”)
- Woody herbs: rosemary, thyme, oregano, sage, savory, marjoram. These are forgiving and air-dry beautifully.
Air-drying herbs
Air-drying is the classic method and still my go-to for woody herbs. The goal is steady airflow, low humidity, and shade.
Avoid drying in steamy spots like right above the stove, next to the dishwasher, in a laundry room, or anywhere that feels damp. If your home is humid, a small fan nearby (not blasting directly on the herbs) or a dehumidifier in the room can make a huge difference.
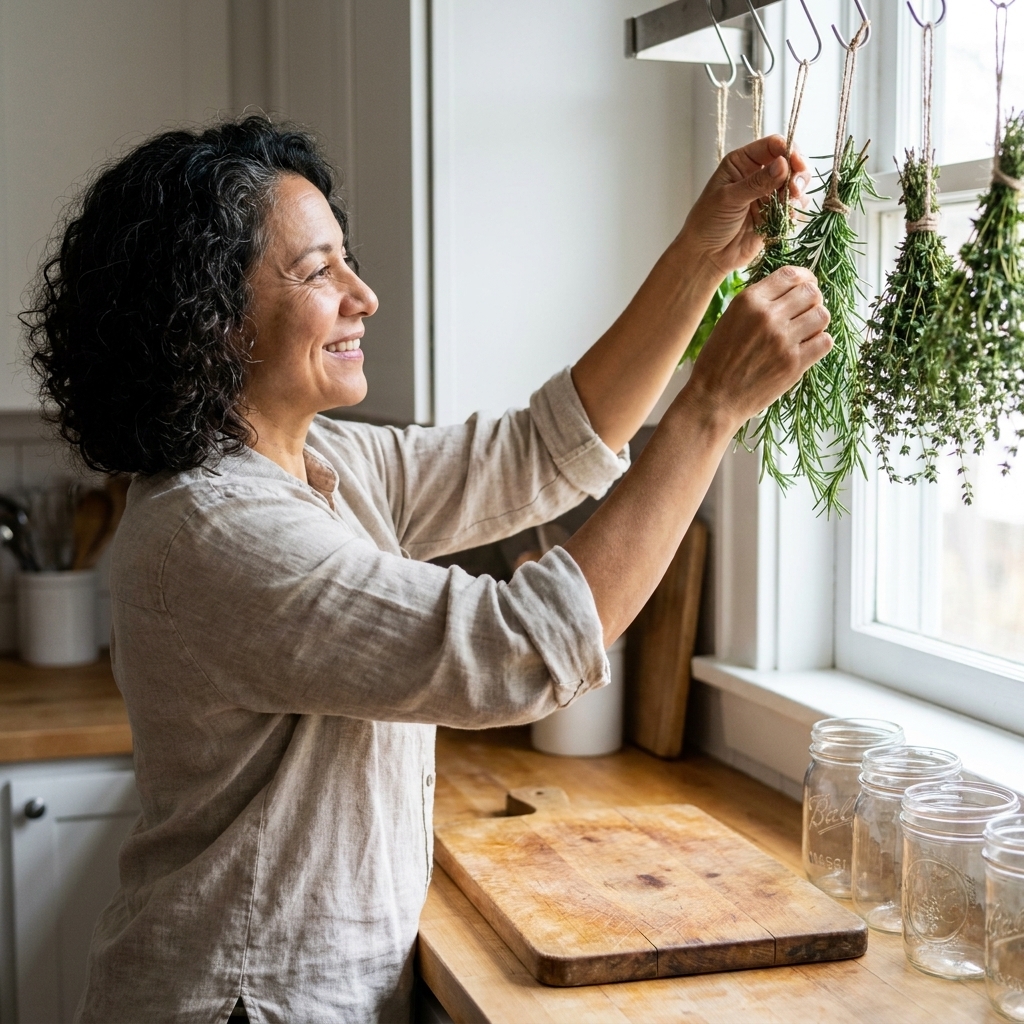
Method 1: Hang small bundles
This works best for rosemary, thyme, oregano, sage, mint, and marjoram.
- Make small bundles (8 to 12 stems). Big bundles trap moisture inside.
- Tie with twine or a rubber band. Rubber bands tighten as stems shrink.
- Hang in a warm, dry, dark-ish place with airflow. A pantry, closet, or spare room works. Avoid direct sun, which fades color and flavor.
- Wait 1 to 3 weeks depending on humidity. Herbs are done when leaves crumble easily and stems snap.
Tip from my “oops” file: if your drying spot smells grassy after a week, you likely need more airflow or smaller bundles.
Method 2: Screen or rack drying
For basil and parsley, rack drying is often better than hanging because you can spread leaves thinly. (Cilantro and chives can be dried this way too, but they tend to taste better frozen.)
- Remove leaves from thick stems (especially basil and parsley). If the stems are thin and tender, you can leave them on to keep things simple.
- Spread in a single layer on a drying rack, mesh screen, or clean towel.
- Turn once a day for even drying.
- Dry until crisp, usually 3 to 10 days depending on humidity and leaf thickness.
Dehydrator drying
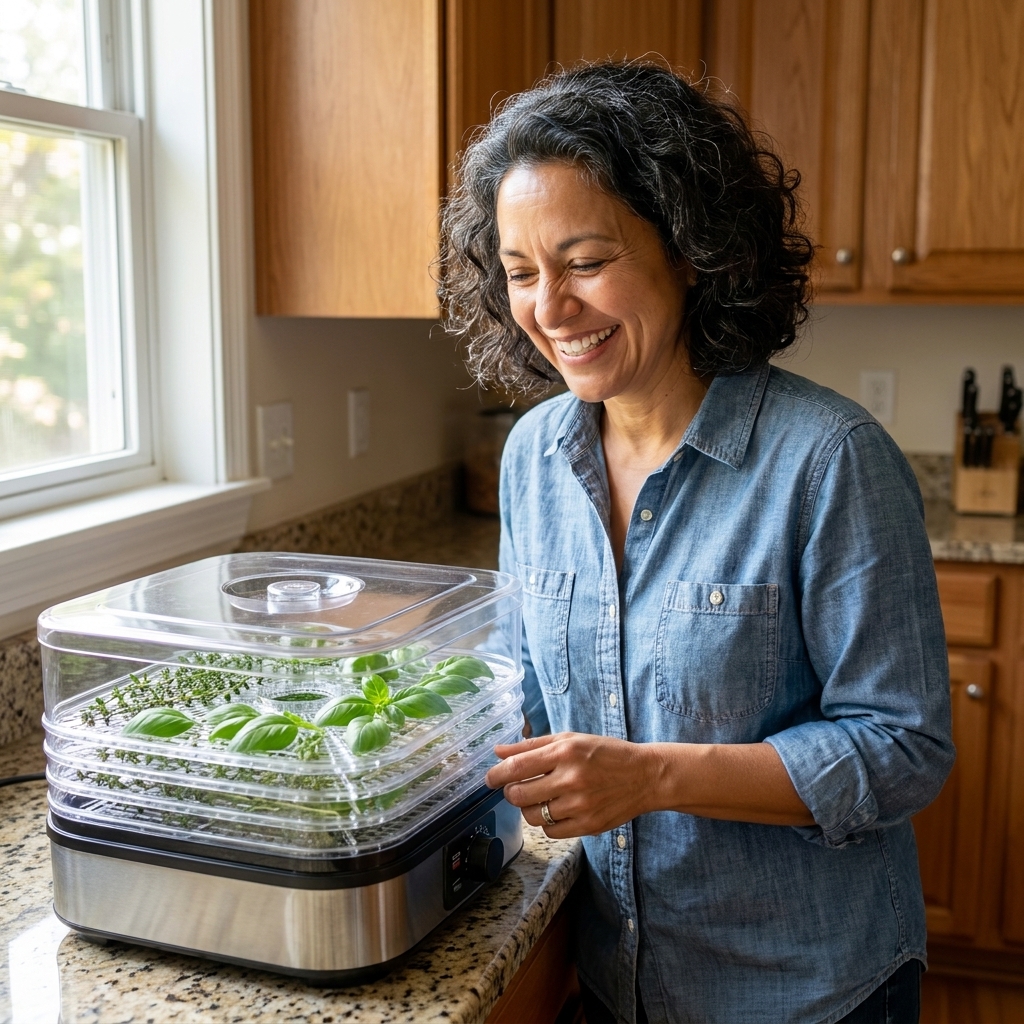
If you live somewhere humid or you want consistent results, a dehydrator is the easiest way to preserve flavor. It’s also my favorite for tender herbs that can turn dark if they dry too slowly. When I’m drying basil, I reach for the dehydrator and don’t overthink it.
Temperature settings
Herbs are all about volatile oils, and too much heat drives those oils off. I like low and steady.
- My sweet spot: 95 to 110°F (35 to 43°C)
- If your dehydrator runs warmer: up to about 125°F (52°C) is commonly used for herbs, but you may lose a bit more aroma the higher you go.
Steps
- Prep: Make sure herbs are fully dry on the surface (no rinse water clinging).
- Arrange: Spread in a single layer. Don’t pile.
- Dry: Start checking at 1 to 2 hours for small leaves, 3 to 6 hours for thicker herbs.
- Cool: Let herbs cool completely before you jar them so you don’t trap warm moisture.
Optional: jar conditioning (extra insurance)
If you’re drying a big batch, this is a simple way to catch any sneaky leftover moisture.
- Loosely pack cooled, dried herbs into a jar and close the lid.
- For 2 to 3 days, shake once a day and watch for fogging or condensation.
- If you see moisture, put the herbs back on the dehydrator or rack to dry longer, then try again.
Oven and microwave drying
These methods aren’t my first choice for long-term storage, but they can be useful in a pinch.
Oven drying
- Use the lowest possible setting, ideally 170°F (75°C) or lower.
- Prop the door slightly ajar to let moisture escape.
- Spread herbs on a baking sheet in a single layer.
- Check every 10 to 15 minutes. Many herbs can go from “not dry” to “burnt” quickly.
Microwave drying (small batches only)
This works best for a small handful of herbs like parsley or mint.
- Place herbs between two paper towels on a microwave-safe plate.
- Microwave in short bursts (20 to 30 seconds), checking each time.
- Stop as soon as they crumble easily. Overdoing it makes them taste flat.
How to know herbs are dry enough
Underdried herbs are a common cause of moldy jars and disappointing flavor.
- Leaves: should crumble between your fingers, not bend.
- Stems: should snap cleanly, not fold.
- Texture: should feel papery and light, not cool and pliable.
If you’re unsure, give them another day (air-drying) or another 30 to 60 minutes (dehydrator). Slightly overdry is usually better than slightly underdry for safe storage.
Storing dried herbs
You can do everything right and still end up with bland herbs if storage is sloppy. Light, heat, oxygen, and moisture are the enemies.
Whole leaves beat powder
Store herbs as whole as possible, then crush right before cooking. Whole leaves hold onto their essential oils longer.
Strip and sort (less mess later)
Once herbs are fully dry, strip leaves from stems over a tray or baking sheet. Pick out woody bits, then funnel the good stuff into jars. If you want a cleaner jar, a quick shake through a coarse sieve helps separate the larger leaves from the tiny stem crumbs.
Best containers
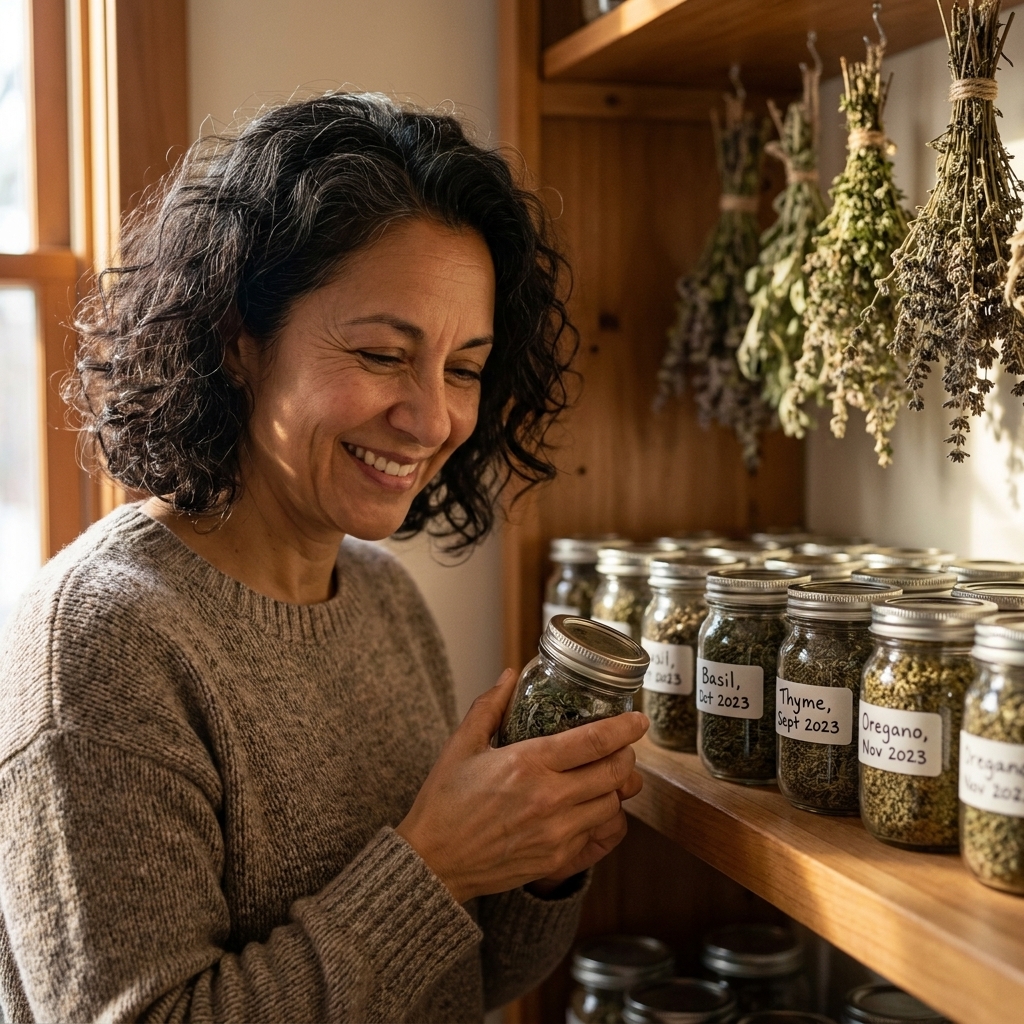
- Glass jars with tight-fitting lids are my favorite.
- Tinted jars or storing jars in a dark cabinet helps protect color and flavor.
- Avoid thin plastic bags for long-term storage. They breathe and let aromas escape.
Where to store
- Cool, dark cabinet away from the stove, dishwasher steam, and sunny windows.
- Not above the fridge if it runs warm.
Label like your winter self will thank you
Label jars with the herb name and the month and year. In February, “green flakes” isn’t as helpful as you think it’ll be.
How long they last
For best flavor (these are typical windows, and they’ll vary with the herb and your storage conditions):
- Leafy herbs: 6 to 12 months
- Woody herbs: 12 to 18 months
- Dill seed and other seeds: often 2 to 3 years
They’re usually safe longer, but flavor fades. If you have to shove your nose into the jar to smell anything, it’s time to refresh.
Bonus: freezing herbs
Drying is wonderful, but some herbs keep better flavor frozen, especially basil, parsley, cilantro, and chives.
Two easy freezing options
- Chop and freeze in olive oil: Pack chopped herbs into an ice cube tray, cover with olive oil, freeze, then store cubes in a freezer bag.
- Freeze as a pesto base: Blend basil with olive oil and a pinch of salt, then freeze in small portions. Add nuts and cheese later.
Frozen herbs won’t be crisp for salads, but they taste fantastic in soups, sauces, eggs, and roasted veggies.
Troubleshooting
My herbs turned brown
- Likely too much heat or direct sunlight.
- Tender herbs do better in a dehydrator at a low temp or on a rack with good airflow.
They smell musty or like hay
- Usually dried too slowly or stored with leftover moisture.
- Increase airflow, reduce bundle size, and make sure herbs are fully crisp before jarring.
Mold in the jar
- Sadly, compost that batch. Don’t try to salvage it by scraping or picking around it.
- Wash the jar, dry completely, and dry your next batch longer. Consider a dehydrator if your home is humid.
Flavor is weak
- Harvest timing may be off (too late, after flowering, or during heat stress).
- Storage may be too warm or too bright, or the herbs were crushed too early.
Quick winter-use tips
Dried herbs shine when they get a little time to bloom in warm food.
- Add early: Put dried herbs into soups, stews, beans, and braises at the beginning so they can rehydrate.
- Crush with your fingers: Right before adding, rub leaves between your palms to wake up the oils.
- Use less than fresh: A good rule is 1 teaspoon dried = 1 tablespoon fresh, then adjust to taste.
FAQ
Can I dry herbs in direct sunlight?
I don’t recommend it. Sunlight speeds fading and can strip flavor. Bright shade with airflow is a much better “free” option.
Should I remove stems before drying?
For tender herbs, yes, often. Thick stems hold moisture and slow drying. For woody herbs like thyme and rosemary, you can dry on the stem and strip the leaves afterward.
Can I dry herbs in a paper bag?
You can, especially for hanging bundles if you want to keep dust off. Just make sure the bag is loose and airy, not sealed, and that the bundle is small so moisture doesn’t get trapped.
What is the best method for basil?
Basil is fussy when air-dried in humid conditions. If you have a dehydrator, that’s my top pick for color and flavor. If you’re air-drying, use a rack method with excellent airflow and avoid thick layers.