A practical comparison of raised beds and in-ground gardening, including costs, soil, drainage, pests, maintenance, and which veggies thrive in each setup.
Gardening insights
Maximize Space in a Small Backyard Garden
Turn a compact yard into a lush, functional garden with a step-by-step design plan: measure, choose priorities, create zones, go vertical, use multi-purpose hardscaping, and add focal points that make it feel bigger.

Elena Rosales
Elena Rosales is a certified Master Gardener and lifelong plant enthusiast who believes anyone can cultivate a green thumb. After transforming her tiny urban balcony into a thriving plant oasis, she moved to a half-acre homestead to grow her own food and flowers. Today, she shares practical, hands-on gardening advice to help the Hortello community bring more green into their lives.
Published September 21, 2026
Updated September 21, 2026
If your backyard is small, you do not need to choose between “a place to sit” and “a place to grow.” You just need a plan that makes every square foot do double duty. I learned this the hard way on my old balcony garden, where one impulsive tomato purchase could block the door. When I finally started designing first and buying plants second, everything got easier, tidier, and more relaxing.
This guide walks you through a simple, step-by-step layout process that works for rentals, tight city lots, and those classic postage-stamp yards where the fence feels a little too close. Grab a tape measure, a notebook, and your favorite drink. We are going to make your small garden feel like a whole world.
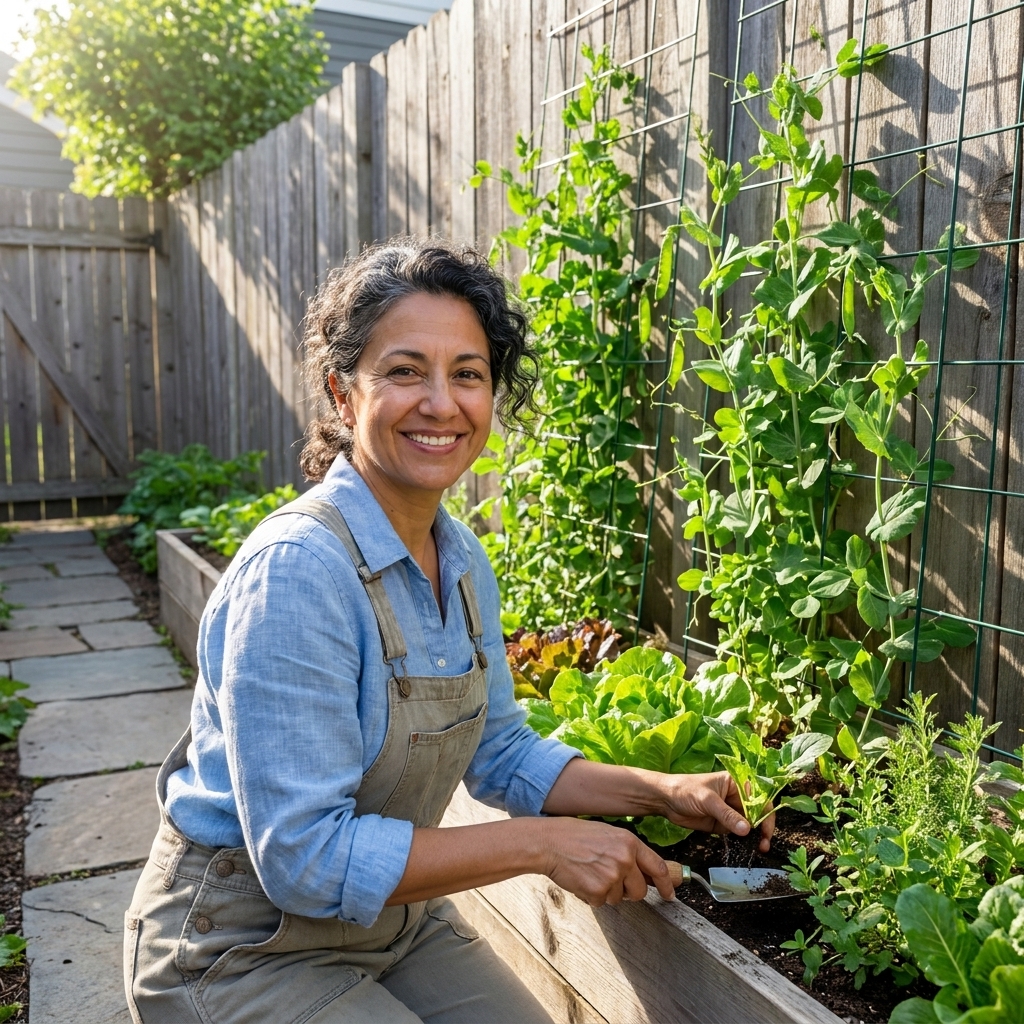
Step 1: Measure what you actually have
Before you design, you need the real numbers. “About 20 by 30” has a way of turning into “why does nothing fit?” once you start placing beds and furniture.
What to measure
- Overall yard dimensions (length and width). Measure hard edges first (house wall to fence, fence to fence), then account for anything that steals usable space.
- Fixed elements: patios, steps, AC units, hose spigots, sheds, tree trunks, septic cleanouts, gates that swing open.
- Sun and shade: as a rule of thumb, note where full sun hits (generally 6+ hours), part sun (about 3 to 6), and shade. If you can, check morning and late afternoon patterns.
- Slopes and drainage: where water puddles after rain and where it runs off.
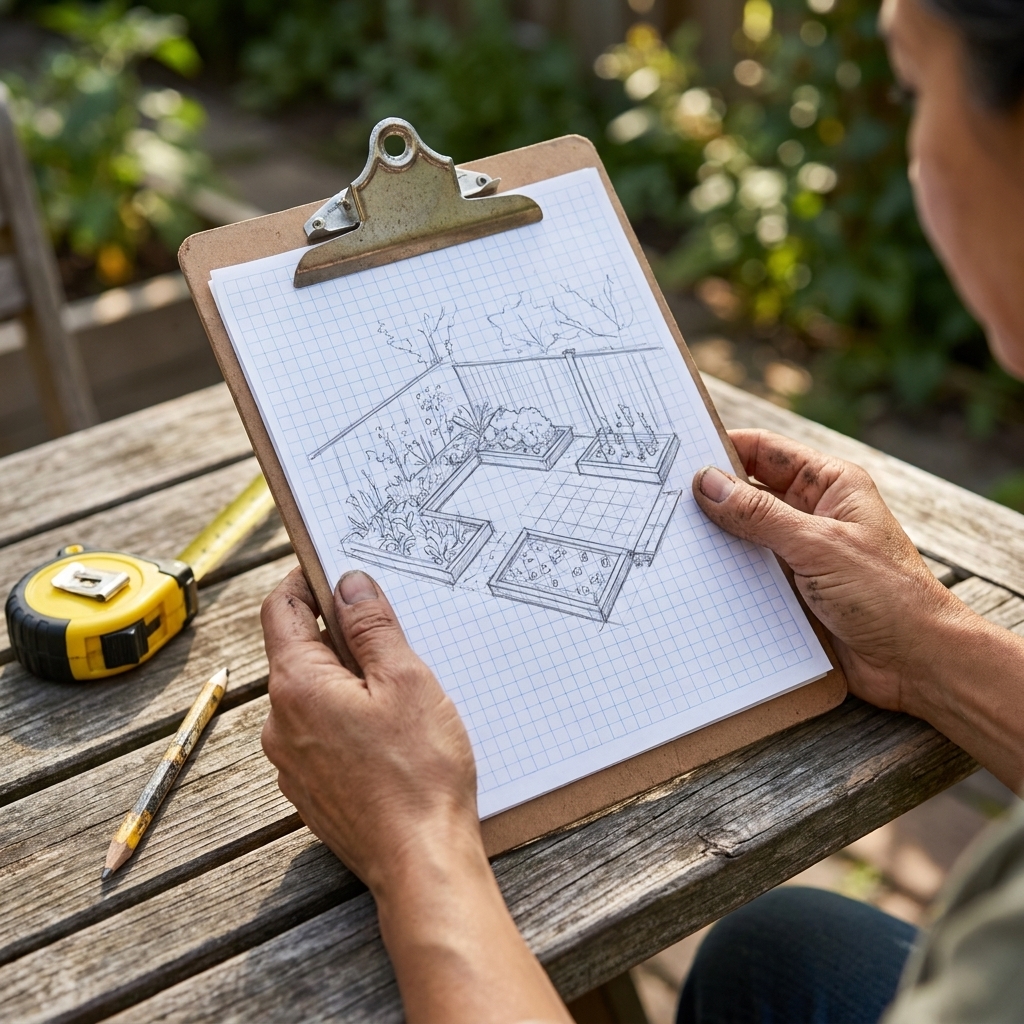
Neighbor-fence tip: If you only do one thing today, sketch the yard to scale on graph paper (or a simple drawing app). It does not have to be pretty. It just has to be accurate enough that you can move “beds” and “seating” around without guessing.
Step 2: Pick your top three priorities
Small spaces get crowded fast when every idea is treated as a must-have. Pick your top three, and let those drive the design. Here are common priorities that play well together:
- Food production (vegetables, herbs, berries)
- Outdoor living (seating, grilling, a small fire pit)
- Privacy (blocking sightlines, softening fences)
- Pollinator habitat (flowers, water source, fewer chemicals)
- Kid or pet space (durable paths, open area)
- Low maintenance (perennials, drip irrigation, fewer fussy containers)
Write your top three at the top of your sketch. Every choice should support them. This is also how you avoid my personal classic, the Great Zucchini Invasion of 2019, when I gave zucchini the “best” spot and then had zero room left for anything else except more zucchini.
Step 3: Create zones
A small yard feels bigger when it feels intentional. Zoning is just grouping similar functions together so your eye reads the space as organized, not cluttered.
Simple zones for tiny yards
- Grow zone: raised beds, in-ground rows, or a container cluster.
- Access zone: paths you can actually walk and wheel a cart through.
- Living zone: one comfortable place to sit. One is enough.
- Utility zone: compost bin, potting shelf, garbage cans, rain barrel.
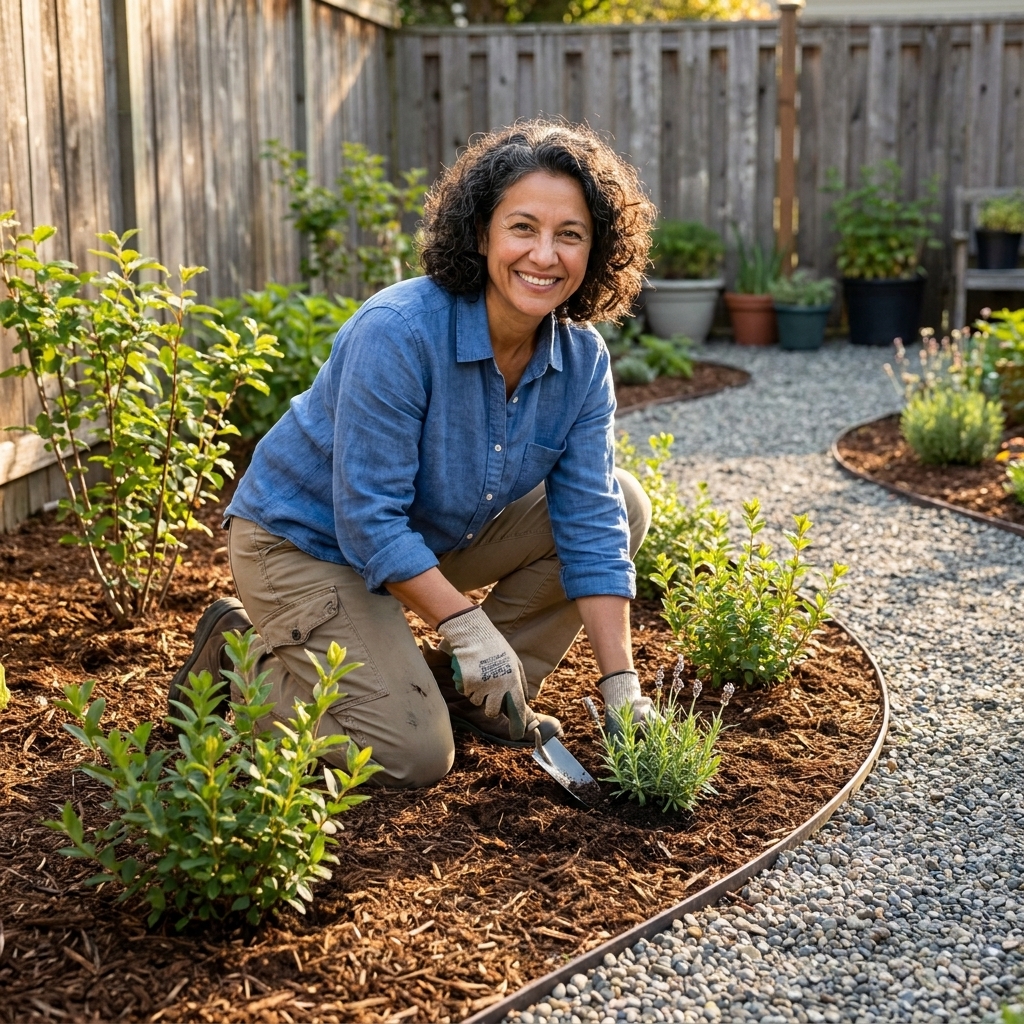
Rule of thumb: Give each zone a clear edge. Edges can be as simple as a line of pavers, a narrow mulch strip, or a change in material from gravel to stepping stones. In small spaces, edges are your secret weapon.
Step 4: Set the bones first
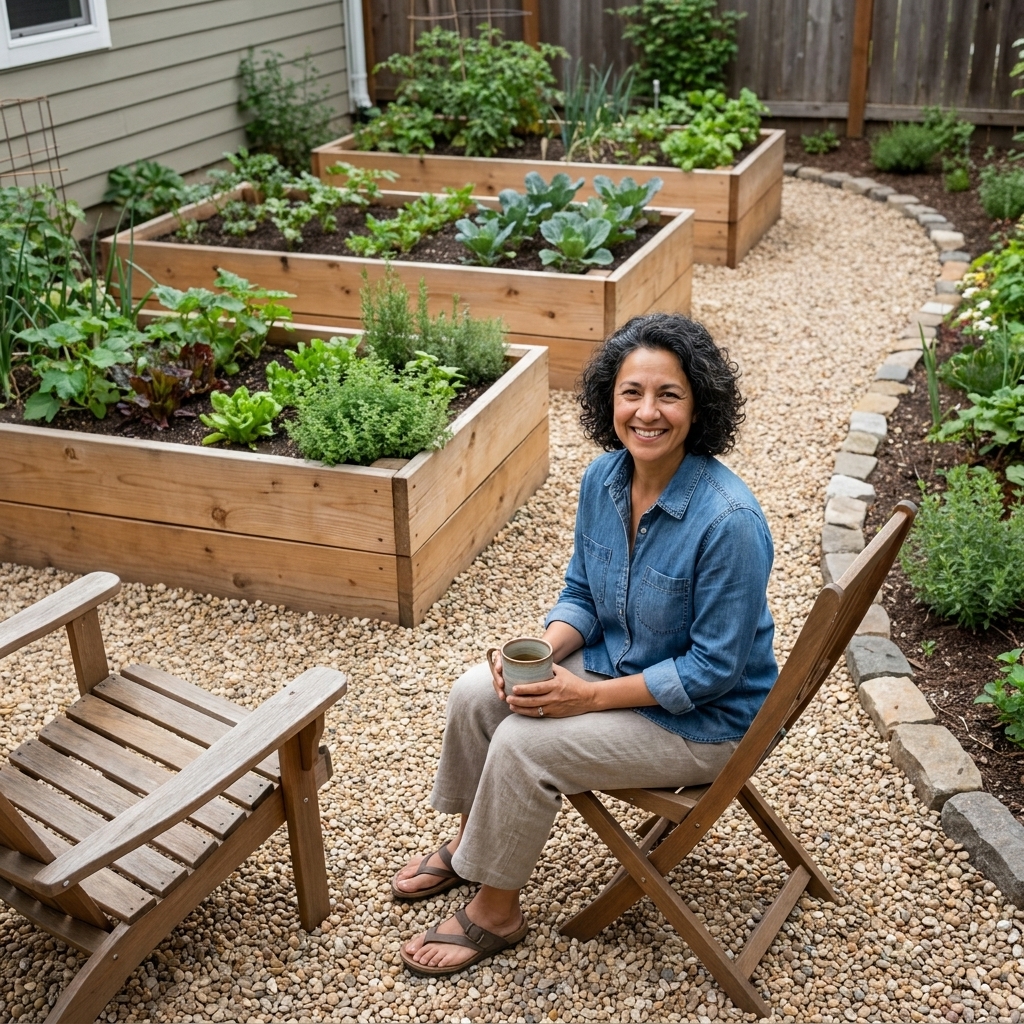
Plants are the fun part, but hardscaping is what makes a small garden usable. When access is tight, you end up stepping on soil, compacting it, and turning weeding into an obstacle course.
Path and bed sizing
- Main paths: 30 to 36 inches wide if you can manage it. If space is truly tight, 24 inches can work for foot traffic or a slim cart, but measure your wheelbarrow handles first.
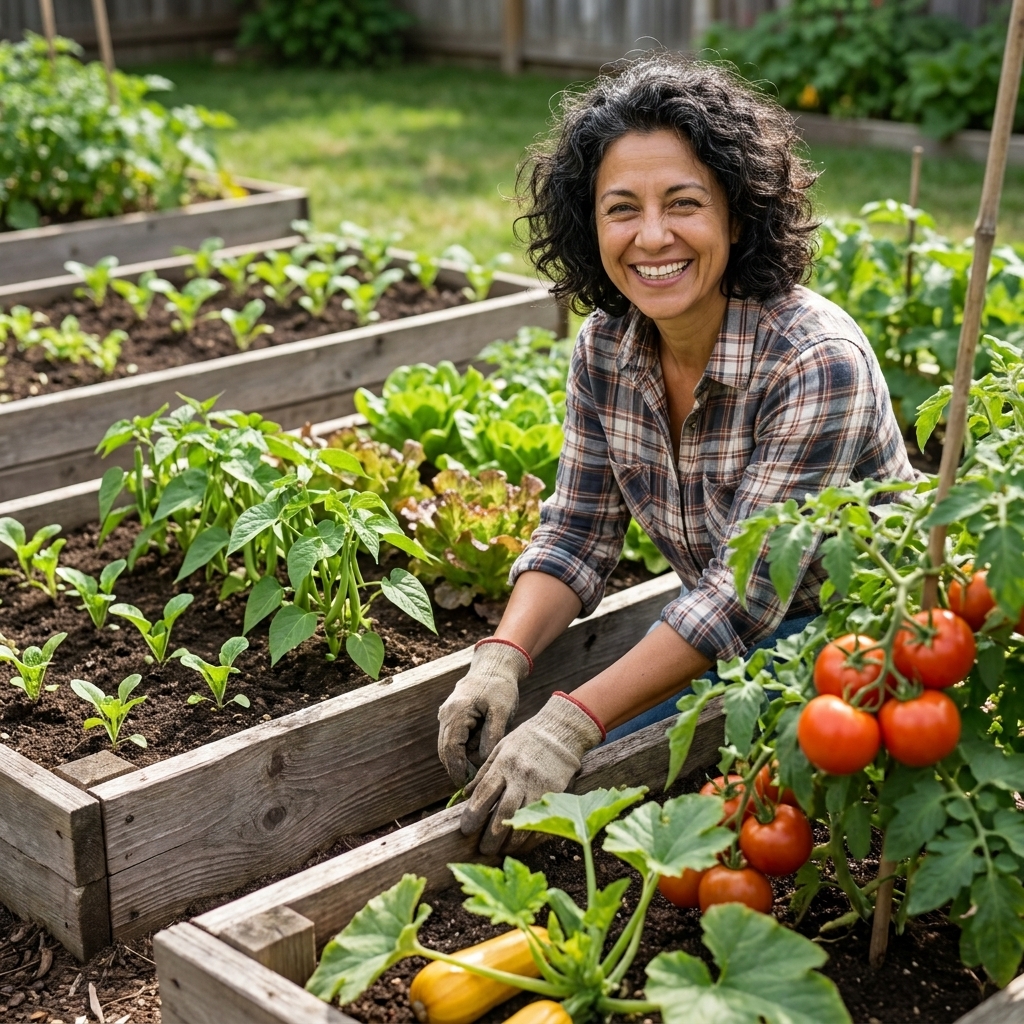
- Bed width: 3 to 4 feet wide if you can access both sides. If access is only from one side (against a fence), keep beds about 18 to 30 inches wide depending on your reach and mobility, so you can get to the back without doing yoga.
- Corner turns: widen slightly at corners so you are not constantly clipping plants with your knees and hips.
Soil health note: Good access protects your soil structure. In a small garden, healthy soil is the biggest yield multiplier you can get without buying anything.
Step 5: Go vertical on purpose
Vertical planting is the quickest way to multiply growing space without sacrificing walking room. The trick is to treat vertical supports like permanent features, not last-minute add-ons.
Vertical options that earn their keep
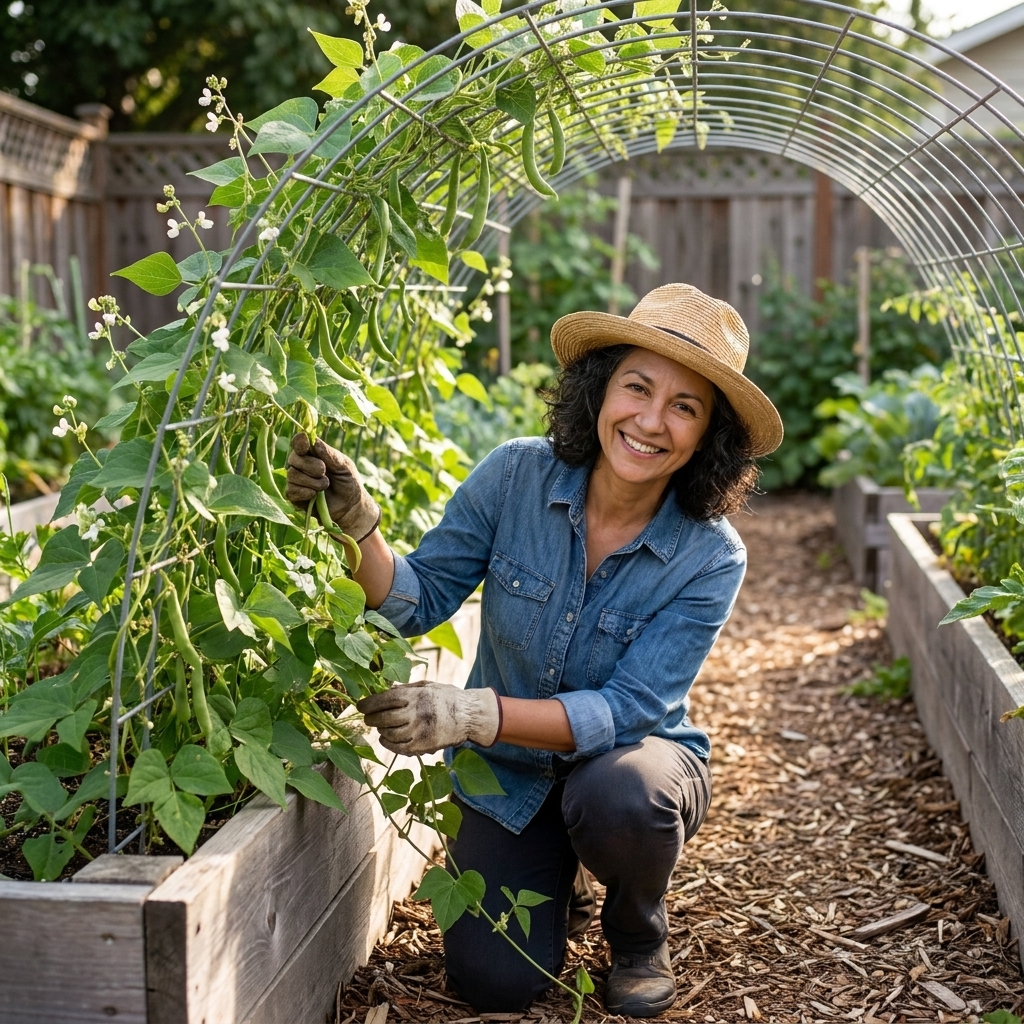
- Trellises on beds: cattle panels, wire panels, or sturdy wood trellises for cucumbers, pole beans, peas, and even small melons with slings.
- Fence-friendly espaliers: apples and pears are classics, and figs or citrus can work in the right climate and with the right variety.
- Arbors over paths: the same path, now a growing surface. Great for grapes, or hardy kiwi if you are ready for serious pruning and very strong support.
- Wall planters and pocket planters: best for shallow-rooted plants like lettuce, strawberries, and herbs.
Spacing tip: Put tall structures on the north side of beds (in the Northern Hemisphere) so they do not shade everything else. In the Southern Hemisphere, flip that and place tall structures on the south side. If your yard is shaded already, choose climbers that tolerate part sun, like some peas and leafy greens, and use reflective light surfaces like pale gravel or light pavers nearby.
Step 6: Choose multi-use hardscaping
In a small yard, anything that does only one job is a luxury. The goal is to design features that solve two or three needs at once.
Space-saving hardscape ideas
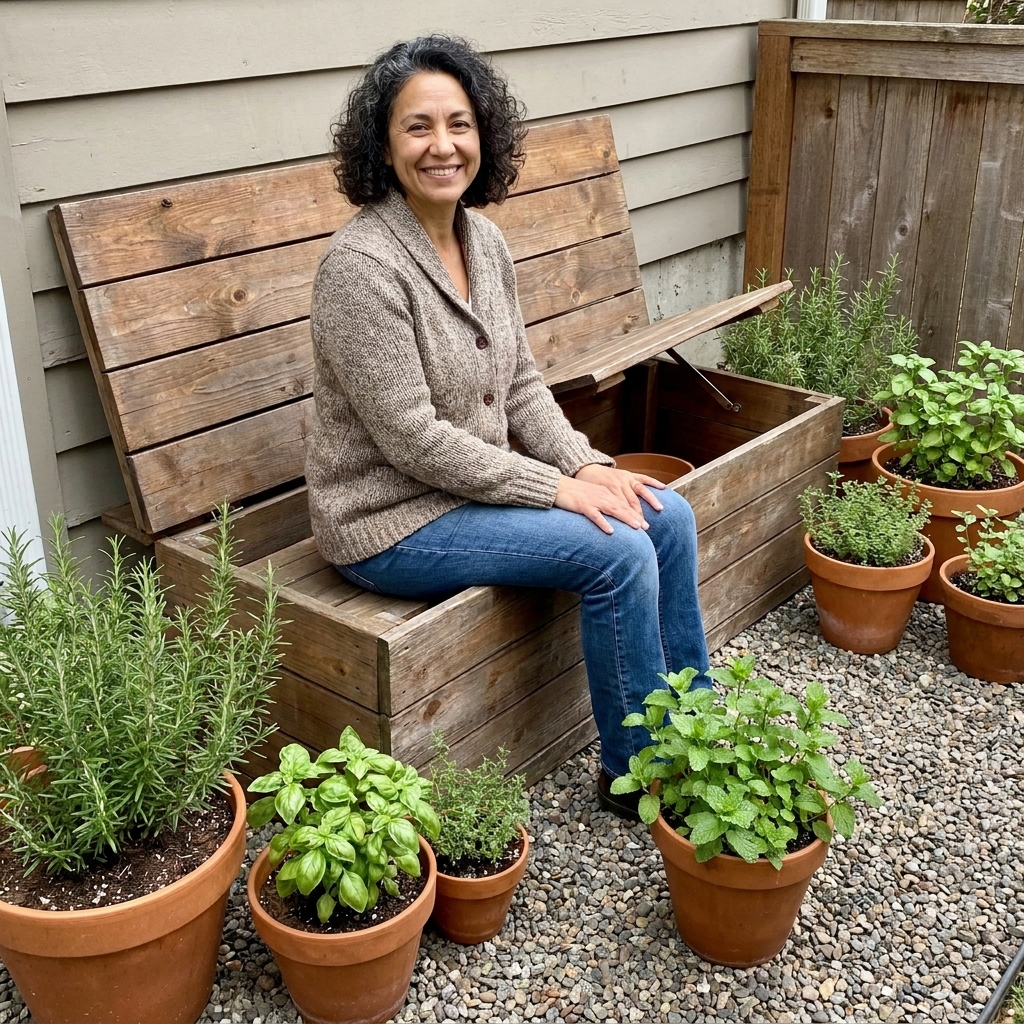
- Bench with storage: seating plus a place for hand tools, soil scoop, and twine.
- Raised bed edges you can sit on: cap with a wide board or smooth stone so it doubles as a perch during harvesting.
- Gravel patio that becomes a path: one material, fewer visual breaks, easier drainage.
- Fold-down potting shelf: mounted to a fence, used when needed, tucked away when not.
- Containers that act as dividers: large pots with upright plants create privacy and define zones without building walls.
Comfort check: Your living zone only needs room for what you will actually use. A bistro set beats a full dining table if you mostly sip coffee and watch bees work the lavender.
Step 7: Add a focal point
A small space feels bigger when your eye has a destination and a reason to move through the scene.
Easy focal points
- A small tree in a container (dwarf citrus, olive, Japanese maple depending on climate).
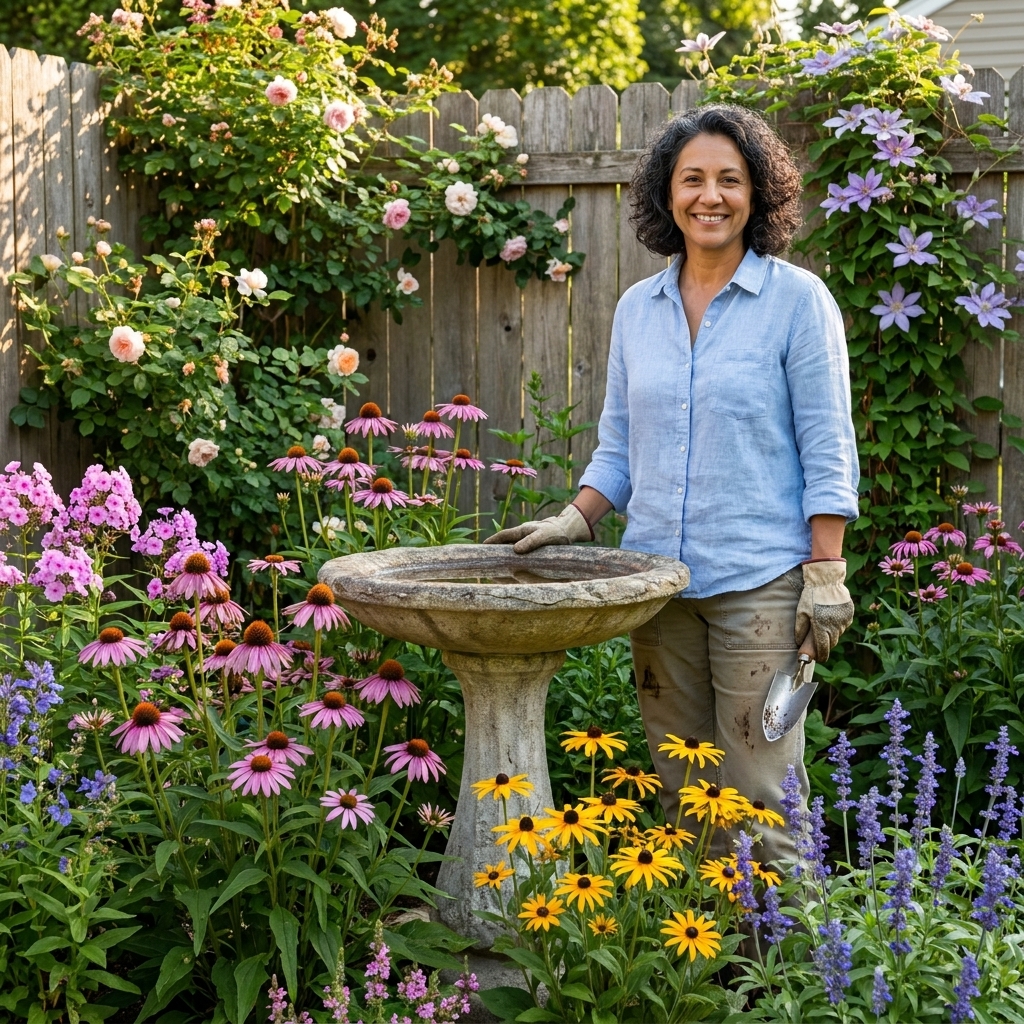
- A birdbath or water bowl tucked into a planting bed.
- A single standout pot with a bold plant combo near the patio.
- A simple pergola or arbor that frames a view.
- A curved path that reveals the garden in steps instead of all at once.
My favorite small-yard trick: Put your focal point at the far end of the yard, not near the door. It pulls the eye outward and makes the whole space feel deeper.
Step 8: Plant in layers
Layering is how you get that lush, abundant look without actually adding more square footage. Think like a woodland edge: tall, medium, low, and groundcover.
A simple layering formula
- Back layer: taller plants along fences or at the “tall-structure side” of the bed (trellised crops, tall flowers like sunflowers, or narrow shrubs).
- Middle layer: compact fruiting plants and herbs (peppers, basil, bush beans, dwarf blueberries in pots).
- Front layer: low plants that spill slightly into paths without blocking them (thyme, nasturtium, marigolds).
- Vertical accents: obelisks or trellises used like garden furniture.
Quick example you can copy: put a cucumber trellis at the back, plant peppers and basil in the middle, then edge the front with nasturtiums that spill a little over the bed cap. One bed, three layers, zero chaos.
Companion planting, the realistic version: In small beds, pair plants mainly for space and timing. For example, grow quick radishes and lettuce at the feet of trellised peas in spring, then swap in basil once the peas are done. You get two harvests from the same footprint.
Step 9: Make maintenance easy
A garden that is hard to maintain becomes visually and emotionally smaller because you avoid it. Design for the you who is tired on a Wednesday evening.
Low-effort upgrades
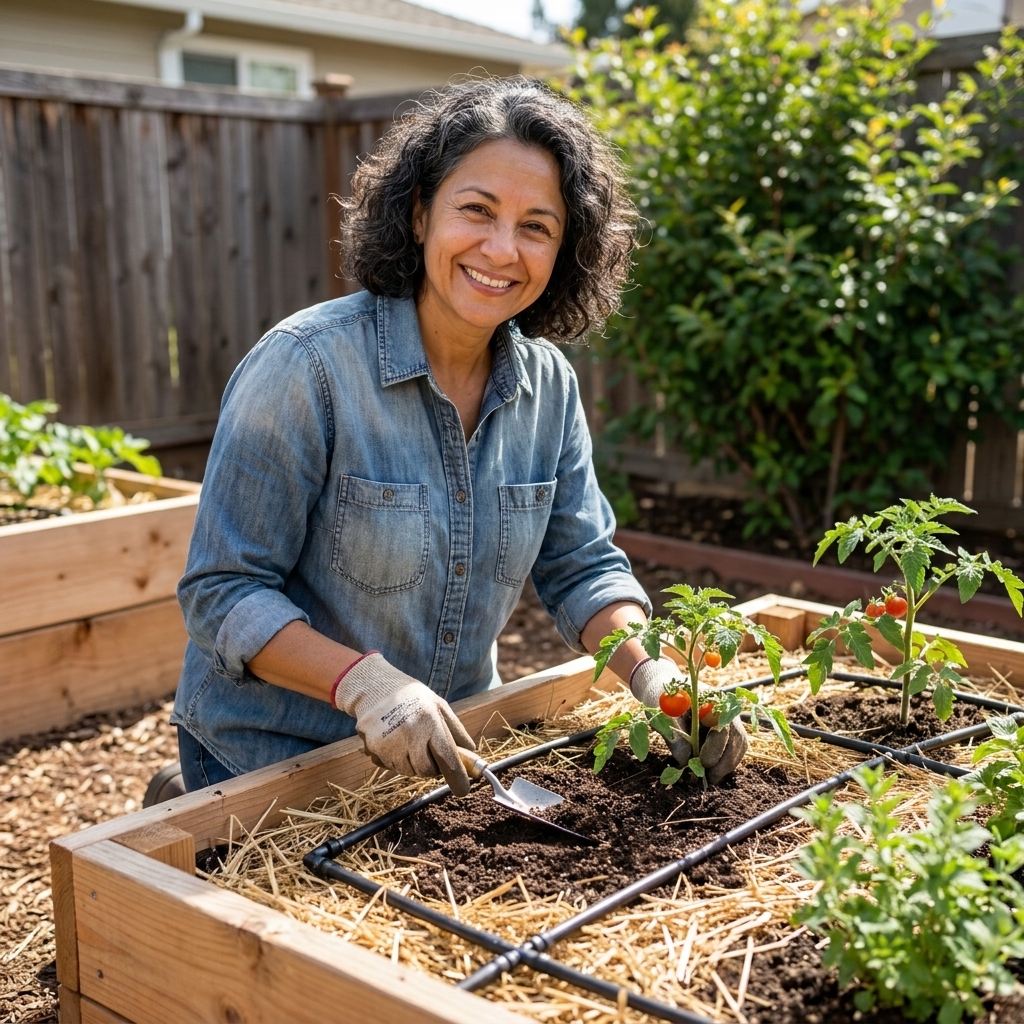
- Drip irrigation or soaker hoses on a timer for beds and container clusters.
- Mulch generously (about 2 to 3 inches) to reduce weeding and water stress. Keep mulch pulled back from stems and crowns to discourage rot and pests.
- Keep a narrow tool station near the back door: pruners, gloves, twine, and a small harvesting basket.
- Compost where you use it, not where it is “out of the way.” If it is too far, it will not get used.
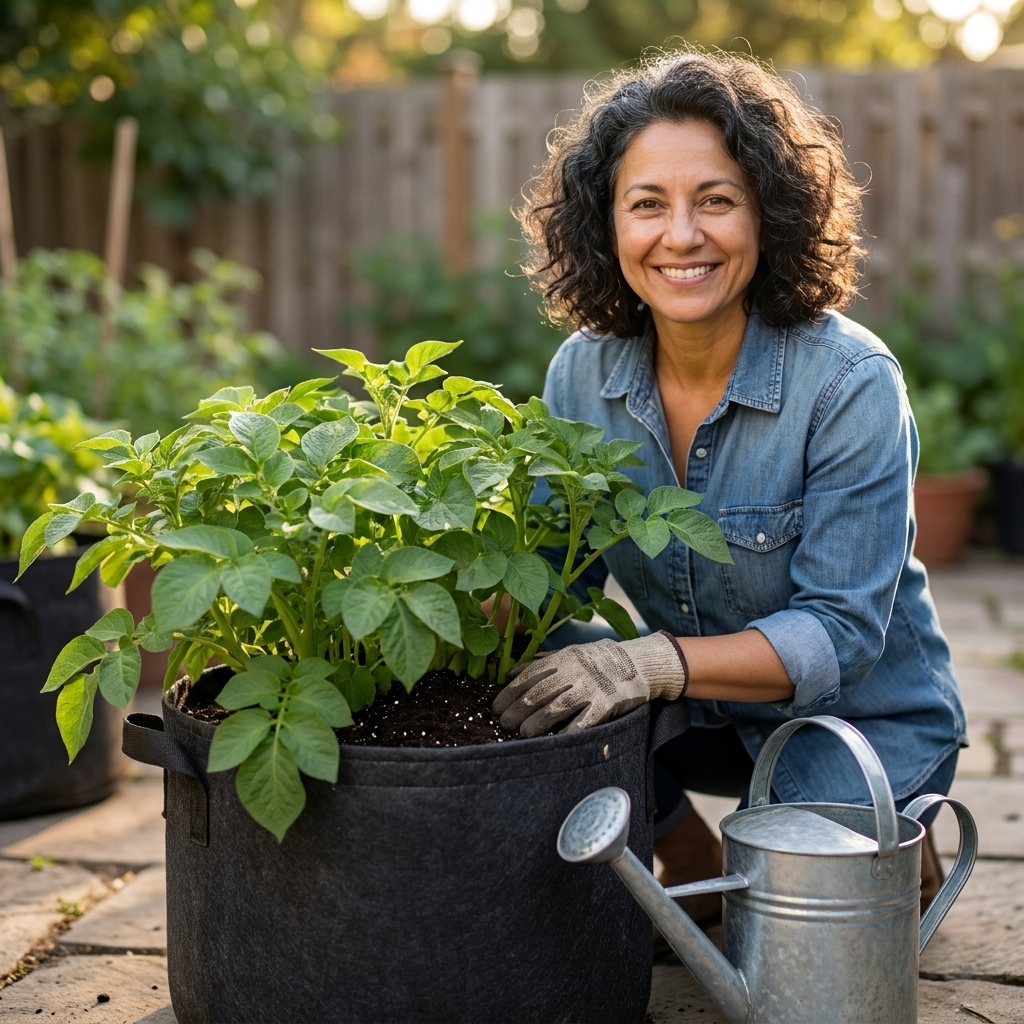
Container note: Containers are fantastic for small gardens, but they dry out fast. Group pots together so you can water efficiently, and use larger containers whenever possible. A 10-gallon pot is much more forgiving than a cute little 6-inch one.
Step 10: Copy this layout
Here is a small-yard design that works in countless spaces because it keeps circulation clear and stacks functions.
One path, two walls of growth
- One central path from the door to the back gate or focal point.
- Raised beds on one side (about 18 to 30 inches wide if against a fence, 3 to 4 feet if accessible from both sides).
- Vertical trellis line along the fence or bed edge for climbing crops.
- Container cluster near the patio for herbs and cut-and-come-again greens.
- Small seating nook in a corner, edged by two large pots for privacy.
This layout gives you a clear spine to the garden, keeps the messier work zone contained, and makes the yard feel like it has rooms instead of just stuff.
Rentals and rules
If you rent, or if your neighborhood has rules, you can still do a lot. Just aim for reversible choices and avoid surprises.
- Keep it removable: containers, grow bags, and freestanding trellises are your best friends. If you want to attach anything to a fence, ask first.
- Watch weight on decks and balconies: wet soil is heavy. When in doubt, use lighter potting mix, smaller containers, and rolling plant caddies.
- Check the boring stuff: HOA guidelines, city setbacks, and fire pit rules can affect layouts. If you are digging, call your local utility locate service first.
Budget shortcuts
You do not need a designer budget to get a clean, intentional layout. Pick the tier that matches your life right now.
- Low-cost: mulch paths, in-ground beds edged with salvaged bricks, DIY trellises with stakes and netting.
- Mid-range: simple cedar beds, gravel paths with edging, cattle panel trellises.
- Splurge: stone or paver patio, custom pergola, drip irrigation zones with a proper timer and filter.
If you have less sun
If your yard gets under about 6 hours of direct sun, you are not doomed. You just need to lean into plants that do not demand all-day light.
- Great edibles for part sun: leafy greens, arugula, kale, chard, lettuce, many herbs (mint, parsley, chives), and some peas in cooler seasons.
- Best strategy: put sun-hungry crops (tomatoes, peppers) in the brightest micro-spot you have, often near a reflective wall or the most open corner.
Mistakes I see
- Too many tiny beds: they waste space on edges and paths. Fewer, slightly larger beds often produce more.
- Plants that outgrow their welcome: read the mature width. One overgrown shrub can eat half a yard.
- No place to stand: you need work space for harvesting and pruning. Plants do not mind being close. People do.
- Everything happens at ground level: missing out on vertical space is like leaving an entire extra yard unused.
- Buying plants before planning: I still get tempted. I also still regret it about 40 percent of the time.
Quick FAQ
What is the best way to start a small backyard garden from scratch?
Start with a scale sketch, pick your top three priorities, then build access and bed placement first. Once paths and bed sizes are right, plant choices become much simpler and you avoid re-doing everything mid-season.
How do I make a small yard feel bigger with plants?
Use a focal point at the far end, plant in layers (tall to short), and limit the number of materials and colors in hardscaping. A consistent path material and defined edges go a long way.
Are raised beds worth it in a small yard?
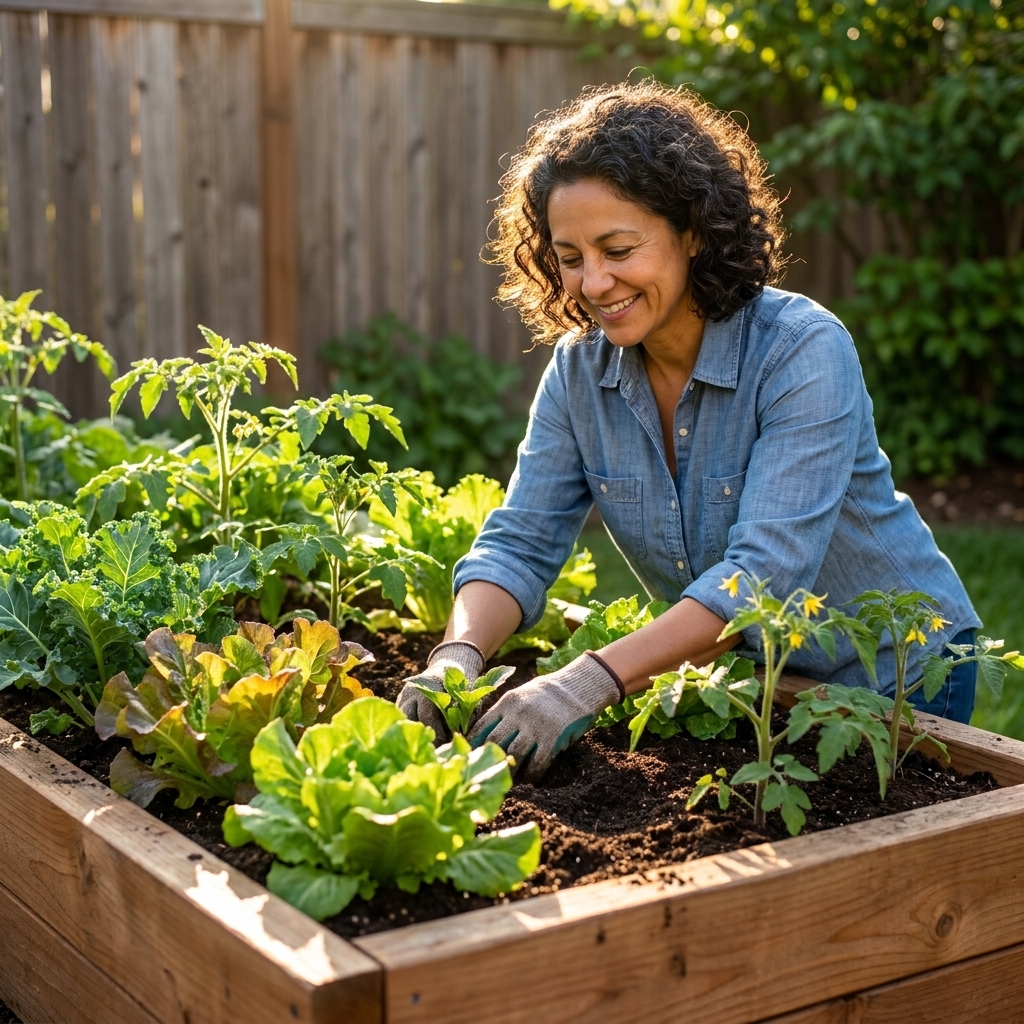
Often, yes. They concentrate great soil where you need it, improve drainage, and make the garden look organized. Just keep beds narrow enough to reach and leave a real path so you do not compact the soil.
What grows best vertically for beginners?
Peas, pole beans, and cucumbers are friendly starters. Add strong support first, then plant. Your future self will thank you when everything stays upright after the first summer storm.
A gentle next step
If you feel stuck, do this: choose one corner of your yard to become your anchor. Put a focal point there (a large pot, a birdbath, a compact shrub), then build outward with one clear path and one main growing zone. Small spaces respond beautifully to small, confident decisions.
And if you end up with one plant that gets a little too happy, welcome to gardening. We have all hosted an overachiever.