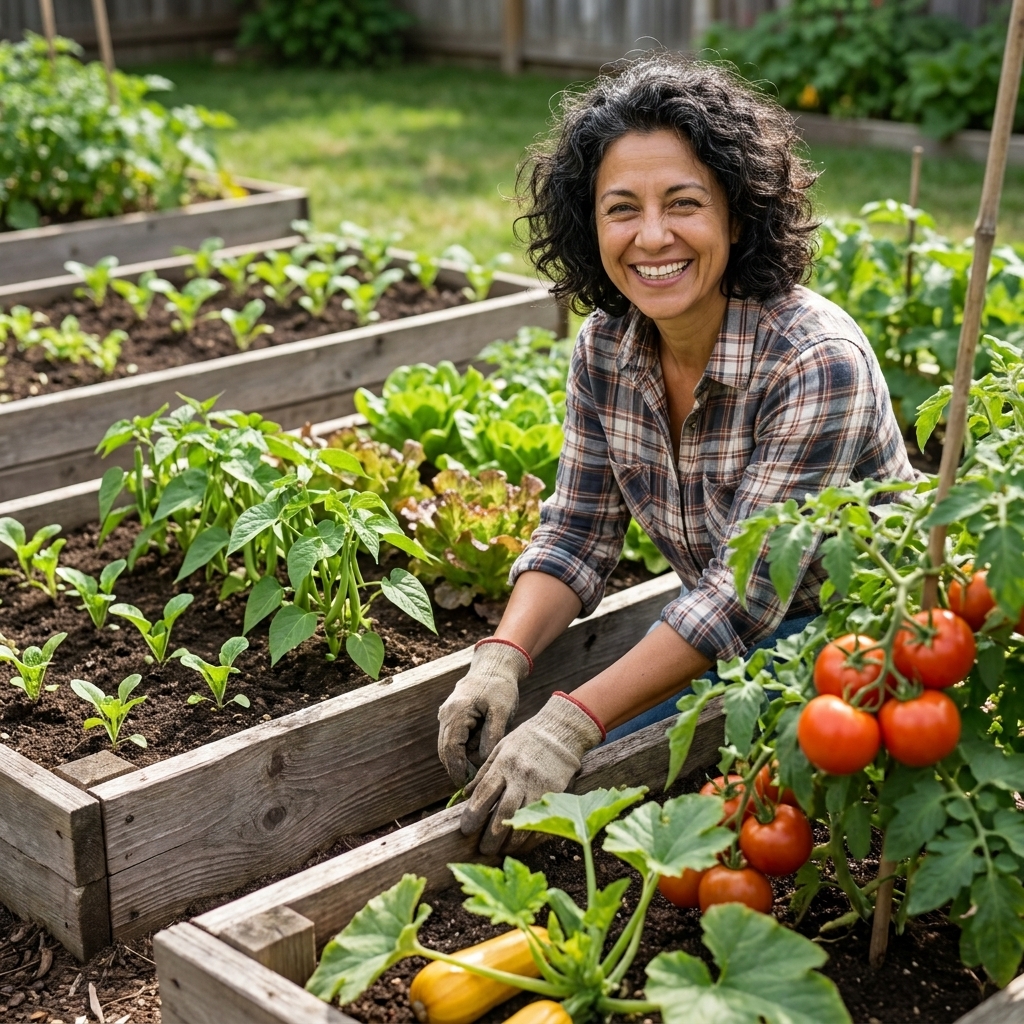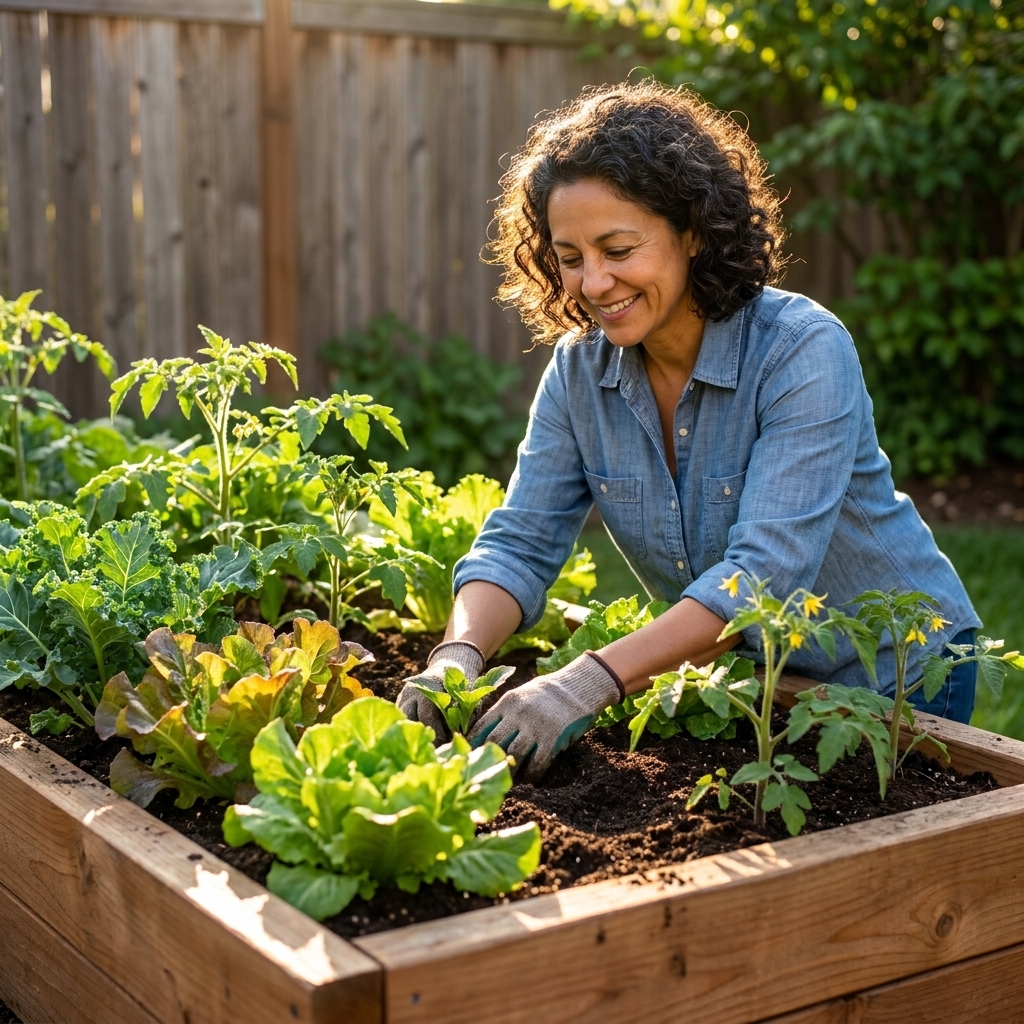
A practical comparison of raised beds and in-ground gardening, including costs, soil, drainage, pests, maintenance, and which veggies thrive in each setup.
Gardening insights
DIY Landscaping on a Budget: 15 Affordable Ideas
Upgrade your yard without draining your wallet. Try 15 budget-friendly landscaping ideas using repurposed materials, plant division, and phased planning for real results.

Elena Rosales
Elena Rosales is a certified Master Gardener and lifelong plant enthusiast who believes anyone can cultivate a green thumb. After transforming her tiny urban balcony into a thriving plant oasis, she moved to a half-acre homestead to grow her own food and flowers. Today, she shares practical, hands-on gardening advice to help the Hortello community bring more green into their lives.
Published September 21, 2026
Updated September 21, 2026
If you have ever stared at your yard (or patio, or tiny side strip) and thought, “I want it to look finished… but I also want to pay my electric bill,” welcome. Budget landscaping is not about cutting corners. It is about using time, observation, and a little clever scavenging to get a space that feels intentional.
I learned this on my first urban balcony makeover, where I had more enthusiasm than square footage. And I re-learn it every spring on my homestead when the “wish list” tries to outgrow the budget. The good news: you can make a dramatic difference with repurposed materials, perennial division, and a phased plan that builds beauty over time.
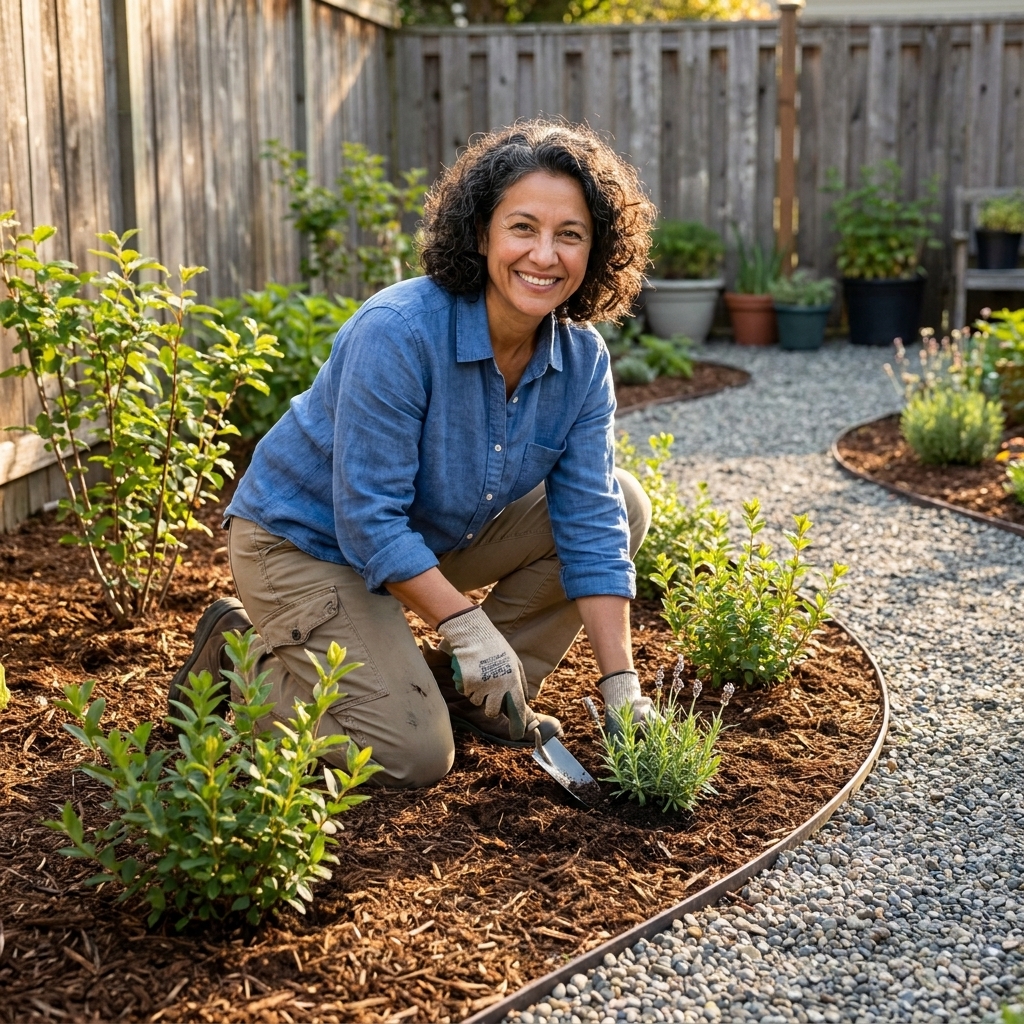
Start with a simple (free) plan
Before you buy anything, take 30 minutes to map what you already have. This step prevents the classic mistake of buying plants that do not match your light, soil, or available watering time.
- Sketch your space with rough measurements and note sunny and shady areas.
- Mark problem spots: where water pools, where grass refuses to grow, where the dog runs laps.
- Pick one “anchor view”: the spot you see most, like from the kitchen window or the front walkway. Put your first effort there.
Confession: I once “designed” a bed from my couch, planted a sun-loving salvia in what turned out to be a 4 pm shade zone, and then acted surprised when it sulked. Observation is cheaper than replacement plants.
Do fixes first
Before you fall in love with plants, handle the stuff that affects everything else: drainage, foot traffic, and access. Even a “cheap” plant becomes expensive if it drowns, gets trampled, or needs constant rescue watering.
- Water first: if water pools, fix grading or add a simple swale before you build beds.
- Movement next: add (or clarify) paths so you are not compacting soil where you want things to grow.
- Then soil: compost and mulch help more than a cart full of random new plants.
15 cost-effective garden design ideas
Choose a few ideas that fit your space and energy level. You do not need to do all 15. Most of the magic comes from repeating materials, repeating plants, and keeping edges clean.
1) Divide perennials for instant “new” plants
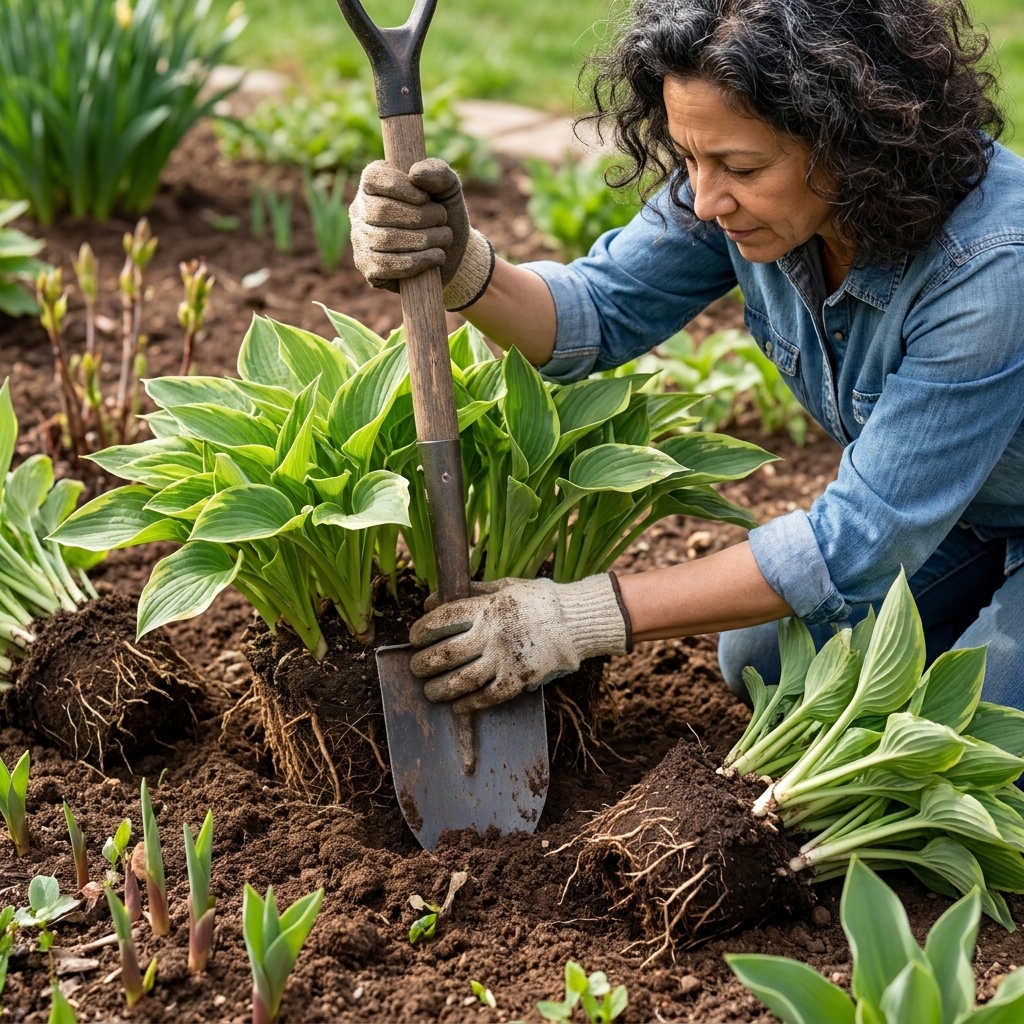
One of the best budget tricks is also the most satisfying: turning one established clump into three. Many perennials want to be divided every few years, which means you get healthier plants and more of them.
- Best candidates: hosta, daylily, bee balm, ornamental grasses, yarrow, black-eyed Susan, sedum, iris.
- When: spring or early fall, depending on the plant and your climate.
- How: dig the clump, slice with a spade or knife, replant divisions immediately, then water well.
2) Ask neighbors for divisions and cuttings
Gardeners love to share. A polite ask can fill a bed faster than any nursery trip. Offer something back, even if it is a jar of homemade pickles later.
- Post in a neighborhood group for “extra iris, daylilies, sedum, or herbs.”
- Swap containers, stakes, or unused soil amendments.
- Request labeled varieties (cultivars) when possible so you can look up mature size and needs.
3) Use mulch like a design tool
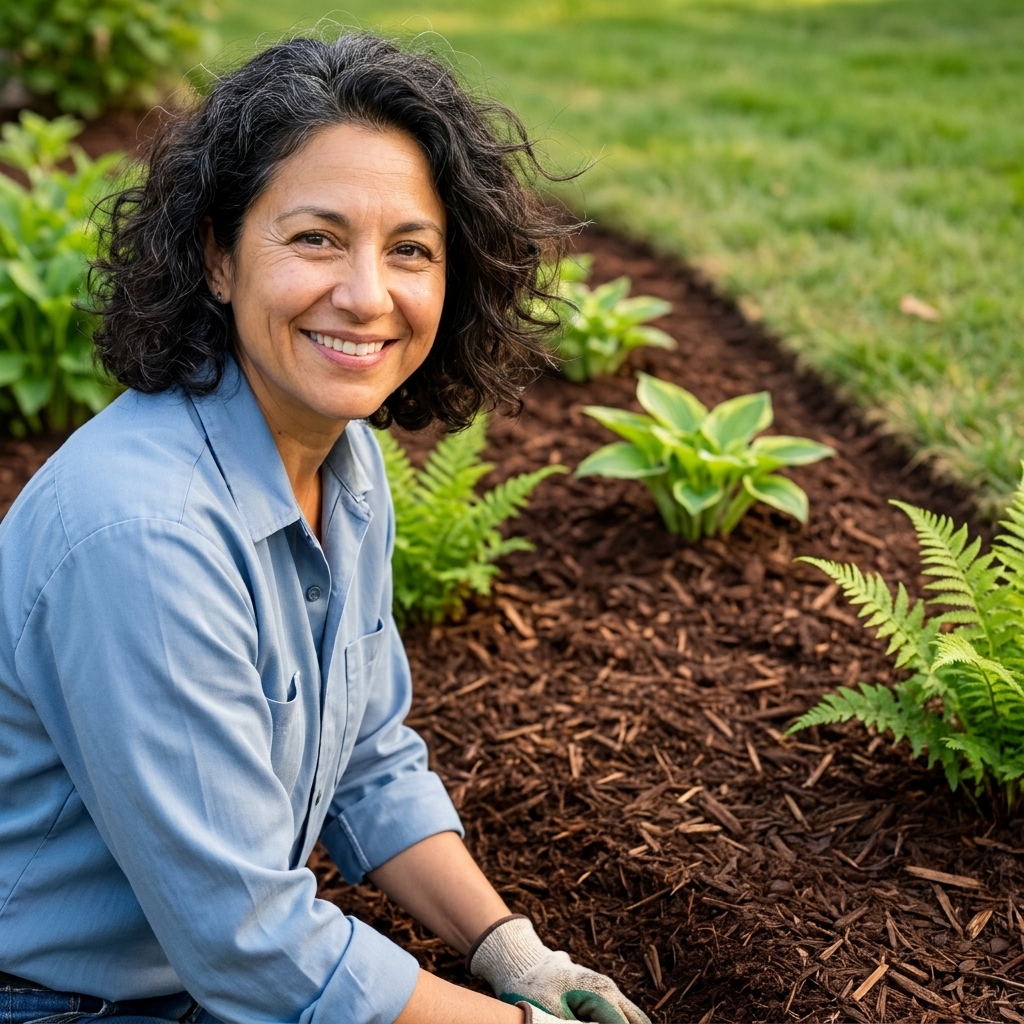
A fresh layer of mulch is one of the fastest visual upgrades. It makes beds look intentional, holds moisture, and reduces weeding.
- Budget tip: call local tree services for free wood chips (often delivered by the truckload).
- Fresh-chip caveat: free chips can be very “green” and include leaves and twigs. That is fine as a top-dress, but avoid mixing fresh chips into soil (it can temporarily tie up nitrogen right at the surface).
- Keep it plant-safe: pull mulch a few inches back from stems and trunks.
- Depth: 2 to 3 inches is usually the sweet spot (up to 4 inches if the mulch is coarse and your soil drains well).
4) Edge your beds
If you do nothing else, do this. Crisp edges make even a modest planting feel cared for.
- Free option: a simple shovel-cut edge (a shallow V-trench along the bed line).
- Low-cost option: repurposed brick, stone, or pavers found on local giveaway boards.
- What to avoid: thin plastic edging that pops up and waves at you all season.
5) Build a gravel or wood chip path
Paths are structure. They tell your eye where to go and keep feet from compacting your soil.
- Base: cardboard (no tape) or several layers of newspaper to suppress weeds.
- For high-traffic or muddy spots: if you are using gravel, add a layer of compacted base rock underneath so the path does not disappear into the soil.
- Top: 2 to 3 inches of gravel or 4 to 6 inches of wood chips.
- Width: 30 to 36 inches is comfortable for a wheelbarrow.
6) Repurpose “waste” into bed borders
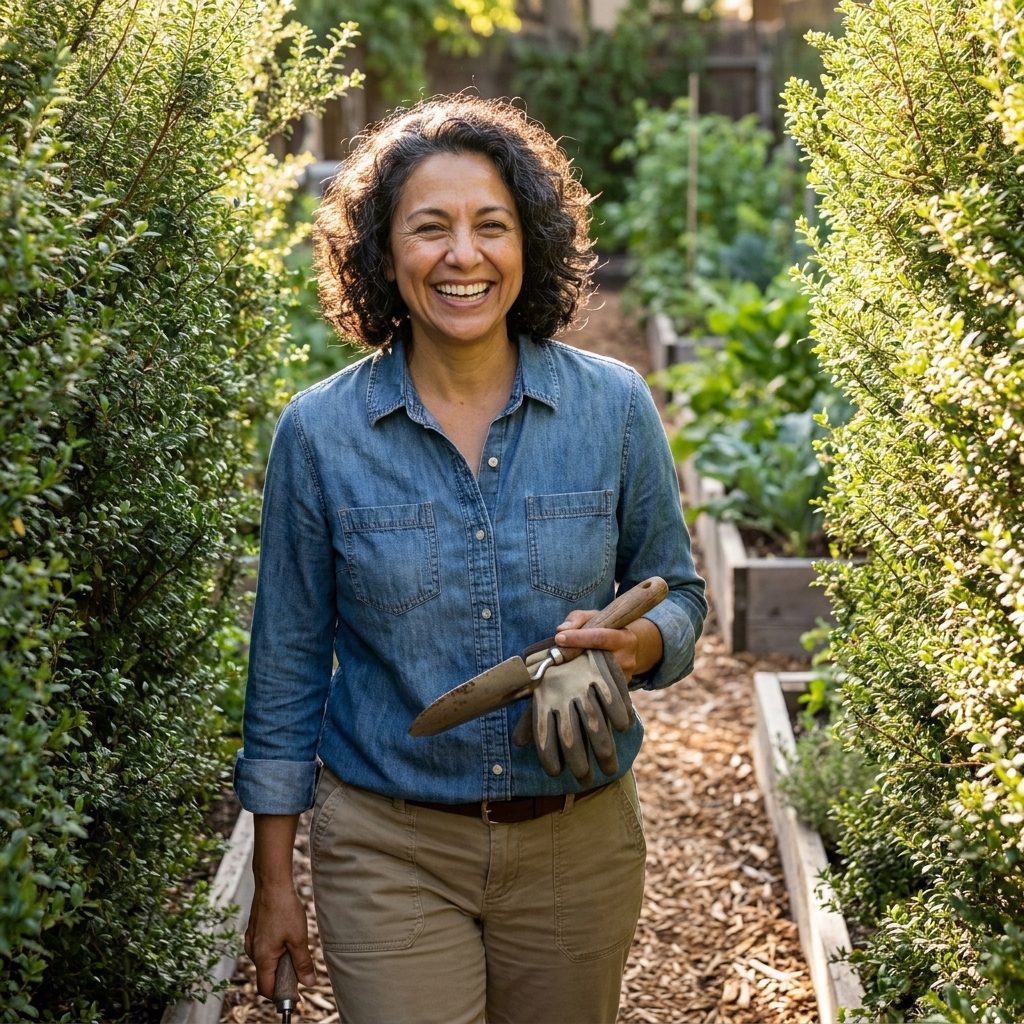
Raised beds can be pricey. If you are handy, repurposed materials can work well for low, informal beds.
- Good finds: untreated salvaged stone, reclaimed brick, concrete chunks stacked as urbanite edging.
- Use caution: avoid old railroad ties or unknown treated lumber near edible gardens. Modern pressure-treated lumber is generally considered safer than older CCA-treated wood, but “unknown salvage” is still a gamble I skip for food beds.
- Keep it stable: dig a shallow trench and set materials slightly below grade.
7) Plant a “starter hedge”
Hedges are not only for fancy estates. A simple line of shrubs adds privacy and makes your yard feel like a room.
- Budget approach: buy smaller sizes and let time do the work.
- Look for: native shrubs, which often need less water once established.
- Spacing: read mature widths and do not plant too close “for instant fullness.” (I have done it. It ends in regret and pruning.)
8) Repeat a few plants
Designers get that polished look by repeating shapes and colors. You can do the same on a budget by choosing 3 to 5 reliable plants and planting them in drifts.
- Pick one structure plant (shrub or ornamental grass).
- Pick one long-blooming perennial.
- Pick one groundcover to knit gaps and suppress weeds.
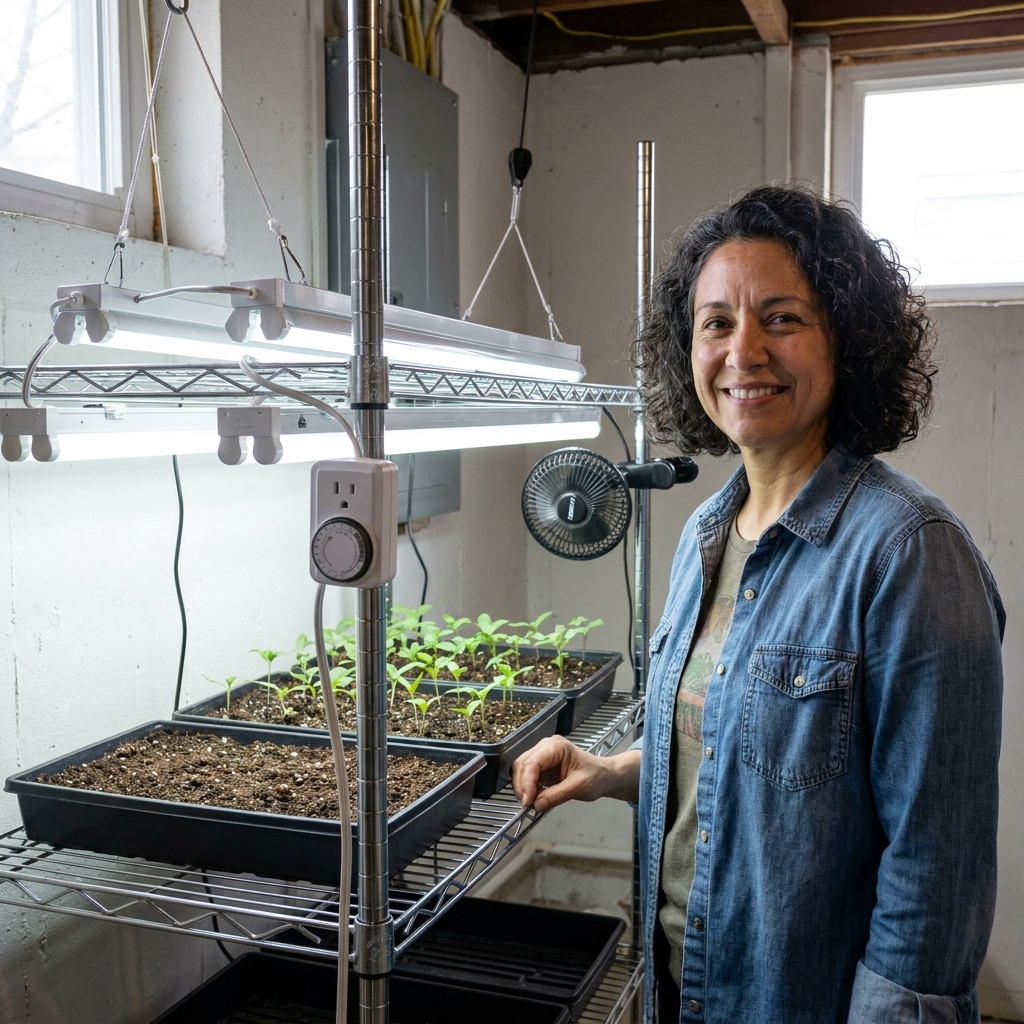
9) Start seeds strategically
Seeds are inexpensive, but they cost time. Use them where they give the biggest payoff.
- Great from seed: zinnia, cosmos, marigold, nasturtium, sunflower, calendula, native wildflower mixes (site-appropriate).
- Tip: direct sow annuals to fill new beds while perennials grow in.
Quick story: The Great Zucchini Invasion of 2019 started with “just a few seeds.” Consider this your friendly warning that some plants have big ambitions.
10) Swap lawn for groundcovers
If a patch of lawn is always brown, soggy, or shaded, it is trying to tell you something. A groundcover can be lower maintenance and more attractive.
- Sunny: creeping thyme (light foot traffic), sedum (dry spots).
- Shade: sweet woodruff (can be aggressive in some regions), ajuga (also invasive in some places), plus native options where available.
- Budget plan: start with small plugs and let them spread.
Note: always double-check what is considered invasive where you live. A “great groundcover” in one region can be a neighborhood menace in another.
11) Add one thrifted focal point
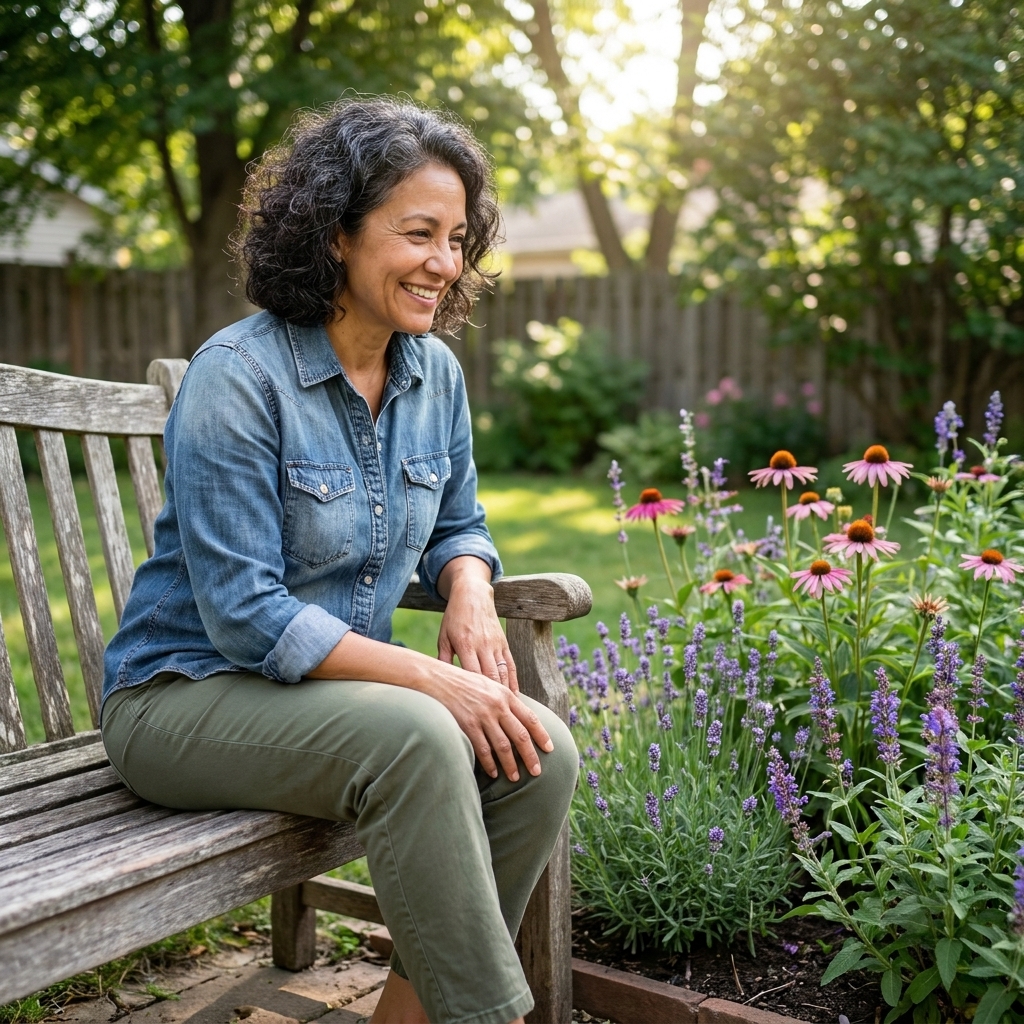
One strong focal point beats five random decorations. Look for a used birdbath, large pot, bench, or even a boulder.
- Place it where you can see it from indoors.
- Frame it with two matching plants or a simple ring of perennials.
- Keep it weather-ready: choose solid materials that can handle sun and rain.
12) Group containers
Containers are perfect for renters or anyone easing into landscaping. The trick is grouping.
- Use odd numbers (3 or 5 pots).
- Vary height (one tall, one medium, one low).
- Repeat one color or material to unify the look.
Budget container tip: check end-of-season sales for cracked ceramic you can use as a cachepot, or use food-safe buckets with drainage holes for herbs. Make sure the bucket did not previously hold chemicals, and always add drainage so roots do not sit in swamp water.
13) Make compost look intentional
Compost is “black gold,” and it reduces what you buy every year. You can keep it tidy and attractive with simple screening.
- Use pallets wired together for a basic bin.
- Hide it behind tall grasses, sunflowers, or a simple lattice panel.
- Keep it convenient to the kitchen door so you actually use it.
14) Add solar lighting
Lighting is one of those small upgrades that makes a space feel loved. A few well-placed solar lights can outline a path and extend evening enjoyment.
- Focus on safety: steps, corners, trip hazards.
- Choose warm light when possible for a softer look.
- Less is more. A dotted line of light beats a runway.
15) Phase your project
Phasing is the secret sauce. You do not need a complete makeover in one weekend. A smart sequence prevents wasted effort and spreads costs.
- Phase 1: clean-up, edging, and mulch.
- Phase 2: hardscape basics (path, small sitting area, simple border).
- Phase 3: shrubs and structure plants.
- Phase 4: fill with perennials, seeds, and divisions.
Where to find cheap (or free) materials
My rule: always check for free or secondhand before buying new. You would be amazed what people want out of their garage.
- Tree service wood chips: call and ask to be on a drop list.
- Local giveaway groups: leftover pavers, bricks, edging stones, pots.
- Construction leftovers: broken concrete (urbanite) or stone offcuts, only with permission.
- End-of-season sales: perennials, shrubs, and soil amendments marked down.
- Plant swaps: often hosted by libraries, garden clubs, and community gardens.
Budget mistakes to avoid
- Buying too many different plants: it looks busy and costs more. Repeat a few winners.
- Skipping mature size: crowded plants become a pruning project, or they die from poor airflow.
- Installing fancy stuff before fixing drainage: solve water issues early. It protects every dollar you spend later.
- Forgetting maintenance time: the cheapest landscape is the one you can keep up with.
- Ignoring your climate: plant lists are not universal. Use these ideas, then choose plants that thrive in your zone and conditions.
Quick FAQ
What is the cheapest way to landscape fast?
Clean edges, fresh mulch, and a simple path (wood chips or gravel) give the biggest “before and after” impact for the least money. Then fill bare spots with divided perennials or seed-grown annuals.
How do I landscape with almost no budget?
Start by dividing existing perennials, sourcing free wood chips for mulch, and asking neighbors for plant divisions. Focus on one small area so it feels finished, then expand as time and budget allow.
Is it cheaper to seed a lawn or replace it?
Seeding can be cheaper upfront, but replacing problem lawn areas with groundcovers, mulch beds, or a small patio zone can save money long-term on water and maintenance, especially in shade or poor soil.
A gentle challenge
Pick one weekend project that costs little but changes everything: edge one bed, lay one short path, or divide and replant one clump of perennials. Take a photo before you start. Future you will love the proof that small steps add up.
If you try any of these ideas, I would love for you to notice the quiet win: a yard that feels more like a place to exhale, even if it was built one budget-friendly layer at a time.