From plant division to repurposed edging, these 15 cost-effective garden design ideas help you refresh your landscape with less money and more creativity.
Gardening insights
Landscape Lighting 101
Learn how to light pathways, trees, and features with solar and low-voltage LED fixtures. A practical, beginner-friendly guide to planning, installing, and troubleshooting garden lighting.

Elena Rosales
Elena Rosales is a certified Master Gardener and lifelong plant enthusiast who believes anyone can cultivate a green thumb. After transforming her tiny urban balcony into a thriving plant oasis, she moved to a half-acre homestead to grow her own food and flowers. Today, she shares practical, hands-on gardening advice to help the Hortello community bring more green into their lives.
Published September 21, 2026
Updated September 21, 2026
There’s a particular kind of garden magic that only shows up at night. The daytime bustle fades, the air cools, and suddenly your favorite maple looks like a sculpture and your path feels like an invitation instead of a trip hazard.
I used to think landscape lighting was either wildly expensive or destined to look like a runway. Then I lit my old city balcony with a few simple, warm LEDs and realized it’s mostly about restraint and placement. You can absolutely get a beautiful result with solar or low-voltage lighting, even if you’re starting with a small yard or a couple of containers.
Start with a simple lighting plan
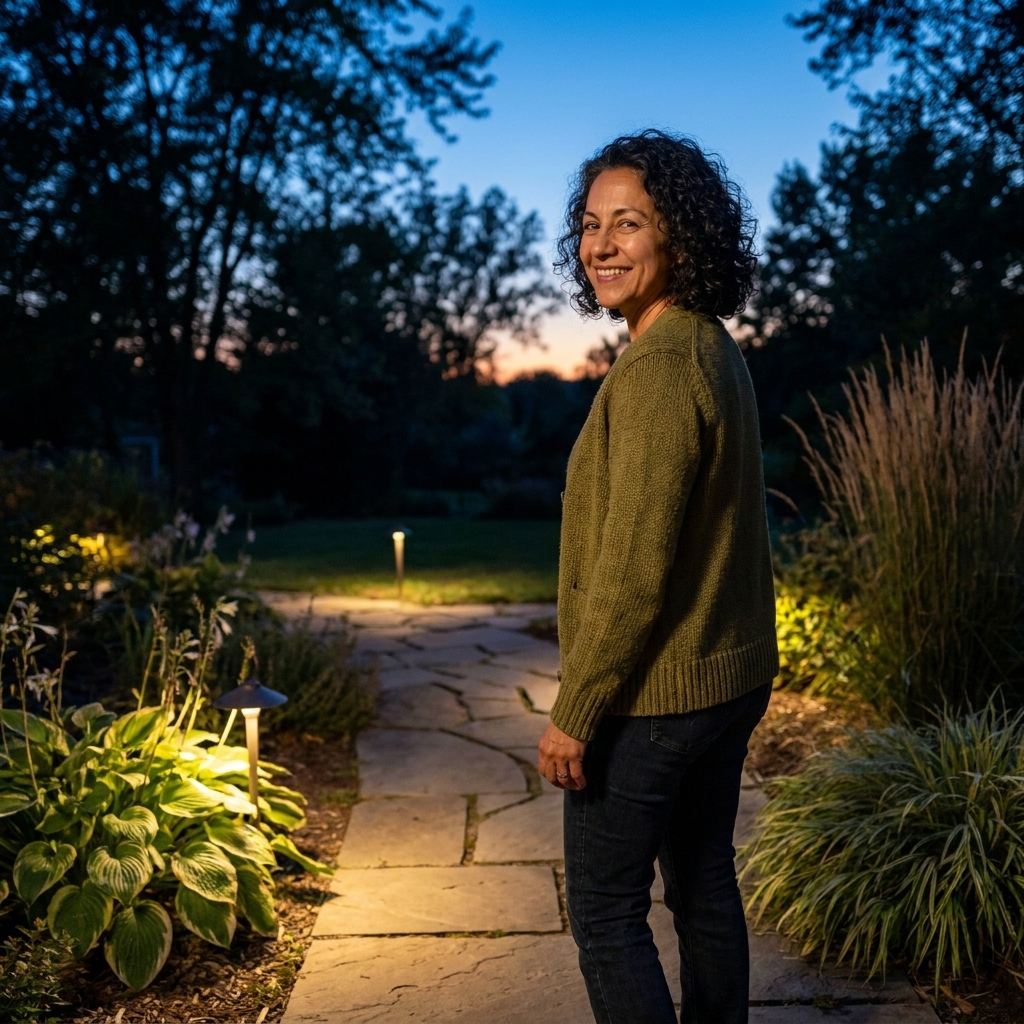
Before you buy anything, take a quick walk outside after dark with a flashlight (or your phone light). Notice where you hesitate, where you naturally look, and where you want to linger. A good plan does three things: improves safety, highlights beauty, and keeps glare out of your eyes and your neighbors’ windows.
Think in layers: safety, sparkle, and structure
- Safety: pathways, steps, edges of decks, and any change in grade.
- Sparkle: flowers that catch light, textured bark, ornamental grasses, water features.
- Structure: trees, fences, pergolas, and the best architectural parts of your home or shed.
Pick 1 to 3 focal points
Most yards look better with fewer, stronger moments of light rather than lots of fixtures. Choose a “star” (a favorite tree, a specimen shrub, a dramatic pot), then add gentle guidance lighting along the route to it.
Solar vs low-voltage LED: what to choose
Both can be beautiful. The right choice depends on your sun exposure, how long you want lights to run, and whether you’re willing to do a bit of wiring.
Solar lighting (quick wins)
Best for: renters, small gardens, quick path lighting, and spots far from an outlet.
- Pros: no wiring, easy to move, great for experimenting with placement.
- Cons: performance depends on sun; batteries fade over time; cheaper units can look harsh or dim.
- Tip from my trial-and-error days: solar lights need sun on the panel, not just “daylight.” A light under a tree canopy can look great at 6 pm and vanish by 9.
Low-voltage LED (most reliable)
Best for: consistent brightness, longer run time, uplighting trees, and a more polished look.
- Pros: predictable output, lots of fixture styles, easy to expand over time.
- Cons: requires a transformer and cable; a bit more planning up front.
- Safety note: low-voltage landscape systems are commonly 12V on the lighting side (after the transformer), but some are 15V or 24V depending on the setup. Either way, it’s generally much safer outdoors than line voltage, but you still want weather-rated components and tidy connections.
Fixture types and what they’re good at
If shopping online makes your eyes cross, here’s the short version. Most garden lighting falls into a handful of categories.
Path lights
These create a soft pool of light on the ground for walking. The goal is guidance, not spotlighting every pebble.
Spotlights and uplights
These are your “wow” fixtures for trees, large shrubs, sculptures, and textured walls. Aim them carefully to avoid glare.
Downlights (moonlighting)
Mounted higher up and aimed downward, these mimic moonlight through branches. This effect is dreamy and surprisingly natural looking.
Step lights and deck lights
Small fixtures that make steps and edges visible without blinding you. They’re excellent for safety.
Well lights and in-ground lights
Recessed fixtures that sit flush with the ground. Beautiful when installed correctly, but they can collect debris and water if drainage is poor.
Light quality: small details that look expensive
The fastest way to make a garden feel welcoming is warm, consistent light. The fastest way to make it feel like a parking lot is overly bright, cool light.
Choose a warm color temperature
- 2700K: classic warm glow, cozy and flattering on plants and brick.
- 3000K: still warm, slightly crisper. Works well for modern homes.
- Avoid 4000K to 5000K for most gardens unless you truly want a very bright, white look.
Brightness: more isn’t better
Brightness is measured in lumens. You don’t need stadium lighting.
- Path lights: often look best around 50 to 200 lumens per fixture as a starting point, depending on spacing, optics, and how dark your site is.
- Accent uplights: commonly land around 150 to 500 lumens as a starting point, depending on beam spread, distance, and the size of what you’re lighting.
If you’re unsure, go lower and add another fixture rather than blasting one light at full power. Layering looks softer.
Beam angle matters
- Narrow beam: highlights a trunk or a small feature.
- Wide beam: washes a larger shrub or wall.
Where to place lights for the best effect
Pathways and beds
- Stagger path lights rather than placing them like soldiers on both sides.
- Set fixtures back from the edge of the path 6 to 18 inches so you’re not kicking them.
- Aim light down and shield the bulb so you see the glow, not the glare.
Trees (my favorite night feature)
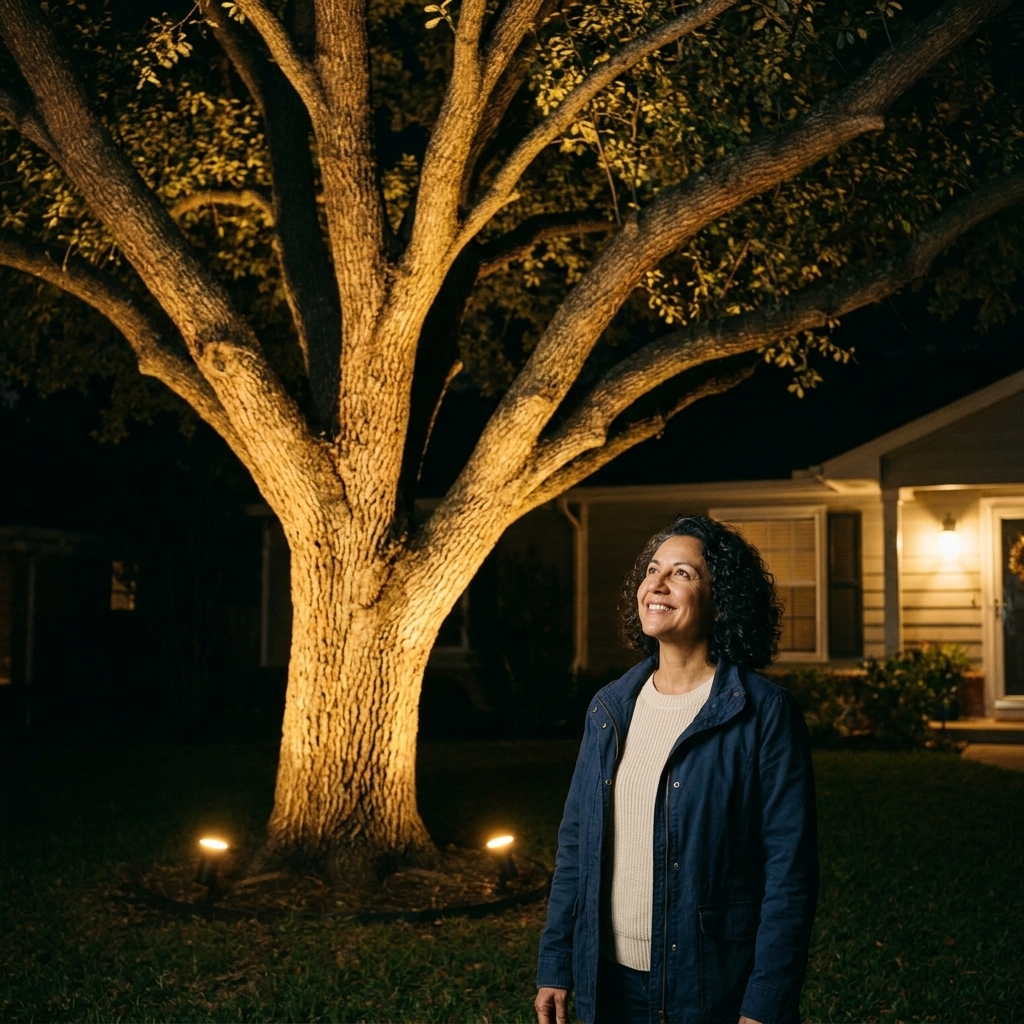
- For a medium tree, start with 1 to 2 uplights placed 12 to 24 inches from the trunk.
- For a larger canopy, use 2 to 3 uplights spaced around the trunk to avoid a harsh “flashlight up the tree” look.
- Experiment with distance. Closer gives drama and strong shadowing; farther back gives a softer, wider wash.
Walls, fences, and pergolas
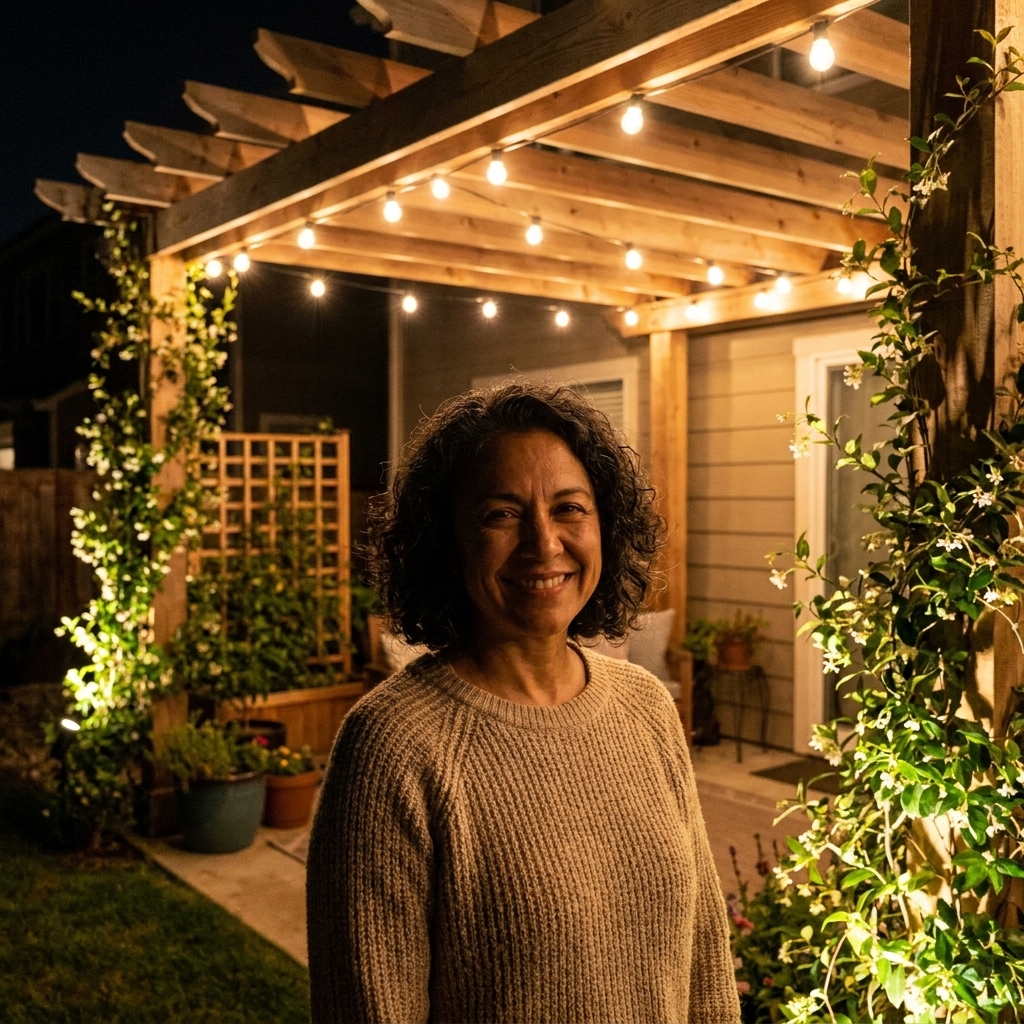
- Use grazing (light close to a textured surface) to emphasize stone and wood grain.
- Use washing (light farther away) for an even glow on flat surfaces.
Water features
Light around water more often than you light in it, unless you have fixtures rated for submersion. A soft spotlight on a fountain or the plants beside a pond can create beautiful reflections without complicated installs.
How to install solar lights
Solar is wonderfully beginner-friendly, but a little prep makes it look far more intentional.
- Charge first: let lights charge in full sun for a day before judging brightness.
- Place, then test: set them out, wait until dark, and adjust spacing and angles.
- Stabilize: in loose soil or mulch, push stakes in firmly or use a little gravel base so fixtures stay upright after rain.
- Clean panels: pollen and dust reduce charging. A quick wipe a few times each season helps.
How to install low-voltage LED lighting
Low-voltage systems look “pro” because they’re consistent and controllable, but you can absolutely DIY a basic layout. The basic pieces are: GFCI outlet (or existing outdoor outlet), transformer, cable, and fixtures.
Step-by-step overview
- Sketch your layout: mark your transformer location (near an outlet) and fixture locations.
- Choose a transformer: add up the wattage of all fixtures, then size the transformer with breathing room (often 20 to 30 percent extra). Example: if your fixtures total 60W, a 100W transformer gives flexibility.
- Pick your cable gauge: longer runs need thicker cable to reduce voltage drop. When in doubt, go heavier gauge for long distances.
- Dry fit everything: lay cable on the ground, place fixtures, and test at night before burying.
- Make solid connections: use weather-rated connectors and keep them out of puddle-prone low spots.
- Bury the cable: as a common practice, many DIY installs tuck cable a few inches down so it’s protected and hidden, but always follow local code and the manufacturer’s instructions (especially if you’re crossing lawn areas, digging zones, or using conduit).
- Set timers: many transformers have a built-in timer or photocell. I like “dusk to 10 or 11 pm” for everyday use.
A quick word on voltage drop
If lights at the end of the line are dim, that’s usually voltage drop. Solutions include using thicker cable, shortening the run, splitting into two runs, or using a hub method rather than one long daisy chain.
Hub method, in plain terms: instead of one long line with lights tapped along it, you run multiple shorter lines from a central point (a hub) so each “branch” stays brighter and more even.
Common mistakes (and easy fixes)
- Too much brightness: swap to lower-lumen bulbs, add shields, or reposition fixtures so you don’t see the LED directly.
- Lights look “dotty” along a path: increase spacing slightly, use fewer fixtures, or choose a softer lens.
- Solar lights die early: move to a sunnier spot, clean the panel, or replace the rechargeable battery if the fixture allows it (often every few years).
- Glare into windows: angle lights downward, use glare shields, or relocate the fixture farther from reflective surfaces.
- Fixtures disappear in plants by midsummer: raise them slightly, relocate to the path edge, or prune and thin nearby growth. My garden is guilty of this every year.
Plant and wildlife friendly tips
Landscape lighting won’t usually harm plants directly (especially with LEDs), but nighttime light can affect insects, pollinators, and bird behavior, and it can change how your garden feels and functions.
- Avoid blasting bright lights into nesting and roosting areas: if you have shrubs where birds settle in, keep lighting subtle and aimed away.
- Prefer warm light: warm LEDs are generally less harsh at night than cool, blue-white light.
- Use timers: turning lights off late at night is good for energy use and helps keep the garden truly dark for nocturnal wildlife.
- Mind heat: LEDs run cool compared to halogen, which is one reason I recommend them around foliage.
Dark-sky basics
If you want your garden to glow without lighting up the whole block, a few dark-sky habits make a big difference.
- Shield the source: choose fixtures that hide the bulb so you see reflected light, not the hotspot.
- Aim down and in: keep beams on paths, planting, and features, not into the sky or across property lines.
- Light what you use: focus on routes, steps, and a couple of focal points, then stop.
- Let it sleep: a timer that turns lights off later in the evening is friendlier to humans and wildlife.
Quick shopping checklist
- Warm color temperature: 2700K to 3000K
- Outdoor rating: fixtures listed for outdoor use, connectors rated for wet locations
- IP ratings (simple guide): for exposed rain and spray, look for something like IP65 or higher; for sheltered spots, a lower rating may be fine if it’s still listed for outdoor use
- Materials: metal fixtures (aluminum, brass) tend to last longer than thin plastic
- Glare control: hoods, shrouds, or shielded path light designs
- For low voltage: transformer with timer or photocell, enough wattage headroom, appropriate cable gauge
FAQ
How many path lights do I really need?
Fewer than you think. Start by lighting changes (steps, turns, and slopes), then fill in dark stretches. Often, spacing fixtures 6 to 10 feet apart works as a starting point, but the right answer depends on lumens, beam spread, mounting height, and how dark your site is.
Are solar lights bright enough for safety?
They can be, especially along flat walkways in sunny yards. For steps, steep grades, or consistently shaded areas, low-voltage LEDs are usually more reliable.
Can I mix solar and low-voltage?
Yes, and it’s a smart approach. Use low-voltage for your “backbone” (paths, steps, key trees), and sprinkle solar in containers or seasonal areas where you want flexibility.
Do I need to hire an electrician?
For a standard low-voltage kit plugged into an existing GFCI outdoor outlet, many homeowners DIY successfully. If you need a new outlet installed, want to tie into line voltage, or you’re unsure about local codes, that’s a good time to call a pro.
A gentle way to begin
If you’re feeling overwhelmed, start with one goal: make the route from your door to your favorite garden spot feel safe and inviting. Add warm path lights, then pick one tree or feature to uplight. Live with it for a week. Your eyes will tell you what to do next.
And if your first attempt looks a little like my early balcony setup (bright, uneven, and slightly alien), welcome to the club. Lighting is wonderfully tweakable. A few small adjustments can turn “there are lights” into “wow, this garden feels like a place.”