A clear, hands-on comparison of LED and fluorescent grow lights, plus practical specs, starter settings, and guidelines for choosing the right light for seed...
Gardening insights
Starting Vegetable Seeds Indoors Without a Greenhouse
Start vegetable seeds indoors with confidence. Learn the right soil, containers, light setup, watering, timing, and hardening off steps for strong, stocky seedlings.

Elena Rosales
Elena Rosales is a certified Master Gardener and lifelong plant enthusiast who believes anyone can cultivate a green thumb. After transforming her tiny urban balcony into a thriving plant oasis, she moved to a half-acre homestead to grow her own food and flowers. Today, she shares practical, hands-on gardening advice to help the Hortello community bring more green into their lives.
Published September 21, 2026
Updated September 21, 2026
Starting seeds indoors feels a little like cheating winter. Outside it might be gray and soggy, but on your windowsill (or under a humble shop light) you can have tidy rows of green life unfurling like a promise.
I started indoors because my first garden was a tiny city balcony. No greenhouse, no fancy benches, no heat mats at first. Just a bright corner, a thrifted shelf, and the stubborn belief that tomatoes would listen to me. Some did. Some absolutely did not. We learn, we laugh, we try again.
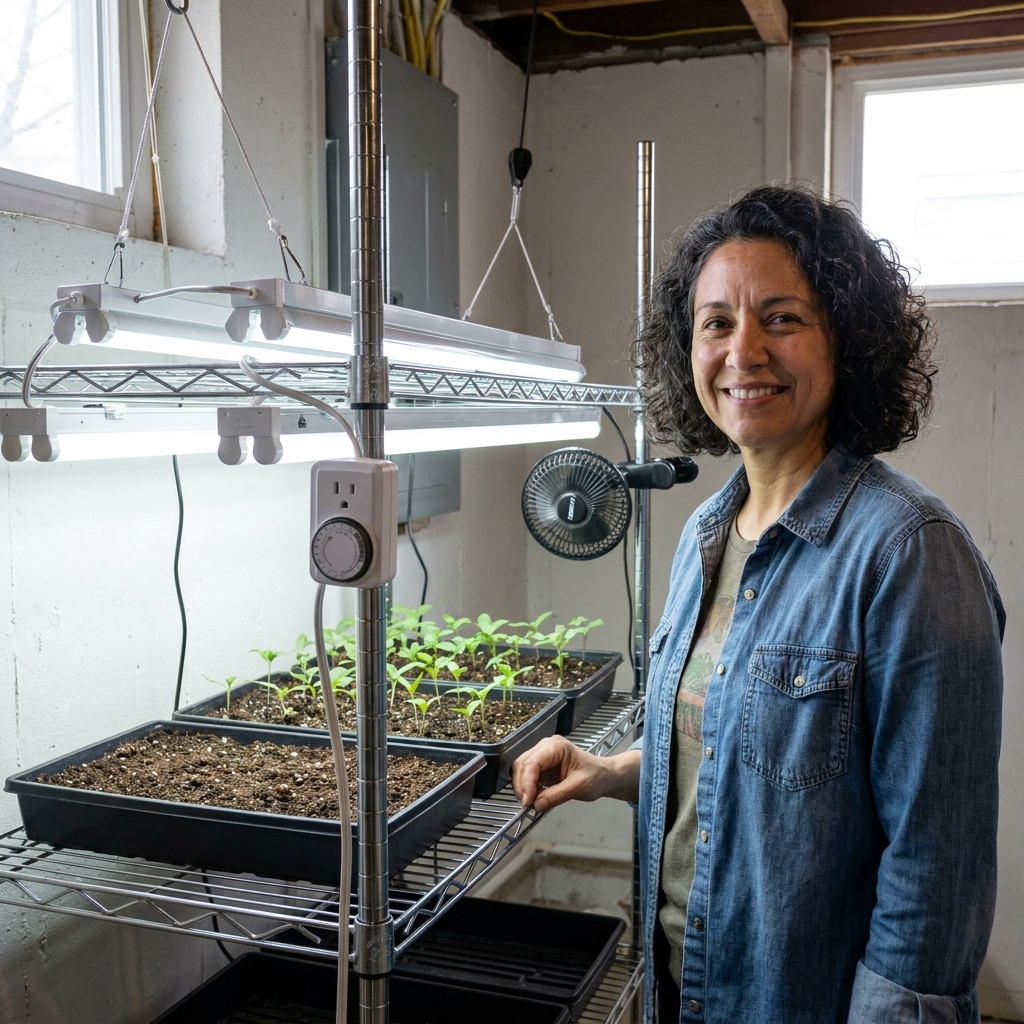
This guide walks you step-by-step through seed starting indoors without a greenhouse, from supplies to timing to hardening off. My goal is simple: sturdy seedlings with thick stems, deep roots, and zero drama.
What you need (and what you can skip)
You do not need a greenhouse to start seeds. You need consistency: steady moisture, warm-enough soil for germination, and strong light once sprouts appear.
Seed-starting essentials
- Seeds (fresh helps, but older seeds can still sprout)
- Seed-starting mix (light, fluffy, and designed for germination)
- Containers with drainage (cell trays, small pots, yogurt cups with holes)
- Watering tool (spray bottle for the surface plus a small watering can or cup for bottom-watering)
- Labels (plant tags, popsicle sticks, or masking tape)
- Light source (a sunny south window can work for a few plants, but a basic LED or fluorescent shop light is more reliable)
- Tray to catch drips (a boot tray works in a pinch)
Nice-to-haves (helpful, not mandatory)
- Heat mat for peppers, tomatoes, eggplant, and slow germinators
- Humidity dome or a clear plastic bag to hold moisture during germination
- Small fan for sturdier stems and lower damping-off risk
- Timer for your lights (my favorite “why didn’t I do this sooner” tool)
What you can skip: fertilizer at sowing time, complicated gadgets, and deep containers for the earliest stage. Most seedlings want a shallow start and then a timely pot-up.
A quick cleanliness note: start with clean trays, pots, and tools. Reuse containers if you want, but scrub and disinfect them first. And for indoor seed starting, use fresh seed-starting mix rather than old, used mix that can harbor pests and disease.
Step 1: Pick seeds to start indoors
Some vegetables love an indoor head start. Others hate having their roots disturbed and would rather be direct-sown outdoors.
Great candidates
- Tomatoes
- Peppers
- Eggplant
- Broccoli, cabbage, cauliflower, kale
- Lettuce and herbs (especially for early harvests)
- Onions from seed (if you are feeling ambitious, it is worth it)
Better direct-sown
- Carrots, beets, radishes
- Peas and beans
- Corn
- Most root crops
In-between
- Cucumbers, squash, melons: start indoors only 2 to 4 weeks before planting out, and use larger cells or biodegradable pots to reduce root disturbance
If you have limited space under lights, prioritize warm-season crops that truly benefit from extra time, like peppers and tomatoes.
Step 2: Get timing right
The most common indoor seed-starting mistake is starting too early. Seedlings outgrow their containers fast, then they stretch, tangle, and sulk while they wait for outdoor weather to cooperate.
Here is the simplest timing method:
- Find your area’s average last frost date.
- Count backward based on the crop’s recommended “weeks before last frost.” (This is usually printed on the seed packet.)
Timing cheat sheet
- Peppers: 8 to 10 weeks before last frost
- Tomatoes: 6 to 8 weeks before last frost
- Broccoli, cabbage, kale: 4 to 6 weeks before last frost (or earlier for very early plant-outs with protection)
- Lettuce: 3 to 5 weeks before last frost
- Cucumbers and squash: 2 to 4 weeks before transplanting outdoors
If you are unsure, err on the side of starting later. A slightly smaller seedling that goes outside on time often outperforms an overgrown indoor teenager.
Step 3: Use the right mix
For indoor seed starting, use a seed-starting mix, not garden soil and not heavy potting soil. Garden soil brings pests and diseases indoors, and it compacts like a brick in small cells.
A good seed-starting mix is:
- Lightweight so delicate roots can push through
- Moisture-retentive but not soggy
- Low fertility so seeds can germinate easily (you will feed later once true leaves show up)
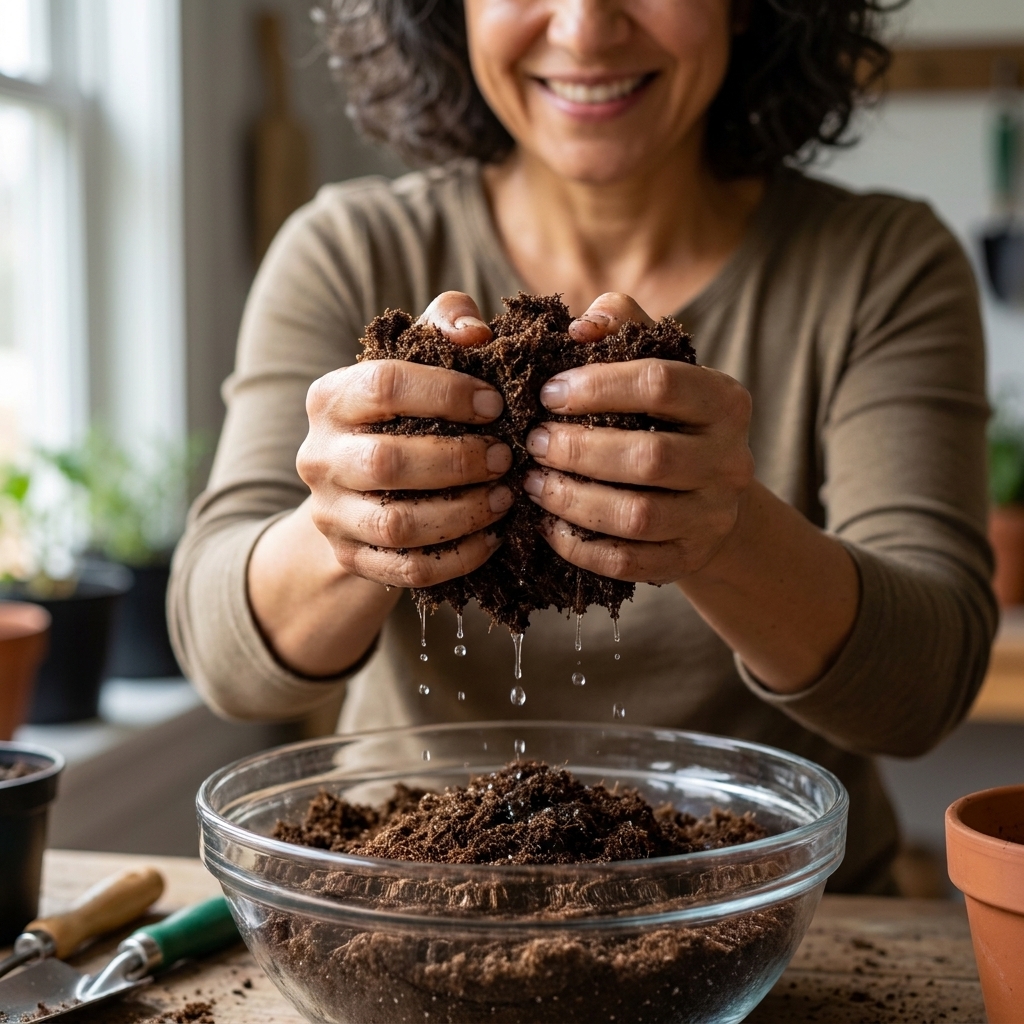
Before you fill trays, pre-moisten your mix in a bowl. Aim for the texture of a wrung-out sponge. If water streams out when you squeeze it, it is too wet.
Step 4: Fill, then label
Fill your containers loosely, then gently tap them on the counter to settle air pockets. Do not pack the mix down hard. Roots like oxygen.
Label everything before you plant. Seedlings often look identical for the first couple of weeks, and “mystery tomato” stops being charming the moment you are planning your beds.
Containers that work
- Cell trays (great for lots of varieties)
- 2 to 3 inch pots (great if you tend to forget to pot up)
- Soil blocks (excellent if you like a tidy, plastic-light setup)
Step 5: Plant at the right depth
Seed packets usually give a planting depth. If you lost the packet, use this rule of thumb: plant seeds about 2 to 3 times as deep as the seed is wide.
- Tiny seeds (lettuce, basil): press onto the surface and barely cover, if at all
- Medium seeds (tomatoes, peppers): around 1/4 inch deep
- Larger seeds (cucumbers, squash): around 1/2 to 1 inch deep
If germination is spotty for a variety, it is fine to sow 2 to 3 seeds per cell and thin later. If your seeds are fresh and reliable, sowing one per cell keeps life simple.
After sowing, lightly mist the top to settle the surface. If you use a humidity dome, remove it as soon as most seeds sprout to reduce mold risk.
Step 6: Dial in germination
Seeds germinate best in warm, evenly moist conditions. Light is not crucial until they sprout, but temperature is.
Typical temperature targets
- Tomatoes: 70 to 80°F (21 to 27°C)
- Peppers and eggplant: 75 to 85°F (24 to 29°C)
- Cool-season brassicas: 55 to 75°F (13 to 24°C)
If your home runs cool, a heat mat under the tray can make germination faster and more uniform. If you use a heat mat, check moisture daily. Warm soil dries faster.
Step 7: Give strong light
The moment seedlings pop up, they need bright light. Most “leggy seedling” problems are simply not enough light or light that is too far away.
Window light vs grow lights
A sunny window can work for a small batch, but seedlings often lean hard toward the glass and stretch. Rotate trays daily if you go this route.
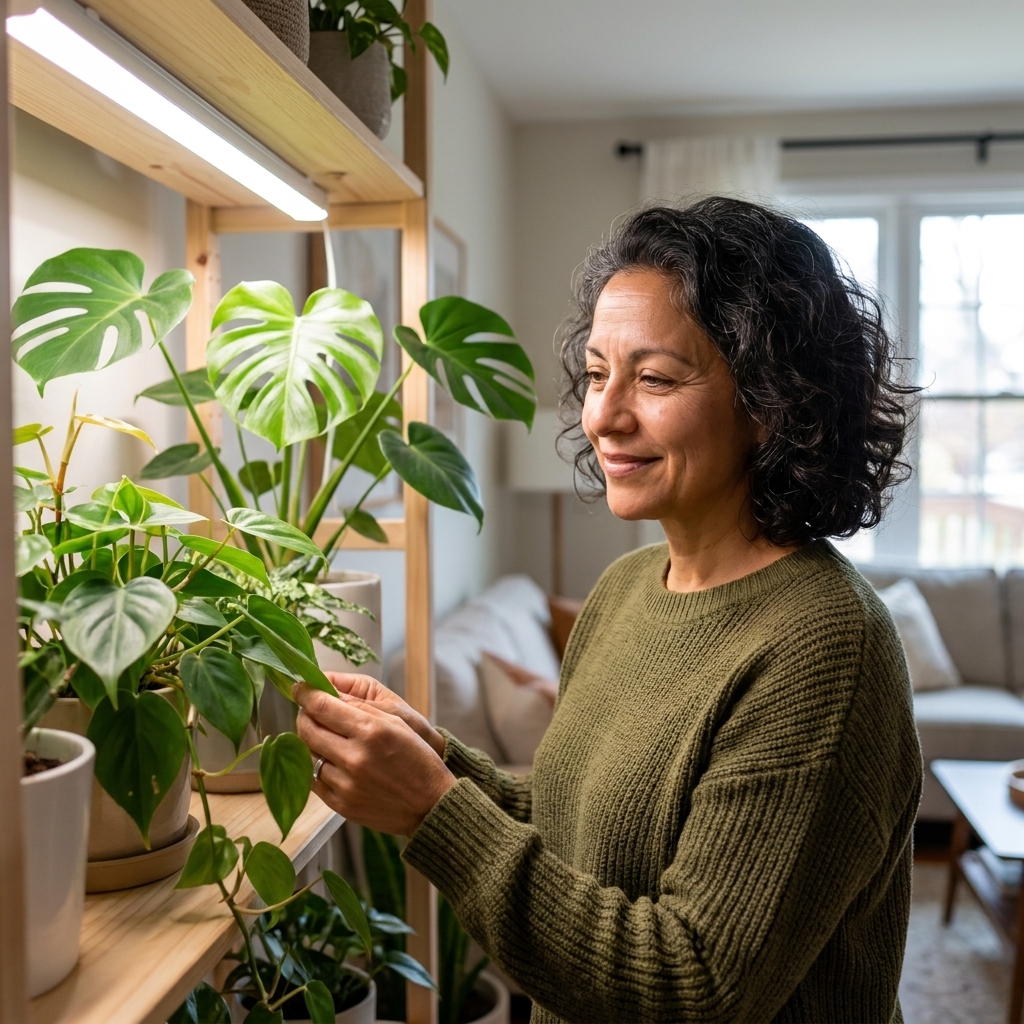
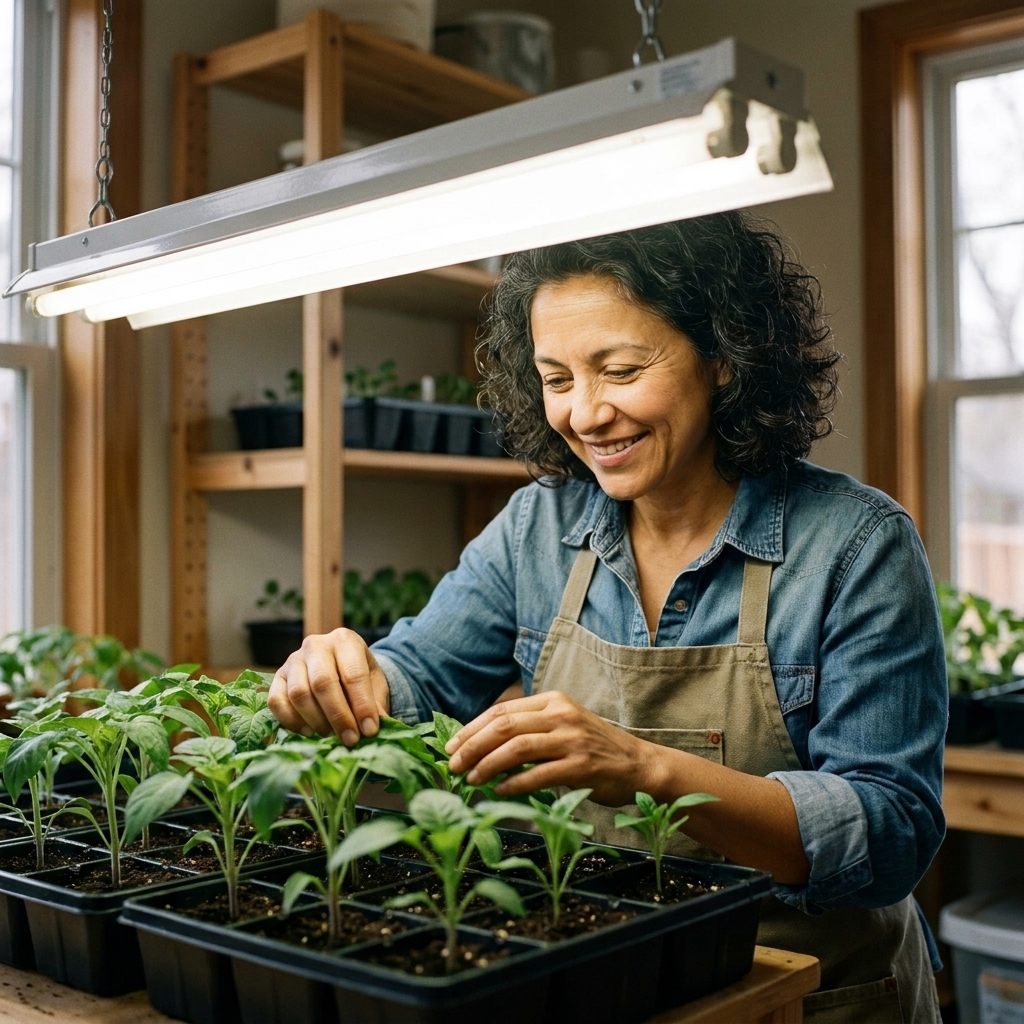
Grow lights (even basic shop lights) are much more consistent. Place the light close to the seedlings:
- Distance: often 2 to 4 inches above the tops for many LED shop lights, but it depends on the fixture. Follow manufacturer guidance and watch your plants. If leaves look pale or bleached, raise the light. If stems stretch, lower it.
- Duration: 14 to 16 hours per day
A timer keeps this effortless. Your seedlings want a steady “day length” even if you forget what day it is.
Add gentle airflow
A small fan on low for a few hours a day strengthens stems and can reduce the risk of damping off by drying the surface faster. Clean containers and a fresh, sterile mix matter even more. Think of the fan as a light breeze, not a wind tunnel.
Step 8: Water without trouble
Indoor seed starting is a moisture-balancing act. Too dry and seeds stall. Too wet and you invite mold, fungus gnats, and weak roots.
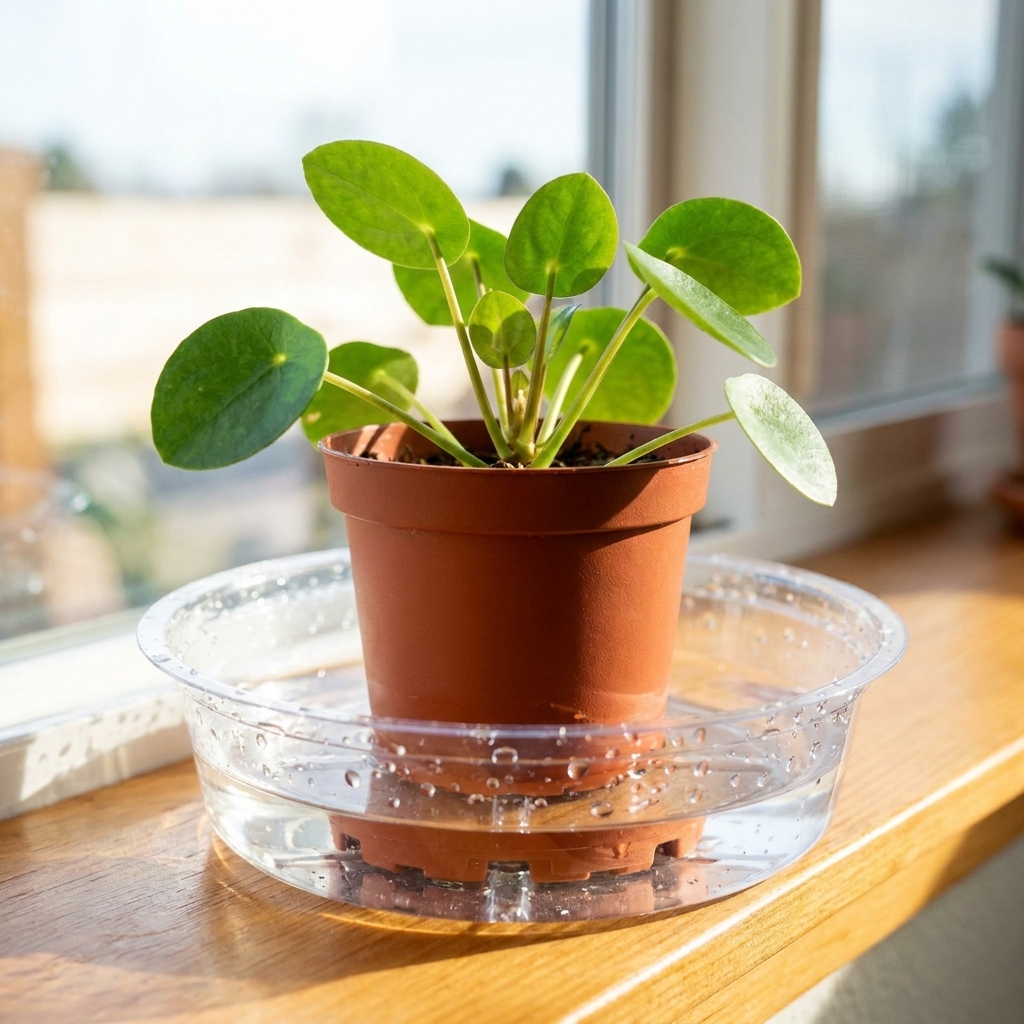
My favorite method: bottom-watering
- Set trays in a shallow pan with about 1/2 inch of water.
- Let them soak 10 to 20 minutes, then drain excess.
- Do not leave trays sitting in water long-term. Soggy roots are not brave, they are just stressed.
- Water again only when the surface looks lighter in color and the tray feels noticeably lighter.
Bottom-watering encourages roots to grow downward and keeps the surface drier, which discourages gnats.
If you see green fuzz or algae
That is a sign the surface is staying too wet. Increase airflow, remove domes, and let the top dry slightly between waterings.
Step 9: Thin or pot up
This is the part that tests my sentimental heart every year. If you planted multiple seeds per cell (totally normal), you will need to thin to the strongest seedling. The goal is one seedling per cell or pot.
- Use scissors to snip extra seedlings at soil level, rather than pulling and disturbing roots.
When to pot up
Once seedlings have 1 to 2 sets of true leaves, many crops do better with more space.
Cotyledons are the first baby leaves and usually look smooth and simple. True leaves come next and look more like the plant you are actually growing (tomato leaves look like tomato leaves, basil looks like basil).
Pot up when:
- Roots are circling the bottom
- Seedlings dry out very quickly
- Growth stalls even with good light
Tomatoes are special: you can pot them deeper, burying part of the stem. They will form extra roots along the buried stem and become sturdier.
Step 10: Feed lightly
Seed-starting mix has little nutrition, by design. Once the first set of true leaves appears, seedlings appreciate gentle feeding.
- Use an organic liquid fertilizer or fish and kelp blend at 1/4 to 1/2 strength.
- Feed every 1 to 2 weeks, or follow your product’s label and adjust based on growth. Some gardeners do a weak feed more often. Either approach works if the dose stays gentle.
If leaves are pale and growth is slow, you may need a little more nutrition. If plants are lush but floppy, back off and double-check your light.
Step 11: Harden off
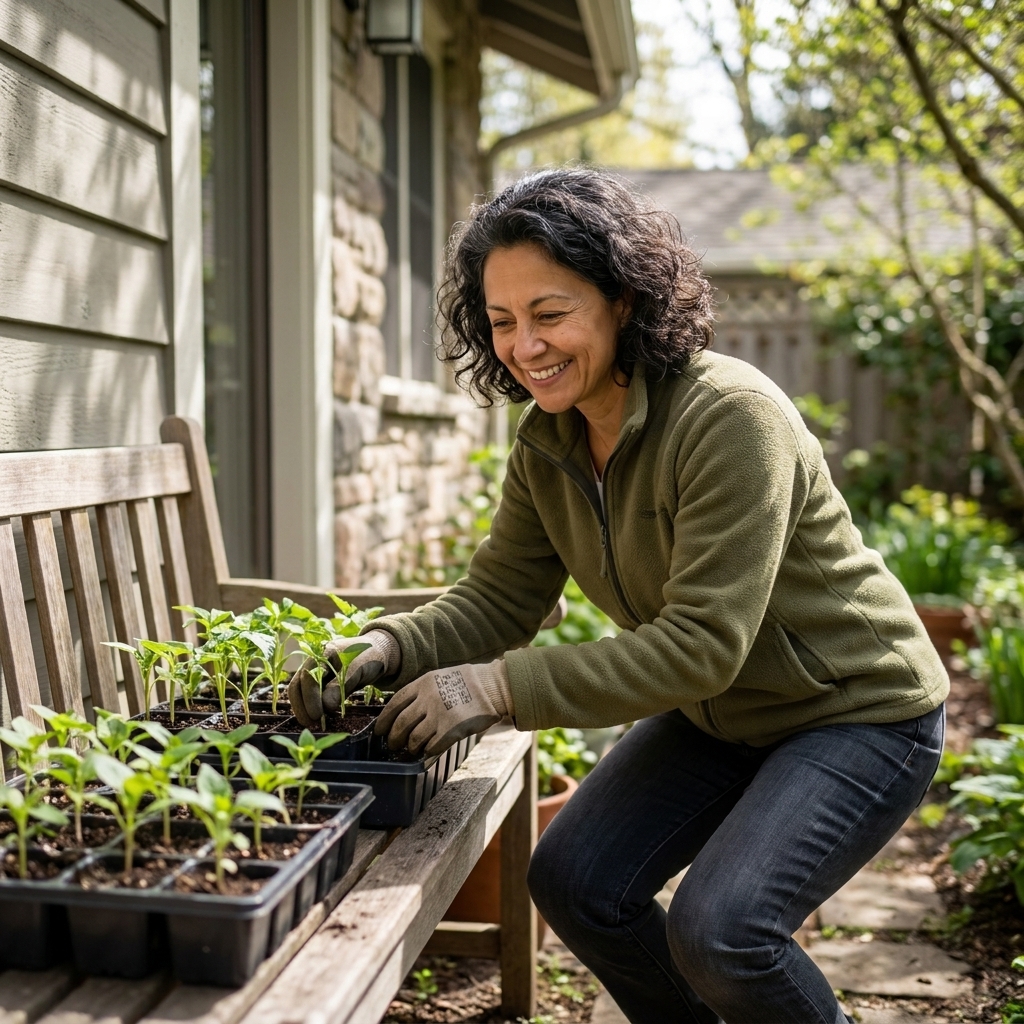
Hardening off is the bridge between your cozy indoor setup and the real outdoors, where wind, sun, and temperature swings can shock tender leaves.
Plan for 7 to 10 days:
- Days 1 to 2: 1 to 2 hours outside in bright shade, protected from wind
- Days 3 to 5: increase outdoor time, introduce morning sun
- Days 6 to 10: longer sun exposure, cooler nights if temperatures are safe for the crop
Keep an eye on the forecast. A surprise cold snap can undo your good work fast.
Step 12: Transplant day
- Transplant on a calm, cloudy day if you can. Late afternoon works too.
- Water seedlings a few hours before planting.
- Handle by leaves, not stems, when possible.
- Plant at the right depth: tomatoes deeper, peppers at the same depth they were in the pot.
- Water in well and consider a light mulch once the soil warms.
Readiness cues
- General: deep green color, sturdy stems, and roots that hold the plug together when you lift the seedling
- Tomatoes: often 6 to 10 inches tall with several sets of true leaves
- Peppers: often 4 to 6 inches tall with multiple true leaves, looking stocky rather than stretched
Then take a breath. The goal is not perfection. The goal is momentum.
Troubleshooting
Leggy seedlings (tall, floppy stems)
- Cause: not enough light or light too far away
- Fix: bring lights closer, increase duration to 14 to 16 hours, add gentle airflow
Damping off (seedlings collapse at the soil line)
- Cause: fungal disease encouraged by soggy soil, overcrowding, and poor airflow
- Fix: start with clean containers and fresh mix, remove humidity dome early, bottom-water, add a fan, avoid overwatering
Mold on soil surface
- Cause: surface staying too wet
- Fix: let the surface dry slightly, improve airflow, scrape off the worst patches and top-dress with a pinch of dry mix
Seeds not germinating
- Cause: temperature too cool, seed too old, planted too deep, or inconsistent moisture
- Fix: check seed packet temperature needs, try a heat mat, keep evenly moist, reseed if needed
Fungus gnats
- Cause: constantly moist soil surface
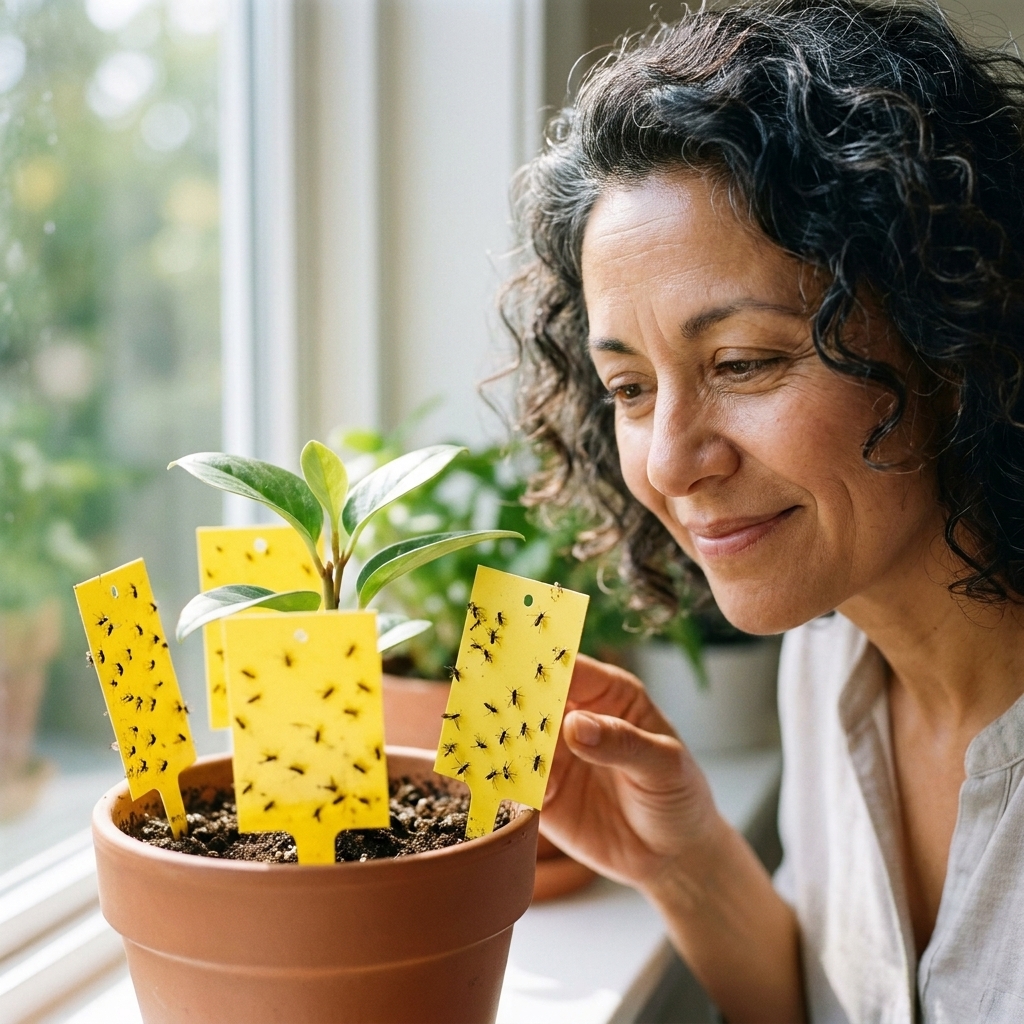
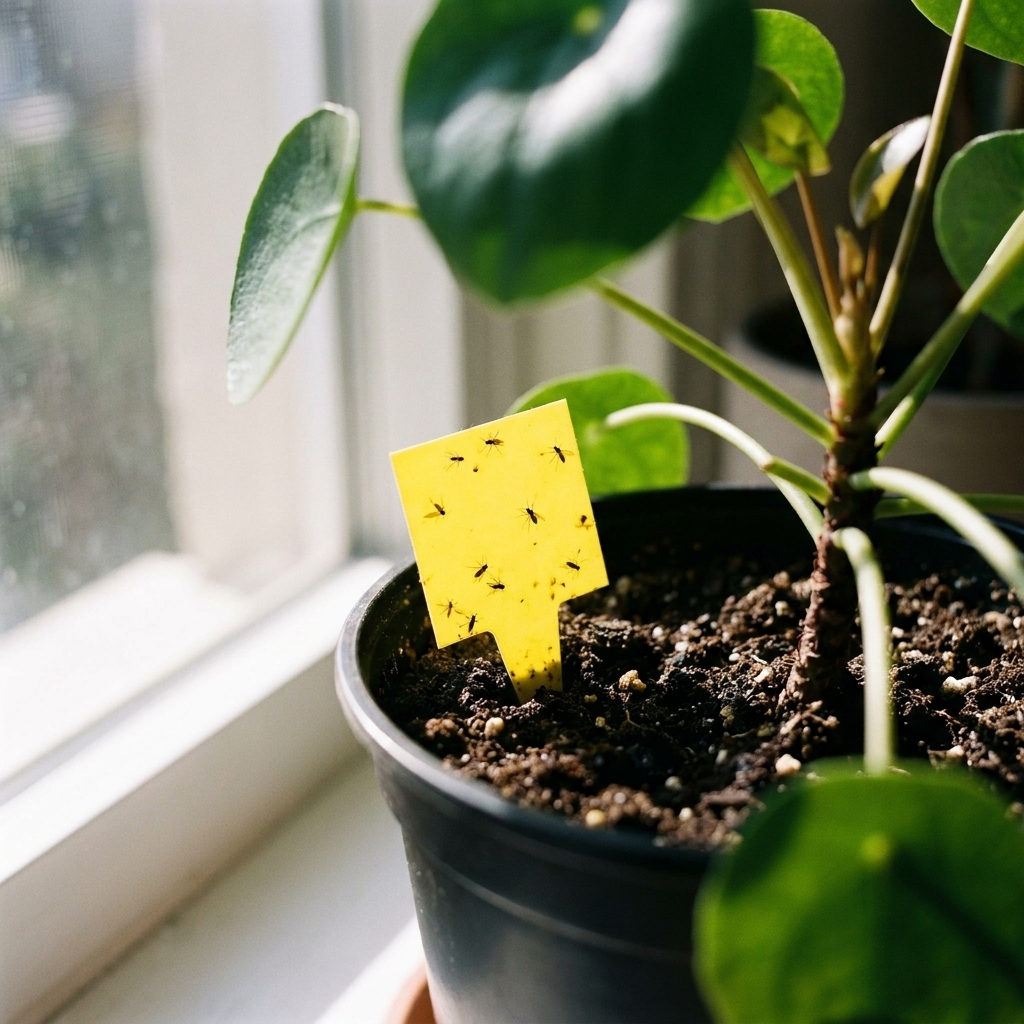
- Fix: bottom-water, allow the top to dry, use yellow sticky traps, and keep gnatty houseplants away from your seedlings
And yes, I have personally battled every issue on this list. The year of the Great Zucchini Invasion (2019) also included fungus gnats that acted like they owned my kitchen. They did not. Eventually.
Seed-starting checklist
- Clean containers and tools
- Fresh seed-starting mix, pre-moistened to wrung-out sponge texture
- Containers with drainage + tray underneath
- Labels in place
- Seeds planted at proper depth
- Warmth for germination (room warmth or heat mat)
- Lights on immediately after sprouting, 14 to 16 hours daily
- Bottom-water as needed, then drain
- Thin to one seedling per cell or pot
- Pot up after true leaves if crowded
- Begin light feeding after the first true leaves
- Harden off 7 to 10 days before transplant
FAQ
Do I need grow lights to start vegetable seeds indoors?
Not always, but lights make success far more consistent. A bright south-facing window can work for a small number of seedlings, especially leafy greens, but fruiting crops like tomatoes and peppers usually do better under a simple shop light placed close to the plants.
How many hours of light do seedlings need?
Aim for 14 to 16 hours per day. Give them darkness at night, too. Plants rest just like we do.
What is the best temperature for starting seeds indoors?
Most seeds germinate well between about 65 and 80°F (18 to 27°C), with peppers and eggplant preferring the warmer end. Many cool-season crops germinate happily cooler, too. Once seedlings are up, slightly cooler temps can help keep growth stocky.
When should I remove the humidity dome?
As soon as most seeds in the tray have sprouted. Domes are great for germination, but keeping them on too long raises the risk of mold and weak growth.
Can I reuse seed-starting trays and pots?
Yes. Wash off soil, then disinfect with a dilute bleach solution (about 1 part bleach to 9 parts water), rinse well, and dry. It is a simple step that prevents a lot of disease headaches.