Stop fungus gnats at every life stage with a simple, natural indoor plant plan: dry-outs, sticky traps, BTI drenches, and long-term prevention.
Gardening insights
Bottom Watering Houseplants: Pros, Cons, and How to Do It Right
Bottom watering can help with even hydration and fungus gnats, but it is not perfect for every plant. Learn the pros, cons, and a simple step-by-step method that keeps houseplants healthy.

Elena Rosales
Elena Rosales is a certified Master Gardener and lifelong plant enthusiast who believes anyone can cultivate a green thumb. After transforming her tiny urban balcony into a thriving plant oasis, she moved to a half-acre homestead to grow her own food and flowers. Today, she shares practical, hands-on gardening advice to help the Hortello community bring more green into their lives.
Published September 21, 2026
Updated September 21, 2026
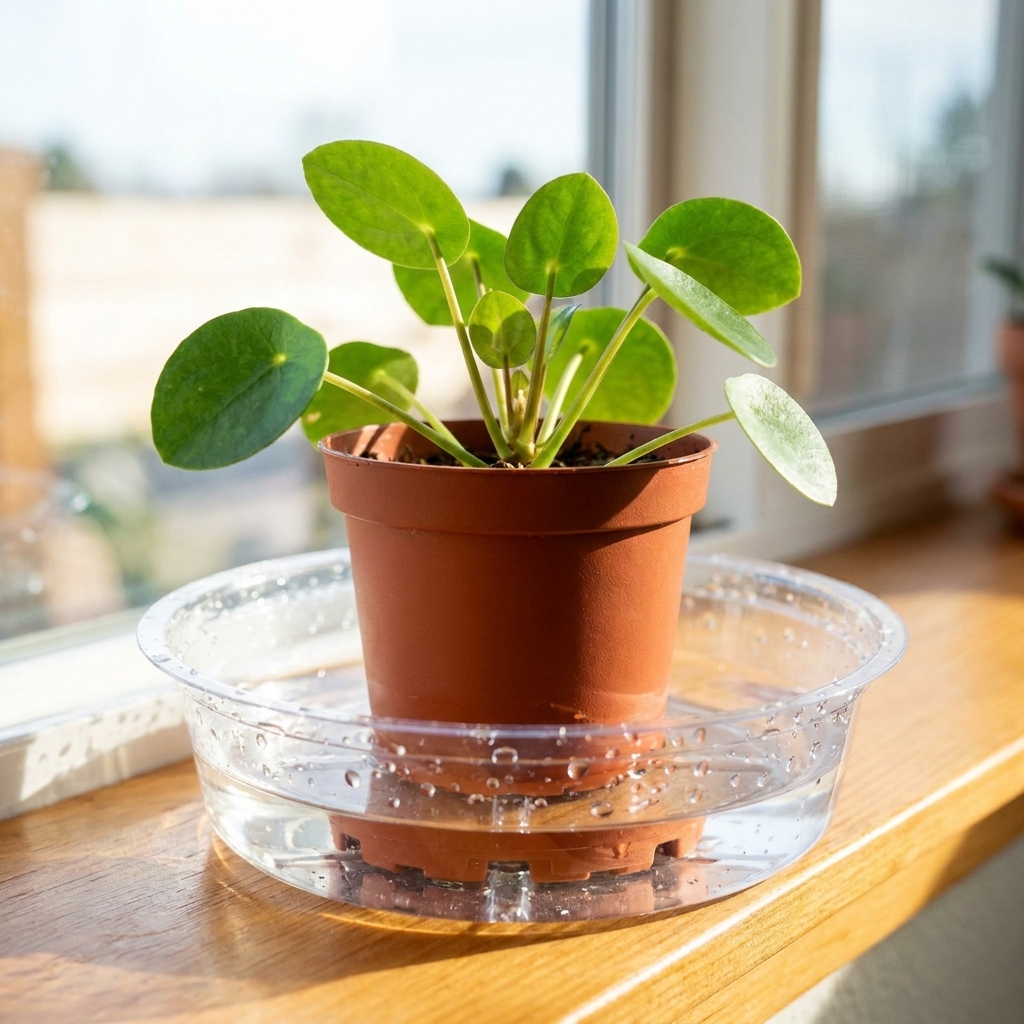
Bottom watering is one of those houseplant habits that sounds a little backwards until you try it. Instead of pouring water on top of the soil, you set your pot in a shallow tray of water and let the plant drink from the drainage holes. It feels a bit like setting out a tiny spa for your pothos.
Done right, it can be a game changer for root health and for anyone battling fungus gnats . Done wrong, it can leave you with waterlogged soil, mineral buildup, or a pot that never quite dries out. Let’s walk through the real pros and cons, plus my go-to routine for most nursery pots.
What bottom watering does
Soil holds water in tiny spaces between particles. When you set a pot in water, moisture moves upward through the potting mix by capillary action, sort of like a paper towel soaking up a spill.
This approach can change how evenly the root zone gets wet. Instead of water rushing down through dry pockets and out the drainage hole, moisture rises and spreads through the mix more gradually. That matters a lot for compacted, peat-heavy potting soils that tend to repel water when they dry out.
The pros
It can encourage deeper roots
When moisture is consistently available lower in the pot, some plants respond by exploring downward. It’s not guaranteed (root growth depends on the plant, pot size, oxygen levels, and the mix), but bottom watering can help if you tend to top-water too lightly (I’m absolutely guilty of the quick “sip” watering when I’m in a hurry).
It helps keep foliage and crowns dry
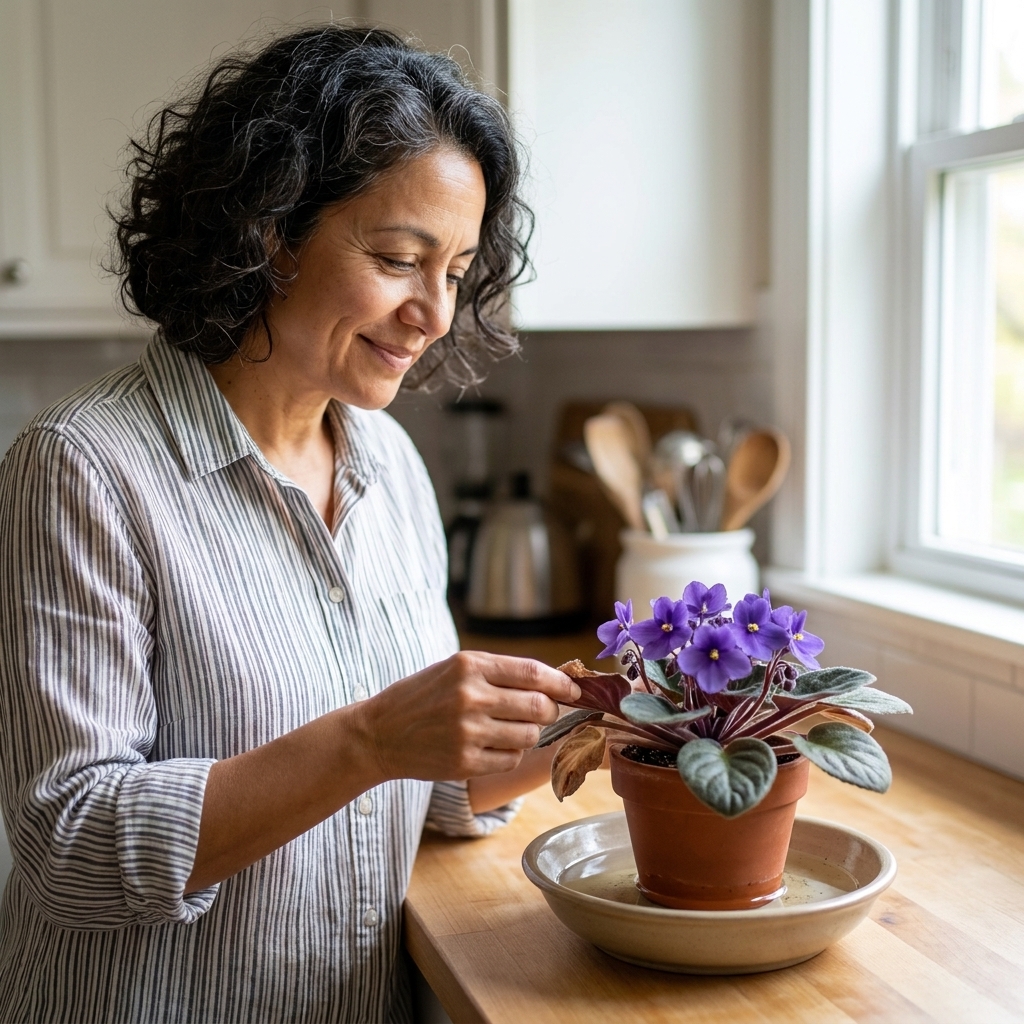
Some plants really dislike water sitting in the wrong place. African violets, many begonias, and plants with fuzzy leaves can spot or rot if water pools in the crown or on leaves. Bottom watering keeps the top growth drier.
It can help with fungus gnats
Fungus gnats lay eggs in consistently moist topsoil. Bottom watering often keeps the upper layer drier between waterings, especially if you don’t soak too long and let the pot drain well. It won’t erase a full-blown infestation by itself, but it’s a helpful piece of the puzzle.
It rehydrates hydrophobic potting mix
Ever water a plant and watch the water run straight down the sides of the pot, leaving the center bone dry? Bottom watering can slowly re-wet that stubborn, dried-out mix more evenly than top watering alone.
It’s great for small pots and seedlings
For tiny containers, top watering can disturb soil, expose roots, or knock over seedlings. Bottom watering is gentle and steady.
The cons (and what to watch)
It can lead to soggy soil if you overdo it
Bottom watering isn’t a “set it and forget it” method. Leaving a pot sitting in water too long can saturate the entire root zone and push out oxygen. Roots need both moisture and air. No oxygen, no happy roots.
Mineral and fertilizer salts can build up
When you top-water until water drains out the bottom, you flush some dissolved salts with it. Bottom watering does less flushing, so minerals from tap water and fertilizer can accumulate over time, sometimes showing up as a crust on the soil surface or pot rim.
Fix: Top-water thoroughly (until it drains) about once a month, or whenever you notice crusting, slower growth, or leaf-tip burn.
Extra tip: If you have very hard tap water (or you grow salt-sensitive plants), using filtered, rain, or distilled water can make a noticeable difference over time.
It’s not ideal for every potting mix
Very chunky mixes (think orchid bark heavy aroid mixes) don’t wick water upward as well. You might end up only wetting the bottom layer, leaving dry pockets higher up. In that case, a slow, thorough top-watering is often better.
It can hide problems if you never check the mix
Because the surface can stay drier, it’s easy to assume the whole pot is dry when it isn’t, especially in larger pots. Check moisture a couple inches down, or use the pot weight test.
Heavy pots and no drainage holes are deal breakers
Bottom watering requires drainage holes. If your pot has none, water has nowhere to enter or exit, and you’re playing root rot roulette. Also, if your plant is in a massive ceramic pot, bottom watering can be impractical unless it sits in a saucer you can fill and empty easily.
Best plants for it
I reach for bottom watering most often for:
- African violets and other fuzzy-leaf plants that spot easily
- Begonias (especially rex types)
- Pothos, philodendron, and spider plants when the mix has gotten unevenly dry
- Small plants in nursery pots that dry fast
- Plants prone to fungus gnats in peat-heavy mixes
I use it less often for:
- Succulents and cacti (they prefer a full soak and then a true dry-out, and their gritty mixes don’t always wick well)
- Orchids in bark (better to soak the whole pot briefly, then drain)
- Plants in very chunky aroid mixes (top watering is usually more even)
How to bottom water
This is my no-drama method. It works for most typical nursery pots and standard indoor potting mixes.
1) Pick a container
- A shallow tray, baking dish, or plant saucer works well.
- Make sure it’s wide enough that the pot sits flat and stable.
2) Add water
Fill the tray with about 1 to 2 inches of room-temperature water. Keep the water line below the top of the pot and below the soil line, and watch small nursery pots so they don’t float or tip.
3) Soak (with a timer)
Place the pot in the water and let it soak 10 to 30 minutes.
- Small pots (2 to 4 inches): 10 to 15 minutes
- Medium pots (5 to 8 inches): 15 to 25 minutes
- Large pots (9 inches and up): 25 to 45 minutes, but check more often
How to tell it’s done: the pot feels noticeably heavier and the top of the soil feels evenly damp (not muddy). If the top is still dry after 30 to 40 minutes, your mix may be too chunky or too compacted to wick well, and top-watering (or a repot) will usually work better.
4) Lift and drain
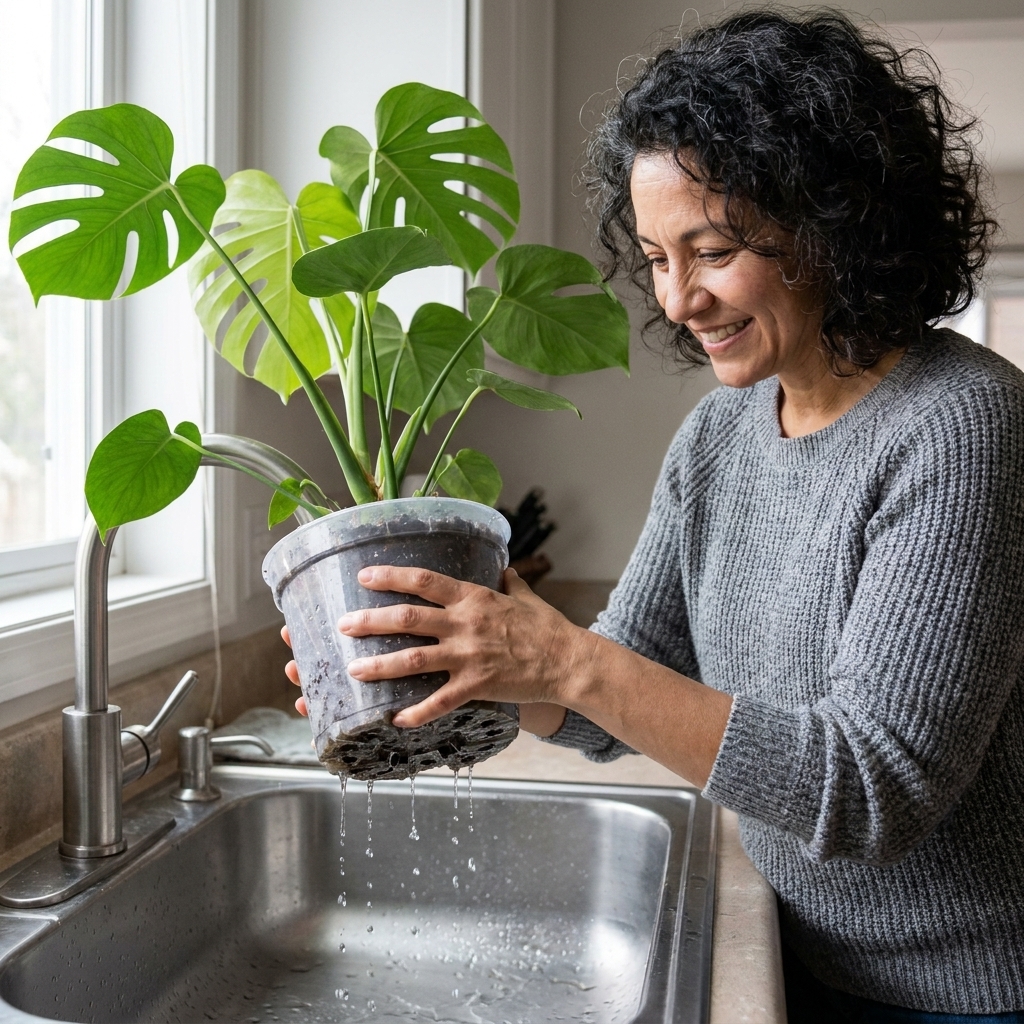
Lift the pot out and let it drip dry in the sink or on a dry towel for a few minutes. If you use a decorative cachepot, don’t put the plant back in it until it’s done dripping.
5) Dump the leftover water
Don’t let pots sit in standing water after the soak.
How often to do it
Watering schedules are personal and seasonal, but these guidelines keep you out of trouble:
- Water when the plant needs it, not on a calendar. Check soil moisture and pot weight.
- Most common tropical houseplants: when the top 1 to 2 inches are dry.
- Thirstier plants (peace lily, some ferns): when the top inch is dry, before the whole pot dries.
- Succulents and cacti: when the mix is dry all the way through.
If you’re switching from top watering to bottom watering, expect to adjust. Bottom watering often hydrates more thoroughly, so it may extend the time between waterings.
Fungus gnats: what helps
If fungus gnats are your nemesis, bottom watering is a great start, but it works best paired with a few extra habits:
- Let the top layer dry between waterings whenever the plant can tolerate it.
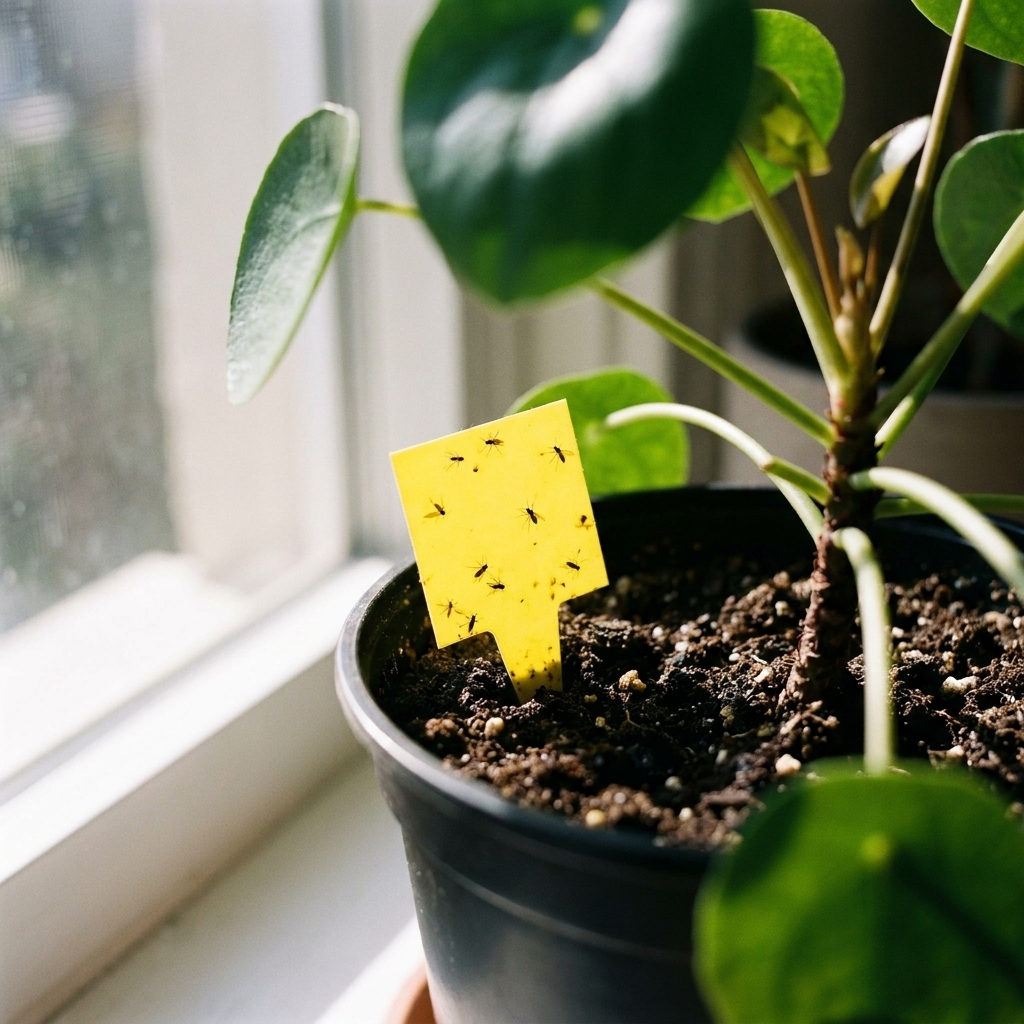
- Use yellow sticky traps to catch adults and track whether you’re improving.
- Try a top barrier (optional) like a thin layer of coarse sand or fine gravel. This can make egg-laying harder, but in some setups it also holds moisture in, so monitor the top layer and skip it if the surface stays wet.
- Consider BTI (often sold as Mosquito Bits or dunks) to target larvae in the soil.
Also, be gentle with yourself. I once brought home a “perfect” new plant that came with bonus gnats. It happens to the best of us.
Common mistakes
Mistake: Leaving the pot too long
Fix: Set a timer and check the topsoil. If it’s evenly damp, you’re done.
Mistake: Bottom watering exhausted, compacted soil
Fix: If water barely wicks up after 30 to 40 minutes, the mix may be too compacted or the peat has gone hydrophobic. Aerate gently with a chopstick, or consider repotting into a fresh mix with perlite or bark for airflow.
Mistake: Never flushing the soil
Fix: Once a month, top-water until water drains freely to help prevent mineral buildup.
Mistake: Using very cold water
Fix: Aim for room temperature. Water that’s truly cold can stress some tropical roots, especially in winter.
Mistake: Forgetting the cachepot
Fix: If your plant lives inside a decorative outer pot, always remove it to water, then return it only after it has drained.
Quick FAQ
Is bottom watering better than top watering?
Not universally. Bottom watering is a great tool, especially for plants that hate wet leaves or for potting mix that dries unevenly. Top watering is better when you want to flush salts, when the mix is very chunky, or when you need to fully saturate and then drain quickly.
Should I fertilize when bottom watering?
You can, but go light. Use a diluted liquid fertilizer and bottom water as usual, then plan a top-water flush occasionally to prevent salt buildup. If you’re prone to over-fertilizing, bottom watering with plain water and feeding from the top is often simpler.
Can I bottom water in the sink or bathtub?
Absolutely. It’s especially handy for multiple plants at once. Just keep an eye on time and let pots drain before moving them back.
How do I know if my plant drank enough?
Lift the pot. A well-watered pot feels noticeably heavier. You can also check the topsoil. It should feel evenly damp, not soupy.
My honest take
Bottom watering is one of my favorite “low drama” techniques when I want steady, even hydration and fewer messes on leaves. It’s saved more than one plant of mine after I accidentally let the potting mix get too dry and stubborn.
Just remember the two rules that keep it safe: don’t soak forever, and flush from the top occasionally. Your roots get their drink, your soil stays healthier, and you get to feel like the calm, competent plant person you already are.