Winter can be tough on houseplants. Learn how to adjust watering, boost humidity, and maximize low winter light so your indoor plants stay happy until spring.
Gardening insights
Get Rid of Fungus Gnats Naturally
A safe, chemical-free plan to eliminate fungus gnats in indoor plants using drying cycles, sticky traps, soil drenches, and prevention habits that keep them from coming back.

Elena Rosales
Elena Rosales is a certified Master Gardener and lifelong plant enthusiast who believes anyone can cultivate a green thumb. After transforming her tiny urban balcony into a thriving plant oasis, she moved to a half-acre homestead to grow her own food and flowers. Today, she shares practical, hands-on gardening advice to help the Hortello community bring more green into their lives.
Published September 21, 2026
Updated September 21, 2026
If you have ever watered a houseplant and watched a tiny cloud of little black flies lift off the soil like you startled a miniature swarm, welcome to the fungus gnat club. I have been there, usually right when I am feeling proud of my lush pothos. The good news is fungus gnats are very beatable without harsh chemicals. The trick is to stop thinking of them as “annoying flies” and start treating them as a soil moisture problem with a life cycle.
This plan is safe for most homes, including those with kids and pets, and it focuses on breaking the cycle: adults, eggs, larvae, and the moist conditions they love.
What fungus gnats are (and why they show up)
Fungus gnats are small, mosquito-like flies that lay eggs in damp potting mix. The adults are mostly a nuisance, but the larvae are the real issue: they live in the top couple inches of soil, feeding on algae, fungi, and decaying organic matter. In heavier infestations, they can nibble tender roots, especially in seedlings and cuttings.
Common reasons they move in
- Consistently wet soil, especially in pots without good drainage
- Organic-rich mixes that stay damp (great for plants, also great for gnat nurseries)
- Overpotting, where a small plant sits in a big pot and the soil stays wet for days
- Decaying leaves on the soil surface
- New plants or potting soil that arrive with hitchhikers
Confirm it is fungus gnats
Before you declare war, make sure you are fighting the right pest.
- Fungus gnats: tiny black flies that hover around soil and run across the surface when disturbed.
- Fruit flies: usually hang around kitchens, trash, and ripening fruit. They love fermenting smells.
- Drain flies: fuzzy, moth-like flies that rest on bathroom or kitchen walls near sinks.
Easy test: gently tap the pot and watch the soil surface. If little flies pop up from the potting mix, that is fungus gnats.
The natural plan
You will get the fastest results by combining three moves: dry the top layer, trap adults, and treat larvae. Pick a starting day and do the full plan for 3 to 4 weeks. Timing depends on temperature and moisture, and warmer rooms often move things along faster.
At-a-glance checklist
- Let the top layer dry between waterings (as your plant allows).
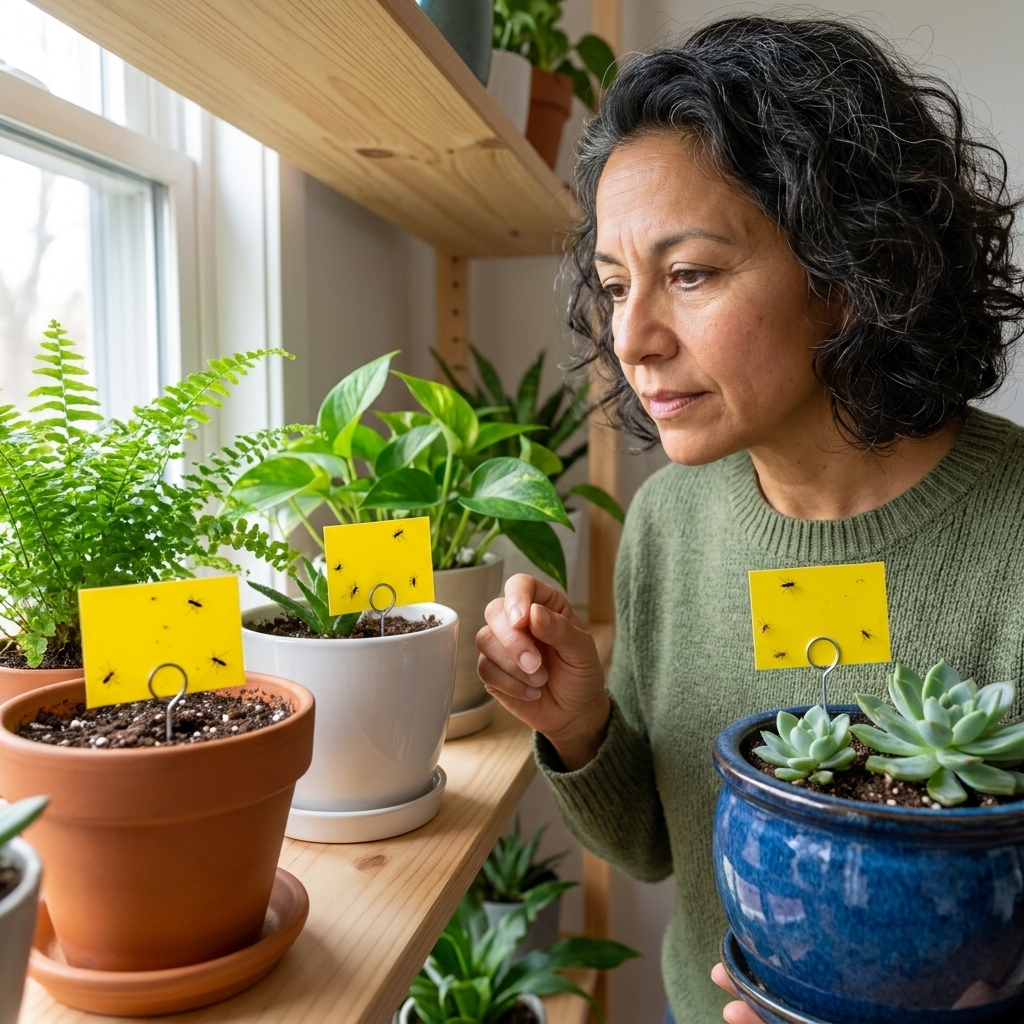
- Use yellow sticky traps to catch adults and track progress.
- Treat the soil with BTI or beneficial nematodes to stop larvae.
Step 1: Dry out the top 1 to 2 inches
Larvae need moisture. Your first line of defense is to let the top of the soil dry between waterings. How dry and how deep depends on your plant, pot size, and mix, so treat “1 to 2 inches” as a guideline, not a rule.
- Check moisture with your finger, not your calendar.
- Water deeply, then let the surface dry out again.
- Empty saucers so pots are not sitting in water.
- If your plant cannot tolerate drying out (hello, ferns), keep reading. We will still tackle gnats with larval treatments and top-dressings.
Step 2: Catch adults with yellow sticky traps
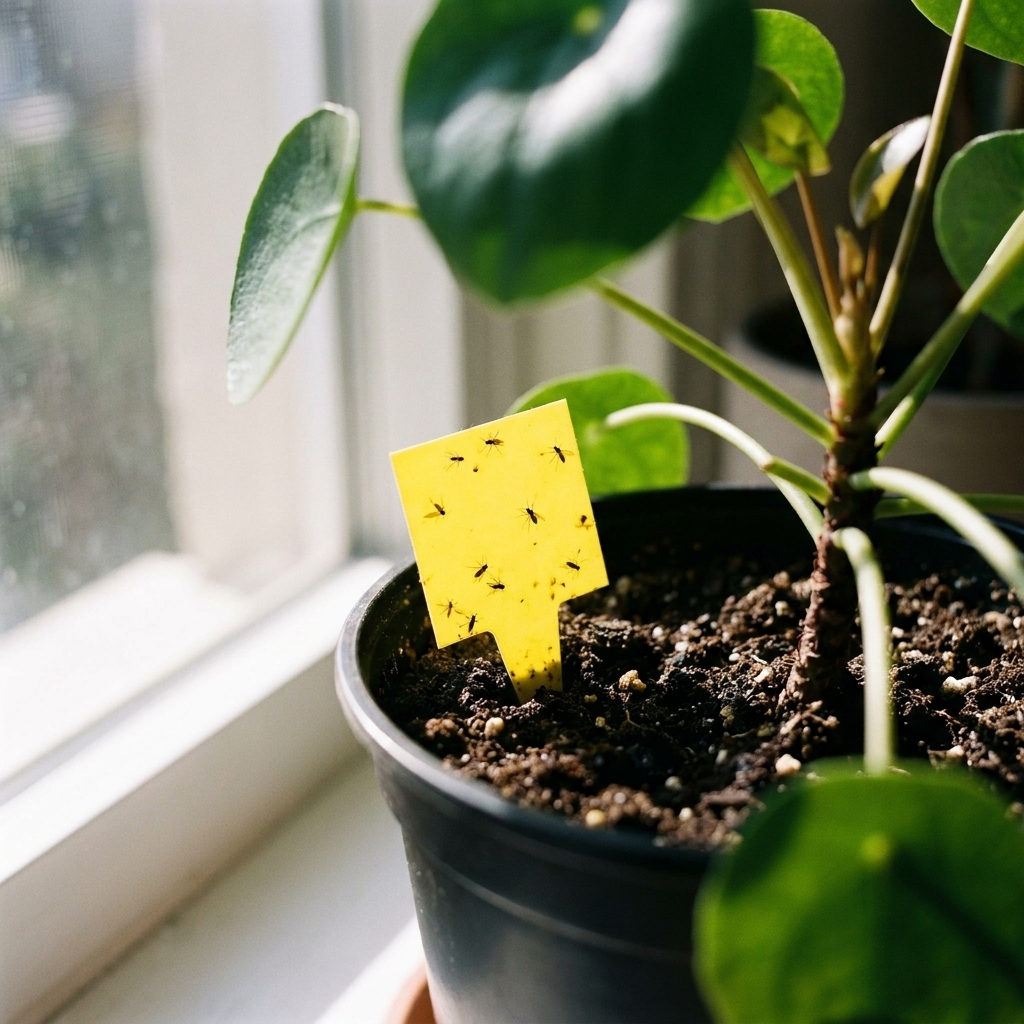
Sticky traps reduce the number of egg-laying adults fast. They also show you whether your plan is working.
- Place one trap per pot for small pots, or 2 to 3 for large planters.
- Position traps right above the soil line, where adults hover.
- Replace when covered with dust or insects.
Step 3: Kill larvae with BTI (Mosquito Bits or Mosquito Dunks)
This is my favorite natural “big gun” because it is targeted and gentle. BTI is a beneficial bacteria (Bacillus thuringiensis israelensis) that affects mosquito and fungus gnat larvae. It is generally considered low toxicity for people and pets when used as directed, but always follow the product label and keep bits or dunks away from curious pets that might try to eat them.
How to use it as a soil drench:
- Follow your product’s label directions for rates and timing.
- If you are using the common “BTI tea” method: soak about 1 tablespoon of Mosquito Bits in 1 quart of water for 30 minutes, then strain (or pour carefully so bits stay out of the pot). Some products suggest different amounts or soak times, so the label wins.
- Water the plant with the BTI solution until it drains out the bottom.
- Repeat once a week for 3 to 4 weeks for best odds of breaking the cycle.
Tip from my own trial-and-error: BTI works best when you are consistent. One drench helps, repeated drenches end the cycle.
Step 4: Top-dress to discourage egg laying
Once you have started drying cycles and BTI, you can add a top layer that makes the soil surface less inviting. Consider this optional support, not the main fix. It works best alongside moisture control and larval treatment.
- Coarse horticultural sand or fine gravel: add a thin 1/4- to 1/2-inch layer. It dries quickly and discourages egg laying. (Very fine sand can sometimes affect how water soaks in, so go coarse.)
- Small-grade orchid bark: helps the surface dry faster while still looking natural.
Avoid: thick layers of decorative moss indoors. It holds moisture and can make the problem linger.
Step 5 (optional): Hydrogen peroxide drench for quick knockdown
If you want a fast larval hit and you do not have BTI yet, you can use 3% hydrogen peroxide diluted at 1 part peroxide to 4 parts water as a one-time drench. It fizzes in the soil and can reduce larvae, but plant sensitivity varies.
- Use it occasionally, not as a weekly habit, because repeated use can stress roots and soil biology.
- Avoid using it on very young seedlings or fragile cuttings.
- Do not mix with other oxidizers or treatments in the same watering.
- Test on one plant first, and stop if your plant looks stressed afterward.
Step 6: Check for other breeding spots
If you are doing everything “right” and still seeing gnats, there is often a second nursery somewhere nearby. Do a quick sweep.
- Dump standing water from cachepots and drip trays.
- Check self-watering reservoirs and keep them clean.
- Seal and store potting soil bags so they do not stay damp and gnat-friendly.
- Look for forgotten damp spots, like a wet sponge, a leaky plant shelf, or a humidifier that keeps nearby soil constantly moist.
What not to do
- Do not keep watering “because the plant looks thirsty.” Many plants droop from wet feet too, not just dryness.
- Do not rely on cinnamon alone. It smells lovely and has mild antifungal properties, but it rarely solves an active infestation by itself.
- Do not pour boiling water into pots. It can cook roots and warp plastic pots.
- Be cautious with neem oil soil drenches. Neem can be helpful on foliage pests, but drenches can stress roots and do not reliably solve gnats.
For plants that cannot dry out
Some indoor plants are sensitive to drying out. If you are caring for ferns, peace lilies, fittonias, or baby plants in propagation, focus on larval control and surface barriers instead of aggressive dry-outs.
- Use BTI drenches weekly for 3 to 4 weeks.
- Use sticky traps to reduce adults.
- Top-dress with coarse sand, fine gravel, or orchid bark to keep the surface less welcoming.
- Increase airflow with a small fan pointed nearby (not blasting the plant), which helps the surface dry faster.
Another pet-friendly option: beneficial nematodes
If you cannot find BTI, beneficial nematodes (Steinernema feltiae) are another solid larval control option. They are tiny beneficial organisms that move through moist soil and target gnat larvae. Follow package directions closely, and use them when soil temperatures are in the recommended range.
When to repot
If the infestation is stubborn, or your potting mix is old and staying soggy, repotting can be a reset. I do this when I see gnats every day even after two to three weeks of consistent BTI and traps.
Repotting checklist
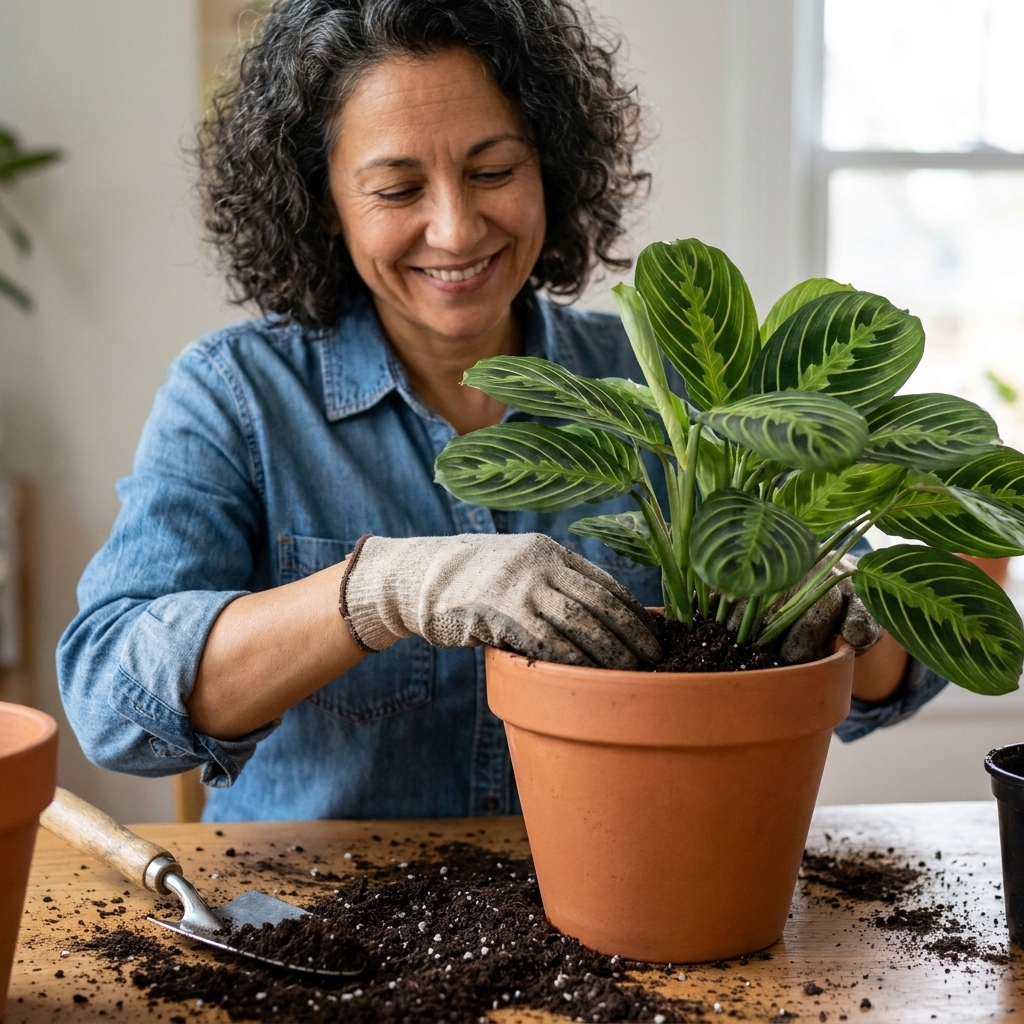
- Choose a pot with drainage holes.
- Use a fresh, well-aerated mix (add perlite or pumice if your mix is heavy).
- Gently shake off some old soil without tearing roots.
- Wash the pot with warm soapy water before reusing it.
- After repotting, do a BTI drench as insurance (follow label directions).
Keep them from coming back
Once you have won the battle, prevention is mostly about moisture management and small habits that keep the soil surface from becoming a nursery again.
- Bottom water when appropriate: set the pot in a tray of water for 15 to 30 minutes, then drain. It keeps the top layer drier. (Not ideal for every plant, but great for many.)
- Let the surface dry between waterings: especially in winter when indoor plants use less water.
- Skip oversized pots: pot size should match the root ball.
- Quarantine new plants: keep new arrivals separate for 1 to 2 weeks with a sticky trap in the pot.
- Store potting soil smartly: keep bags sealed. If you have had gnat issues, consider letting opened soil dry out before use or treating new pots with BTI right away.
Timeline
- Day 1 to 3: sticky traps start catching adults, fewer flies around your face.
- Week 1: after the first BTI drench, you often see a noticeable drop in new adults.
- Week 3 to 4: the cycle breaks, traps catch fewer gnats, and the “swarm” effect disappears.
If you are still seeing lots of gnats after 4 weeks, it usually means one of two things: the soil is staying consistently wet, or there is another breeding site nearby (a forgotten drip tray, a damp bag of potting mix, or another plant that did not get treated).
FAQ
Are fungus gnats harmful to my plants?
In most established houseplants, fungus gnats are more annoying than dangerous. The larvae can damage fine roots when populations get high, and seedlings or cuttings are more vulnerable.
Can I use diatomaceous earth for fungus gnats?
You can, but it is finicky indoors. Diatomaceous earth only works when it stays dry, and most gnats are present because the soil stays damp. If you try it, apply a thin layer to dry soil and reapply after watering. I typically get more reliable results with BTI plus sticky traps.
Do fungus gnats mean my soil is “bad”?
Not necessarily. They are a sign of consistently moist conditions and organic matter. Even high-quality mixes can host gnats if watering and airflow keep the top layer damp.
What is the safest method if I have pets?
Start with sticky traps (placed where pets cannot reach), allow the topsoil to dry as your plants tolerate, and use BTI according to label directions. Also remove fallen leaves from the soil surface. Those steps are effective and typically pet-friendly in normal household use.
A neighborly pep talk
If you feel a little embarrassed about fungus gnats, please do not. They are incredibly common, especially in winter when our homes are closed up and the soil takes longer to dry. Consider it a nudge to tweak your watering routine, not a sign you have failed at plant parenthood. I have had my own indoor gnat seasons, and the plants and I both survived just fine.
Stick with the plan for a few weeks, stay consistent, and you will get your windowsill back.