Save money and grow happier houseplants by mixing a custom potting medium. Learn the best ingredients, base ratios, and tailored mixes for pothos, succulents...
Gardening insights
Root-Bound Plants: Signs and Safe Repotting
Learn the signs of a root-bound plant, how to confirm it, and how to loosen, trim, and repot safely with minimal transplant shock.

Elena Rosales
Elena Rosales is a certified Master Gardener and lifelong plant enthusiast who believes anyone can cultivate a green thumb. After transforming her tiny urban balcony into a thriving plant oasis, she moved to a half-acre homestead to grow her own food and flowers. Today, she shares practical, hands-on gardening advice to help the Hortello community bring more green into their lives.
Published September 21, 2026
Updated September 21, 2026
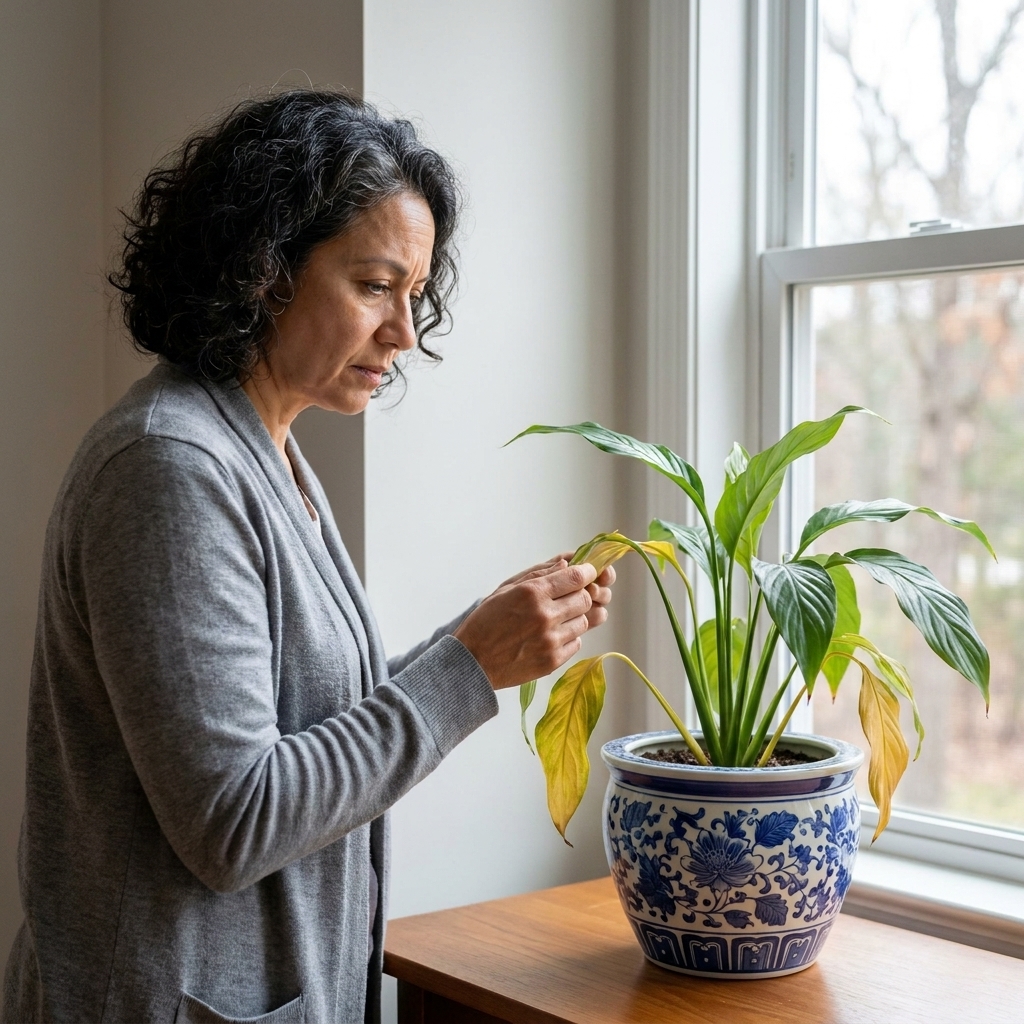
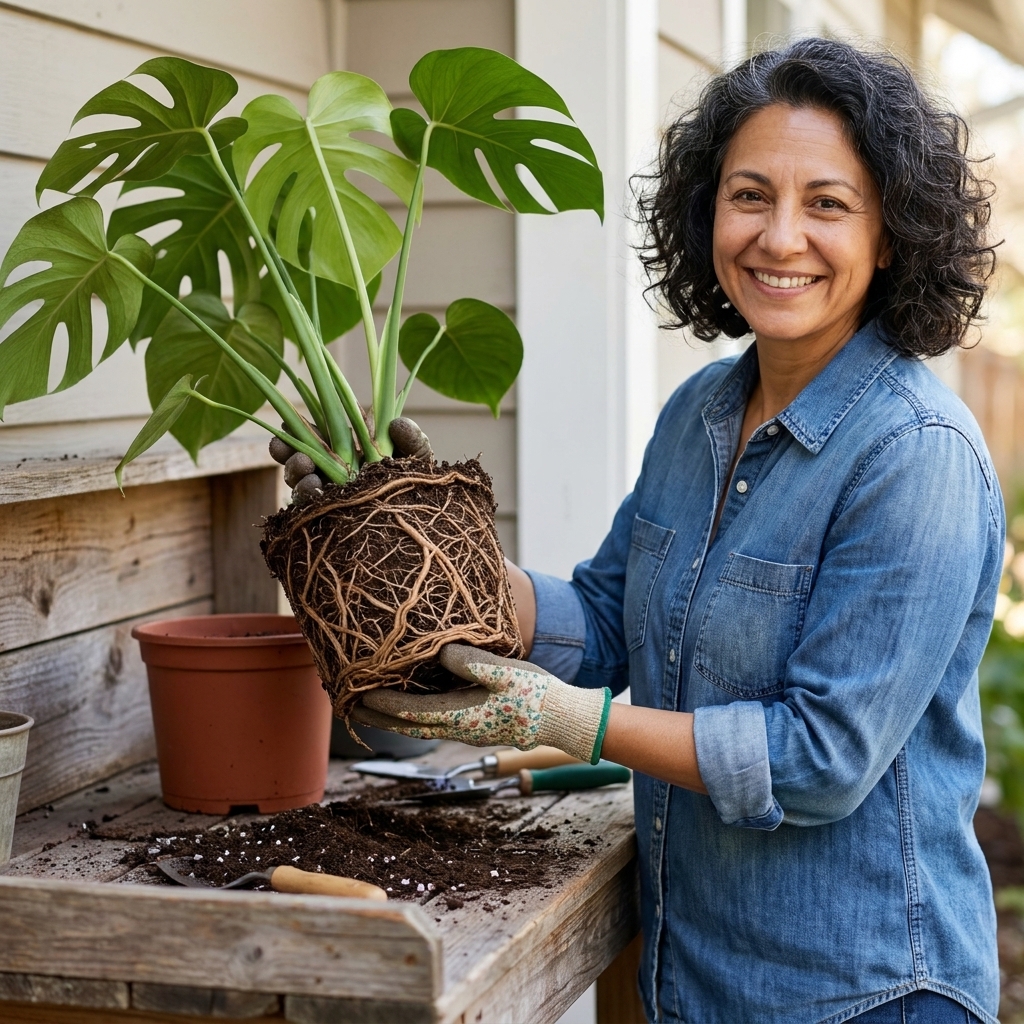
If you have ever slid a plant out of its pot and found a tight, tan spiral of roots that looks like a bundled bowl of noodles, you have met a root-bound plant. I used to think “more roots = more healthy,” until I watched a perfectly nice peace lily go from perky to permanently dramatic because it simply had nowhere left to stretch.
The good news: root-bound is common, fixable, and not a moral failing. It is just a plant that has outgrown its home. Let’s talk about how to spot it, how to confirm it, and how to repot in a way that keeps your plant steady and growing.
What “root-bound” means
A plant becomes root-bound (also called pot-bound) when its roots have filled nearly all the available potting mix and begin circling the pot. Instead of exploring outward into fresh soil, the roots keep looping around and around. That can lead to:
- Water running straight through because there is little soil left to hold moisture.
- Nutrient stress because the plant has used up what is available in the mix.
- Stunted growth because roots are cramped and oxygen is limited.
- More frequent wilting because the plant cannot buffer dry days the way it used to.
Quick reality check: fast-draining water is also a classic sign of hydrophobic potting mix , especially old peat-heavy soil that has dried out too hard. So yes, root-binding can cause it, but it is not the only culprit.
Some plants tolerate being slightly snug (and some even bloom better that way), like hoya, snake plant, spider plant, and many orchids. But “slightly snug” is different from “roots have turned into a solid pot-shaped plug.”
Signs your plant is root-bound
You do not always have to yank a plant out of its pot to suspect root-binding. These are the clues I watch for first.
Above-the-soil signs
- It dries out much faster than it used to, sometimes needing water every day or two in warm weather.
- It wilts again soon after watering, even though you are watering “correctly.”
- Slow growth in the active season (spring and summer for many houseplants) or smaller new leaves.
- Yellowing lower leaves that looks like nutrient deficiency despite regular feeding.
- The plant feels top-heavy and tips easily because the roots cannot anchor into more soil.
Pot and soil clues
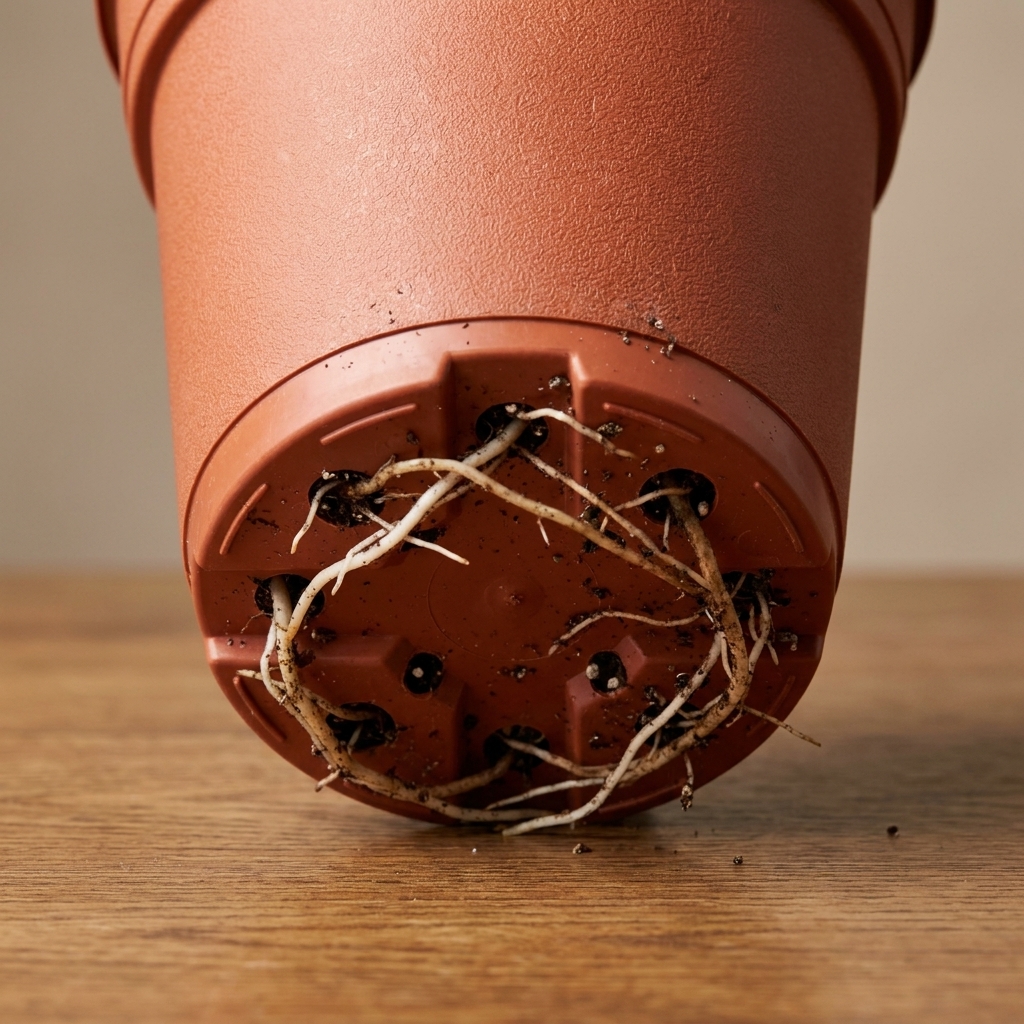
- Roots poking out of drainage holes, or circling on the soil surface.
- The pot bulges or cracks (more common with thin plastic or small clay pots).
- Water pools on top then rushes out the bottom, barely wetting the soil.
- Soil pulls away from the pot edges because the root mass has tightened and shrunk as it dries.
Worth ruling out: wilting can also come from underwatering, pests (hello, spider mites), or a mix that is compacted or water-repellent. If you are seeing webbing, stippled leaves, or sticky residue, pause the repot plans and deal with pests first.
How to confirm it safely
My favorite low-drama check is the “gentle slide.” Water the plant the day before (slightly moist soil holds together). Then:
- Lay the pot on its side.
- Support the plant at the base of the stems.
- Gently squeeze the pot (if it is plastic) and slide the root ball out a couple inches.
If you see thick roots circling the outer edge or a dense mat with very little soil visible, it is time. If you see a nice mix of soil and roots with room to spare, slide it back in and wait.
Tip: If the plant is stuck, do not yank. Tap the pot rim, squeeze the sides, or run a thin, blunt tool (like a butter knife) along the inside edge of the pot to loosen it without gouging roots.
When to repot (and when to wait)
Timing matters because repotting is a stressor, even when you do everything right.
- Best time: Early spring through early summer, when the plant is naturally ready to grow new roots.
- Okay time: Any time you must, if the plant is severely root-bound and declining.
- Wait if possible: The plant is blooming heavily (unless it is in distress), you just brought it home and it is still adjusting, or it is mid-winter and not actively growing.
If you are repotting in the off-season, keep changes small: minimal root disturbance and just one pot size up.
Pick the right pot and soil
Choose a pot size
For most houseplants, go 1 to 2 inches wider than the current pot (for very large pots, 2 to 4 inches is fine). Going too big is a common mistake because extra soil can stay wet too long, which invites root rot.
Pot material matters
Terra cotta dries faster and can be great for plants that hate wet feet. Plastic holds moisture longer and is more forgiving if you travel or tend to under-water. If you change materials while upsizing, expect your watering rhythm to change too.
Make sure drainage is real
Drainage holes are not optional. If you love a decorative cachepot with no holes, keep the plant in a nursery pot inside it so you can water and drain properly.
Use a mix that matches the plant
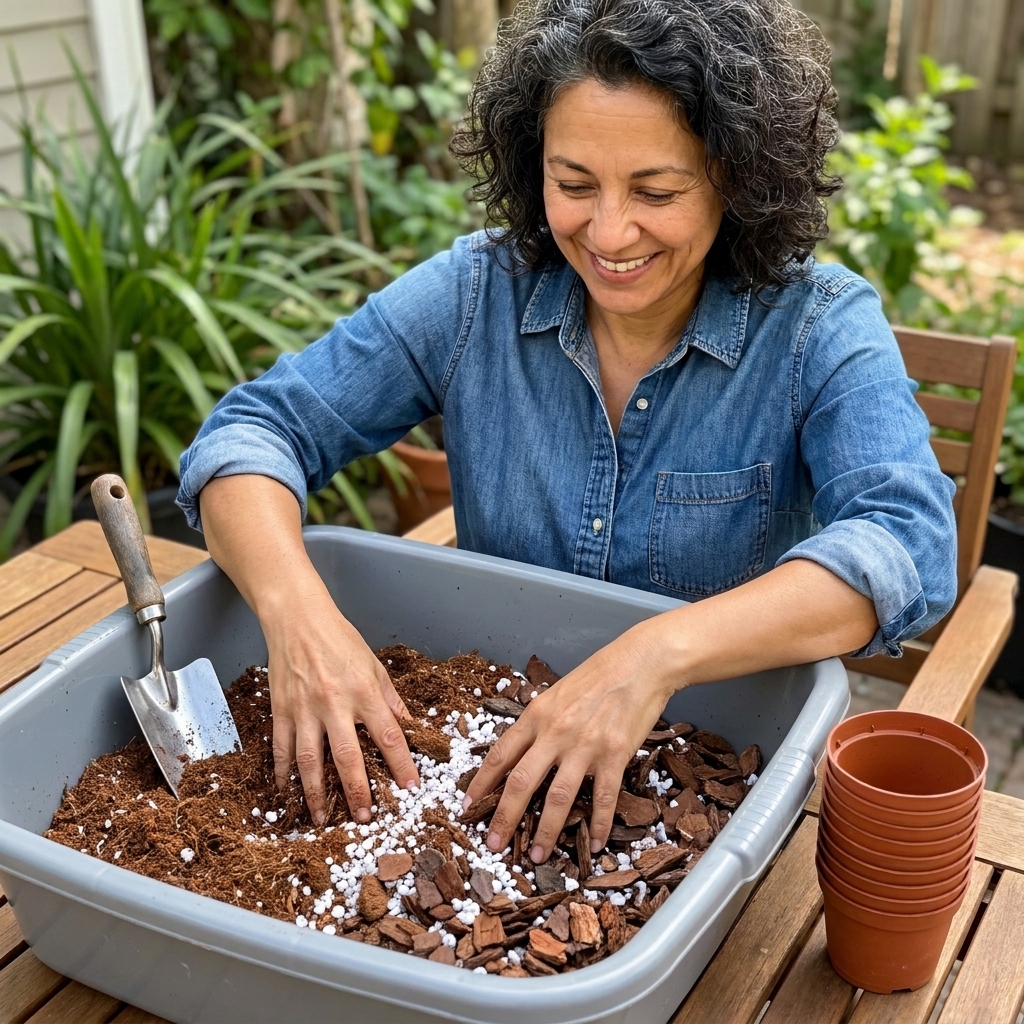
- Tropical foliage (pothos, philodendron, monstera): A chunky mix with bark and perlite for air.
- Succulents and cacti: Fast-draining mix with grit, pumice, or extra perlite.
- Moisture lovers (ferns, peace lilies): A mix that holds some moisture but still drains, often with coco coir or peat plus perlite.
How to repot safely
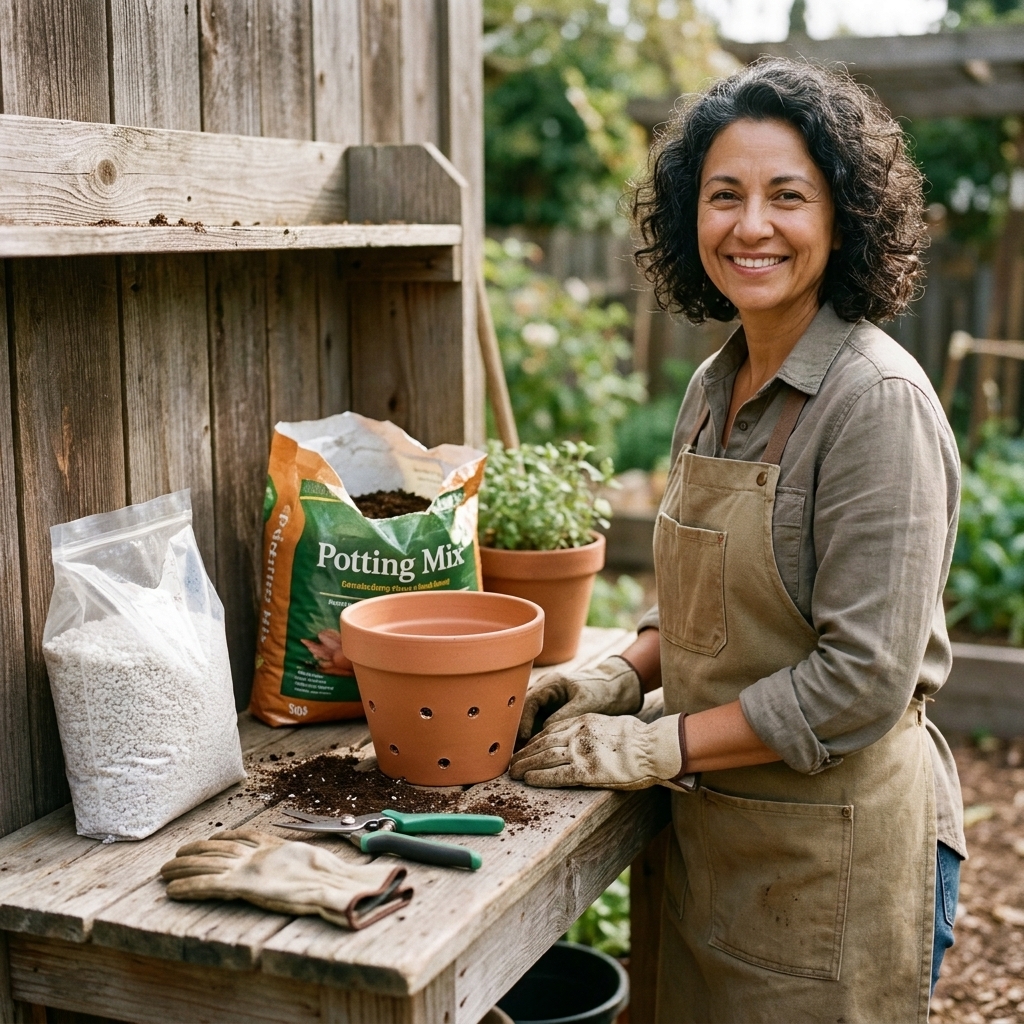
This is my repeatable method for getting roots untangled without sending the plant into a tailspin.
1) Prep the plant
- Water the day before so roots are flexible, not brittle.
- Gather supplies: new pot, fresh mix, a saucer, clean snips, and gloves if you want them.
2) Remove the plant and inspect
Slide the plant out and look at the roots. Firmness matters more than color. Many healthy roots are white to tan, but some species naturally have darker roots. What you want is roots that feel firm and look intact. If you see black, mushy roots with a sour smell, you are dealing with rot too, and you will want to trim more aggressively.
3) Loosen the outer roots
Start gently:
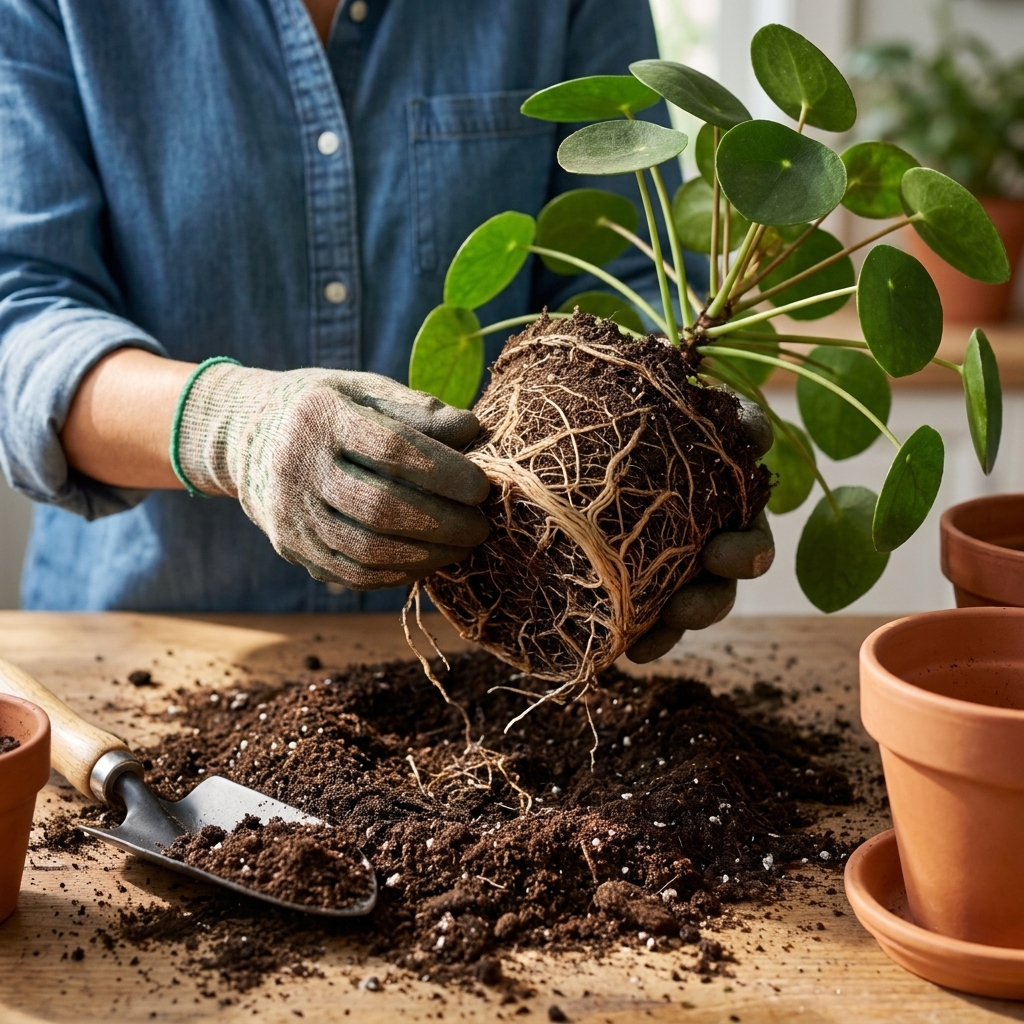
- Use your fingers to tease roots free around the bottom and sides.
- If it is a tight “root pot,” use a chopstick or blunt tool to wiggle and loosen, working slowly.
If the mix is old and water-repellent, a brief rinse of the outer layer can help you separate roots and remove exhausted soil. Keep it gentle and quick.
4) Trim only what you need
Yes, trimming roots is allowed. In fact, it can help the plant branch into the new soil instead of continuing to circle. But it is also a “know your plant” moment. Some plants bounce back fast (pothos, philodendron, many outdoor shrubs). Others are more sensitive to root disturbance (some palms, certain orchids, and fussy bloomers).
- How much: For a healthy but root-bound plant, trim up to 10 to 20% of the outer roots if needed. If you are working with a sensitive plant, start smaller.
- Where: Focus on the bottom “pancake” and the tightest circling roots.
- How: Use clean, sharp snips. Make decisive cuts, not ragged tears.
If you have root rot, remove all mushy roots even if that is more than 20%. Then adjust aftercare so the plant is not staying too wet.
5) Set the planting height
Add a little fresh mix to the bottom of the new pot, then place the plant so the top of the root ball sits about 1 inch below the rim. Keep the crown (where stems meet roots) at the same height it was before. Planting too deep is a sneaky way to invite rot.
6) Backfill and lightly firm
Fill around the sides with fresh mix and gently press to remove big air pockets. Do not compact it like you are packing a suitcase. Roots like oxygen.
7) Water in, then pause
Water thoroughly until it drains. This settles soil around the roots. Then let it drain completely.
How to prevent transplant shock
Transplant shock is basically a temporary mismatch between the root system and the plant’s leaves. Your goal is to reduce extra stress while the roots reestablish.
Right after repotting
- Skip fertilizer for 2 to 4 weeks. Fresh mix often contains nutrients, and tender roots can burn.
- Give bright, gentle light. Avoid harsh direct sun for a week unless the plant is a full-sun outdoor type.
- Keep temperatures steady. No drafts, no heat vents, no sudden patio-to-living-room whiplash.
- Water based on the new pot, not the old routine. A bigger pot holds moisture longer, and terra cotta versus plastic changes dry-down speed. Check with a finger test or moisture meter.
What normal recovery looks like
- A little droop for 24 to 72 hours is common.
- New growth may pause for a couple weeks, then restart.
- Leaves should not keep yellowing rapidly or turning mushy. That is your cue to reassess watering, drainage, and light.
If your plant looks sad after repotting, do not panic-water. That is how many well-meaning gardeners accidentally turn stress into rot. (Ask me how I learned that lesson. Actually, do not. It was a whole thing.)
Very tight root balls
When the roots are a solid mat
If teasing does nothing, use the “score and spread” method. This is best for larger plants or severely bound root balls.
- With clean snips or a knife, make 3 to 4 shallow vertical cuts down the sides of the root ball. Start around 1/8 inch deep, and only go deeper (up to 1/4 to 1/2 inch) if the root mat is thick and woody.
- Make a few shallow cuts across the bottom.
- Gently pull the cut sections outward before potting up.
This encourages new roots to break out into fresh soil instead of continuing the spiral.
Woody shrubs in containers
Rosemary, citrus, small figs, and patio shrubs can get stubborn. The same principles apply, but you may need a saw for thick roots and a slightly larger step up in pot size. After repotting, protect them from hot afternoon sun for a week and keep watering consistent.
Aftercare checklist
- Week 1: Bright indirect light, steady temps, water only when the top inch or two dries (adjust by plant type).
- Weeks 2 to 3: Watch for new growth. Rotate the pot for even light. Keep checking moisture.
- Week 4: Resume light feeding if the plant is actively growing and looks stable.
And if you are repotting outdoors during summer heat, do it in the evening or on a mild day. Roots hate being handled when the plant is already thirsty from the sun.
Common repotting mistakes
- Jumping to a huge pot: Extra soil stays wet and suffocates roots.
- Not loosening circling roots: The plant keeps circling in the new pot, just in a bigger circle.
- Overwatering afterward: Fresh mix plus stressed roots equals slow drinking.
- Fertilizing immediately: Tender roots can burn.
- Changing too many variables at once: New pot, new soil, new light, new room, new watering routine. Try to keep everything else steady for a couple weeks.
FAQ
Can a root-bound plant recover without repotting?
If it is only mildly snug, sometimes yes, especially for plants that like tight quarters. But once water runs straight through (and you have ruled out hydrophobic soil), growth stalls, or roots are circling densely, repotting (or root pruning) is the real fix.
Should I break up the root ball completely?
Usually no. You want to loosen the outer layer and correct circling roots, not shred the whole system. The exception is when the potting mix is hydrophobic and exhausted or you are correcting severe compaction. Even then, be gentle.
What if my plant is root-bound but I want to keep it in the same pot?
You can do root pruning: remove the plant, trim 10 to 20% of the roots (often the bottom and outer edges), refresh the potting mix, and replant in the same container. This is a great trick for balcony gardening and keeping “forever pots” manageable.
Do I need to disinfect my tools?
Yes, especially if you suspect rot. Wipe blades with isopropyl alcohol before and after. It is a small step that prevents a lot of heartbreak.
A final neighborly nudge
If you are hesitating because you are afraid of hurting your plant, I get it. Repotting feels like plant surgery the first few times. But a truly root-bound plant is already uncomfortable, it is just being polite about it. With a slightly larger pot, fresh mix, and a gentle loosening of those circling roots, you are not “messing it up.” You are giving it room to breathe again.