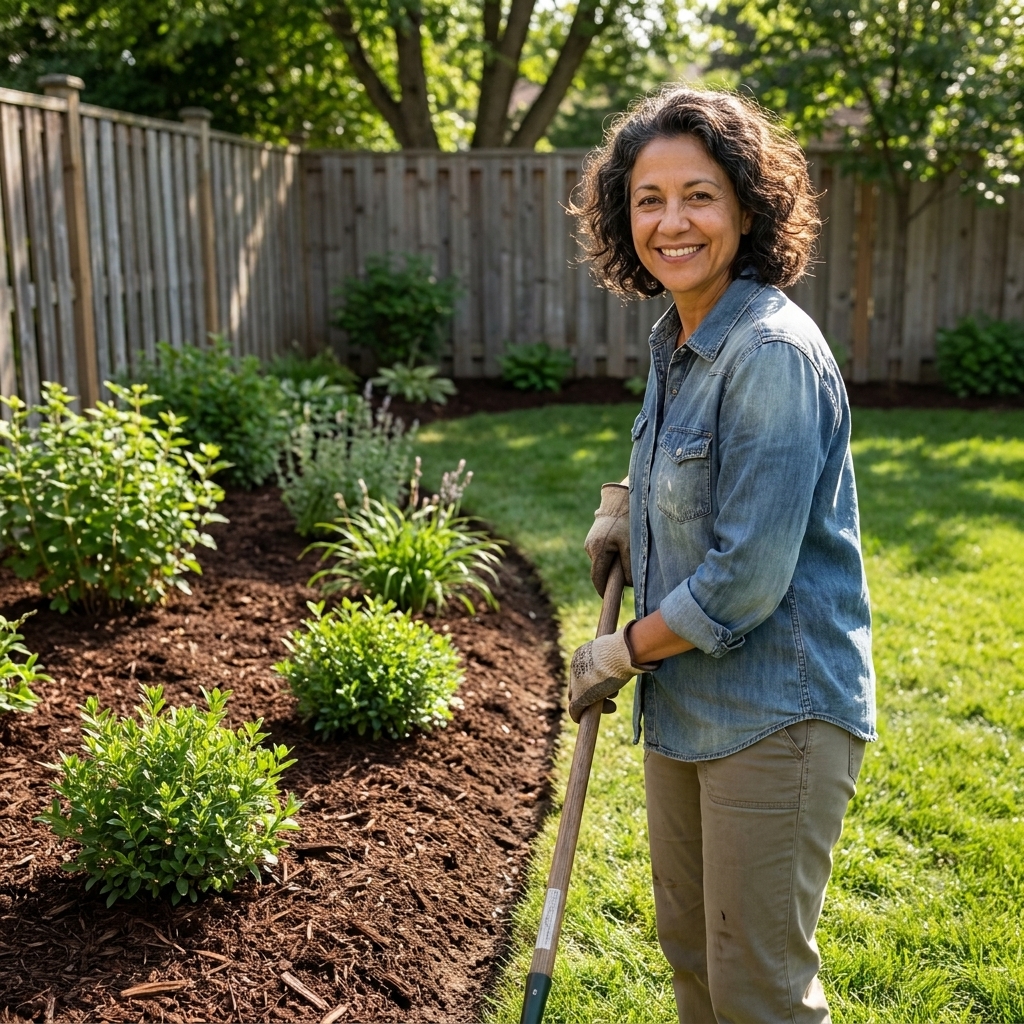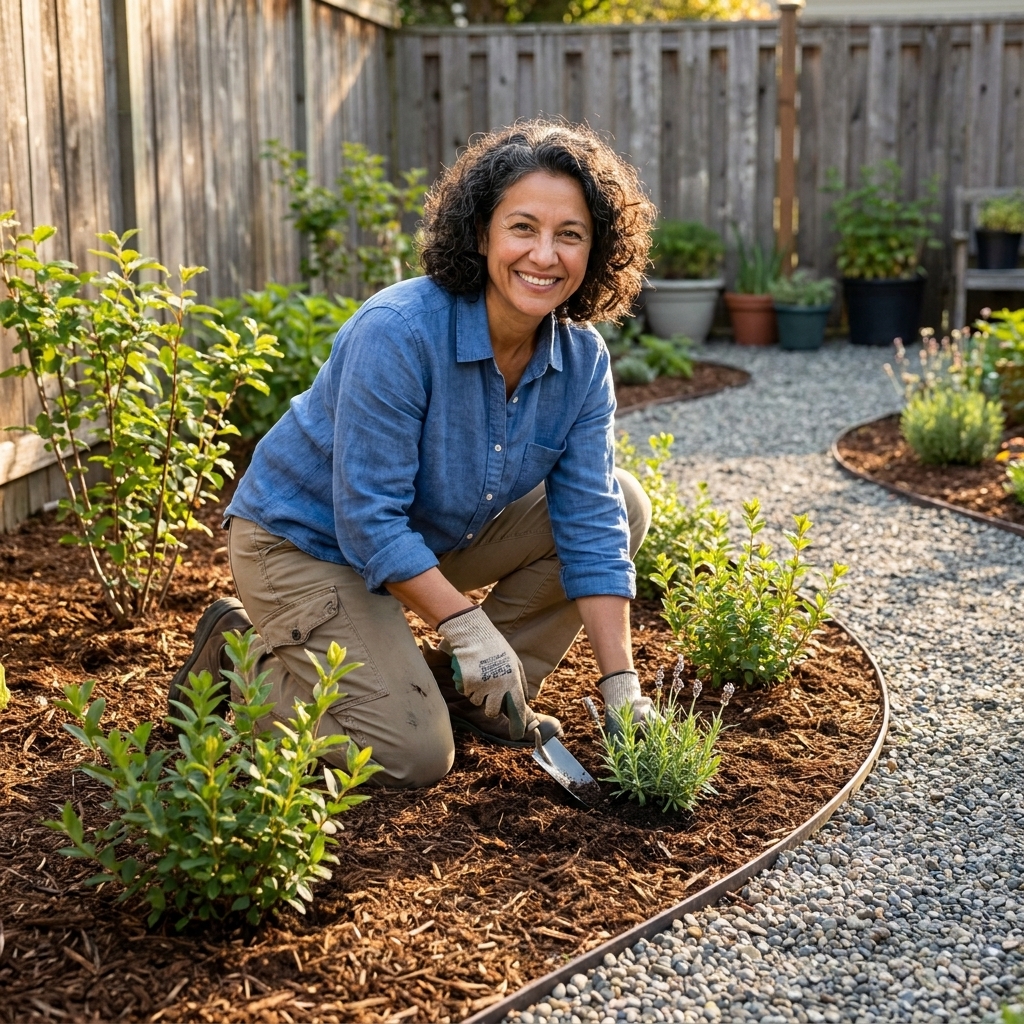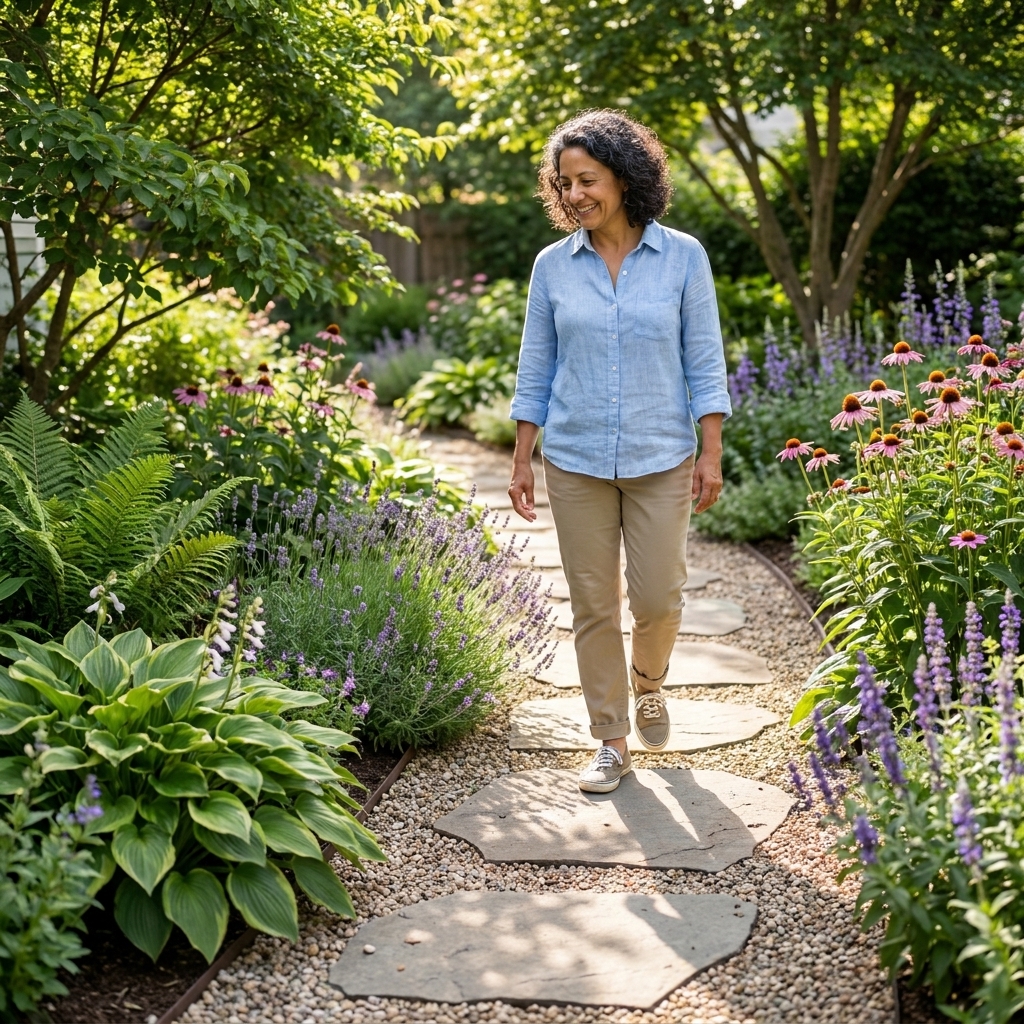
Plan a garden path with stepping stones, brick, or crushed stone. Get layout tips, light-duty base depth guidance, tool checklists, and installation steps th...
Gardening insights
Landscaping a Sloped Yard
Turn a hill into a beautiful, stable garden. Learn how to assess drainage, prevent erosion, build terraces and small retaining walls, and choose slope-friendly plants.

Elena Rosales
Elena Rosales is a certified Master Gardener and lifelong plant enthusiast who believes anyone can cultivate a green thumb. After transforming her tiny urban balcony into a thriving plant oasis, she moved to a half-acre homestead to grow her own food and flowers. Today, she shares practical, hands-on gardening advice to help the Hortello community bring more green into their lives.
Published September 21, 2026
Updated September 21, 2026
If you have a sloped yard, you already know the two big truths: water always wins, and gravity is relentless. The good news is that a hill does not have to be a headache. With a little planning, you can turn it into one of the most interesting parts of your landscape: layered terraces for veggies, a cozy sitting nook tucked into a berm, or a flowing ribbon of drought-tough plants that hold the soil like a living net.
I learned this the hard way during my city-balcony years when a “cute little container slope” became a muddy waterfall every time it rained. On my homestead, the stakes are higher, but the fix is the same: slow the water, spread the water, and anchor the soil.

Start with a quick slope and water check
Before you buy a single block or plant, spend a week observing your hill. You are looking for where water enters, where it rushes, and where it pools. This is the difference between a slope that stays put for decades and a slope that slides during a wet season.
1) Measure the steepness
You do not need fancy surveying gear. A simple method:
- Hammer a stake at the top and bottom of the area you want to landscape.
- Tie a string between them and use a level to make the string perfectly level.
- Measure the vertical distance from the level string down to the ground at the lower stake (rise).
- Measure the horizontal distance between stakes (run).
Slope percent = (rise ÷ run) × 100.
- 0 to 10%: Usually manageable with planting beds, mulch, and subtle grading.
- 10 to 25%: Great candidate for terraces, steps, and small retaining walls.
- Over 25%: Often needs engineering help, especially near structures, driveways, or property lines.
2) Note your soil type
- Sandy soil drains fast but can erode quickly in heavy rain.
- Clay soil holds water and gets heavy, which increases pressure behind walls.
- Loam is the dream, but even good soil will move on a steep grade without roots and surface cover.
Do a jar test or simply squeeze a damp handful. If it forms a slick ribbon, you are on the clay side. If it falls apart like cake crumbs, you are sandy.
3) Watch stormwater and roof runoff
Downspouts dumping onto a hill can cause surprising damage. If water is cutting channels, redirect it early with downspout extensions, splash blocks, or buried drain lines. Also check local rules about where you are allowed to discharge water. “Daylighting” a drain is not a free pass if it sends water onto a sidewalk, a neighbor’s yard, or somewhere it should not go.
Pick your strategy
Most sloped-yard makeovers use a mix of three approaches. The right combination depends on steepness, budget, and what you want the space to do.
Option A: Planting and surface fixes
Best for gentle slopes, or as the first step while you plan bigger changes.
- Deep mulch (2 to 4 inches) to soften rainfall impact and slow runoff
- Jute netting or erosion control blankets for bare soil while plants establish
- Swales (shallow, level ditches) to catch and spread water
- Rock mulch or small boulders to break up flow paths and add stability. Partially bury larger stones so they do not shift, and know that rock-heavy areas can run hotter and drier in summer.
Option B: Terracing
Terraces turn a hill into a set of flatter “rooms.” You gain safe walking areas, easier planting zones, and soil that stays where you put it. Terraces can be supported with low retaining walls, timbers, stone, or even planted berms.
Option C: Retaining walls
Retaining walls hold back soil, but they also concentrate risk. A short wall done right is a workhorse. A tall wall done wrong is a future repair bill. Drainage and base prep matter a lot, and reinforcement can be required depending on height and conditions.
Water management first
If I could tape one sentence to every retaining wall project, it would be this: many wall failures are water failures. Saturated soil weighs more and pushes harder, and water pressure builds behind the wall. Your job is to give water an easy way out. The other big failure causes are a weak base, poor compaction, and missing reinforcement where it is needed.
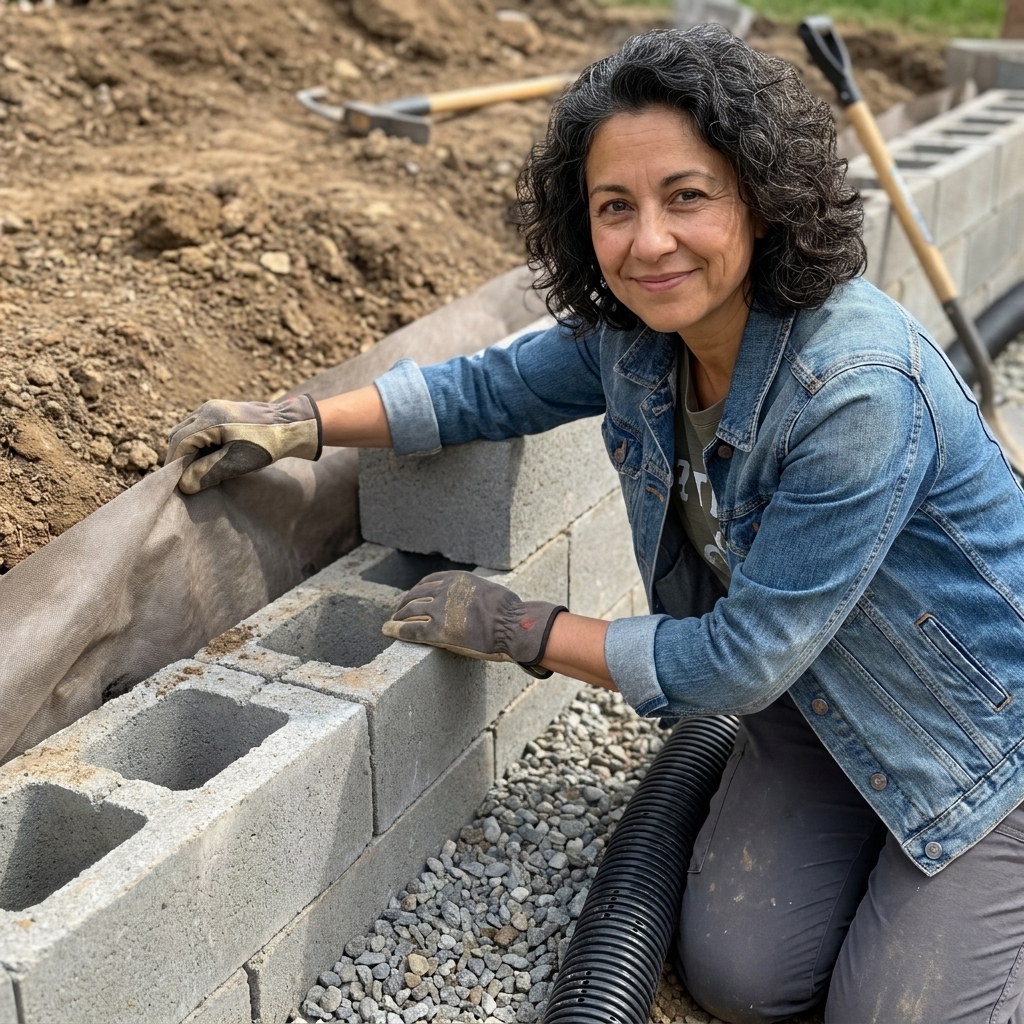
Drainage essentials behind walls and terraces
- Free-draining backfill: Gravel behind the wall instead of native clay soil.
- Filter fabric: Separates soil from gravel so fine particles do not clog drainage.
- Perforated drain pipe: Placed at the base behind the wall, sloped to an approved outlet.
- Weep holes (for some wall types): Allow water to escape through the face.
- Surface control: Swales or grade shaping to keep runoff from pouring straight at the wall.
Also, make sure runoff is directed away from your home’s foundation and neighboring properties. When in doubt, consult a local drainage pro. Water disputes are no fun.
Build a small wall
Many homeowners can successfully build a low segmental block wall or a short stone wall. The sweet spot for DIY is often under 3 feet, but that is a rule of thumb, not a universal law. Local rules, soil, slope, and what the wall is supporting all matter. If you are near a driveway, structure, or property line, or if you need a taller wall, it is smart to involve an engineer or an experienced contractor.
Materials that work well
- Segmental concrete blocks: Beginner-friendly, consistent, and designed to interlock.
- Natural stone: Beautiful, but heavier and more skill-dependent.
- Timbers: Easy initially, but shorter lifespan in wet climates unless rated for ground contact.
Step-by-step overview
- Call before you dig. Utility marking is not optional.
- Excavate for a solid base. Plan to bury the first course partially below grade.
- Build the base to spec. Different wall systems call for different base thickness and compaction, often thicker than you expect. Follow the manufacturer’s installation guide for your block system and your soil conditions.
- Set the first course perfectly level. This is where patience pays off. Every course above follows this one.
- Add drainage. Landscape fabric, gravel, and drain pipe at the base behind the wall.
- Backfill and compact as you go. Do not dump all the soil in at the end.
- Step the wall back if required. Many systems need a slight setback for stability.
- Add reinforcement when required. Many segmental retaining walls need geogrid at certain heights or site conditions. Use the exact grid type, length, and placement required by the manufacturer or an engineer.
- Cap the wall. Use cap blocks or stone with appropriate exterior masonry adhesive.
Important: Local codes often require permits or engineering at lower heights than people expect, and some jurisdictions count total retained height (including stacked or terraced walls) rather than just the visible face. They may also define wall height from the lowest finished grade. Check your local rules before you start hauling block.
Terraces that feel natural
Terraces are my favorite solution because they turn “awkward” into “useful.” You can plant without feeling like you are mountain climbing, and you can create flat zones for raised beds, a bench, or a fire pit.
A layout that works
- Two to three wide terraces usually feel better than five skinny ones.
- Keep paths comfortable: 30 to 36 inches wide for a garden path, wider if you need a wheelbarrow.
- Include steps: Fewer, wider steps are easier than steep narrow ones.
- Plan turning points: A small landing area makes movement safer and gives the eye a place to rest.
Terrace without a tall wall
You can terrace gently using planted berms and low “cheek” walls:
- Cut a shallow shelf into the slope.
- Use the excavated soil to build a small berm on the downhill edge.
- Stabilize the berm with rocks and deep-rooted plants.
- Mulch heavily and add temporary erosion fabric if needed.
This approach looks softer and is often cheaper, but it still needs good water management so the berm does not wash out.

Plants that hold soil
On a slope, I choose plants with two superpowers: dense roots and reliable ground cover. Bonus points for plants that tolerate occasional drought, because hillsides tend to drain fast.
What to look for
- Fibrous root systems that knit soil together
- Spreading or clumping habits to reduce bare ground
- Drought tolerance once established
- Non-invasive behavior in your region
A gentle warning from my “Great Zucchini Invasion” era: aggressive growers feel like a shortcut until they are climbing into everything. When you are tempted by fast spreaders, double-check local invasive lists and extension guidance.
Sunny slopes
- Creeping thyme (Thymus serpyllum): low, fragrant, pollinator-friendly
- Stonecrop sedum (Sedum spp.): tough and drought-tolerant, best in sun and well-drained soils (not a fan of wet shade)
- Catmint (Nepeta): soft texture, long bloom season
- Daylilies (Hemerocallis): sturdy clumps that can hold soil well, but check local guidance since they can spread aggressively and are flagged as invasive in some regions
- Little bluestem (Schizachyrium scoparium) or other ornamental grasses: excellent root mass
- Lavender (Lavandula) in well-drained soils: loves slope drainage
Part shade and shade
- Creeping juniper (Juniperus horizontalis): great on brighter, drier slopes, but it struggles in deep shade and can resent constantly wet sites
- Ferns (many types): excellent for shaded slopes with consistent moisture
- Hostas: broad leaves reduce splash erosion, good massing plant
- Pachysandra (where appropriate locally): a classic shade ground cover, but invasive in some areas so do not skip the local check
- Wild ginger (Asarum): beautiful, dense cover for woodland-style slopes
Native plants are the cheat code
Your local native grasses, shrubs, and groundcovers are adapted to your rainfall patterns and soils, and they often have the root systems you want for erosion control. If you can, visit a native plant nursery and ask for “slope stabilizers” for your sun exposure.
Plant on a slope
Slope planting is less about artistry and more about physics. The goal is to keep soil in place while roots establish. One big principle that helps almost everything on a hill is to work along the contour, not straight up and down. Water wants to run downhill. Your job is to interrupt that run.
My go-to method
- Start with small terraces or pockets. Even a 4 to 8 inch mini-ledge around each plant helps hold mulch and water.
- Plant in staggered rows. Like bricks, not straight lines. This slows runoff.
- Use “mulch donuts,” not mulch volcanoes. Keep mulch off stems, but blanket the soil surface.
- Pin down erosion fabric if needed. Cut X-shaped slits to plant through and secure with landscape staples.
- Water slowly. Drip irrigation or a soaker line is your best friend on a slope, and running lines along contour helps water soak in instead of racing away.
If you have ever watched water bead up and roll downhill during irrigation, switch to a slower system. It is more efficient and far less frustrating.

Steps, paths, and edges
Even a beautifully planted slope can be annoying if you cannot move through it. A few well-placed hardscape elements make maintenance easier and help prevent compaction in the planting areas.
Steps that feel safe
- Uniform rise and run: consistency prevents trips.
- Wide treads: aim for comfortable footing, especially if you carry tools.
- Non-slip surfaces: textured stone or pavers beat smooth finishes in wet climates.
Paths that resist erosion
- Gravel with edging: allows drainage and stays put with proper borders.
- Stepping stones set into gravel or mulch: good for lighter traffic areas.
- Pavers: best for high use, but plan drainage so water does not become a downhill river.
Know when to call a pro
I love a good DIY project, but hills can get serious fast. Consider professional help if you notice any of the following:
- Cracks in the soil, a bulge at the bottom of the slope, or a section that looks like it is slowly slumping
- Leaning fences, trees, or retaining walls that were previously straight
- Persistent wet seep lines, springs, or muddy spots that never quite dry out
- A wall plan over local permit thresholds, or anything supporting a driveway, patio, or structure
- You need geogrid and the manufacturer’s requirements feel unclear
No shame in tapping an engineer for the math and then doing the planting yourself. That is a very sane compromise.
Maintenance
The first year is the make-or-break year. New slope projects settle. Plants are establishing roots. Soil is learning its new “normal.” Plan for a little attention early on.
- After heavy rain, walk the area and look for rills (tiny channels), exposed roots, or mulch drift. Fix immediately.
- Top up mulch as it breaks down, especially on the upper slope where runoff starts.
- Weed early. Weeds love disturbed soil, and pulling them later can loosen the slope.
- Check wall drainage outlets so they do not clog with leaves or sediment.
By year two, a well-designed slope is usually calmer, greener, and much lower stress.
Common mistakes
- Ignoring runoff sources: downspouts and driveway water can overwhelm any planting plan.
- Building a wall without a proper base: settling leads to leaning. Follow the system specs and compact in lifts.
- Skipping drainage behind a wall: trapped water increases pressure and failure risk.
- Planting one “miracle groundcover” everywhere: diversity improves resilience and reduces pest or disease wipeouts.
- Planting too far apart: bare soil erodes. Plant densely, then thin later if needed.
- Sending water off-site: avoid grading or drains that dump onto a neighbor’s property or public walkways without approval.
FAQ
Do I need a retaining wall?
Not always. Gentle slopes often do well with deep-rooted plants, mulch, and a swale to slow water. Retaining walls are most useful when you need a flat area or the slope is steep enough that soil will not stay in place.
How tall can a DIY retaining wall be?
Many homeowners successfully build walls under about 3 feet, but local codes and site conditions matter. Some places require permits or engineering at lower heights, and some count total retained height, including terraced or stacked walls. If there is any doubt, check your local rules and the wall manufacturer’s guidance before you build.
What is the best low-maintenance plant for erosion control?
It depends on your sun and climate, but ornamental grasses and dense groundcovers are often top performers. If you can, choose region-appropriate native plants because they are adapted to your rainfall patterns and typically have excellent root systems.
Should I use landscape fabric on a slope?
For erosion control during establishment, fabric or biodegradable blankets can be very helpful. For long-term weed control under planting beds, I prefer mulch and dense planting over plastic-y fabric, which can complicate future planting and trap debris.
A gentle next step
If you are feeling overwhelmed, pick one small section of the slope and improve it first. Add a swale, plant a drift of slope-friendly perennials, or build one short terrace. Hills respond beautifully to incremental changes, and every season you will see more stability, more blooms, and fewer muddy surprises.
And if you do end up with a zucchini trying to colonize the entire hillside, well, you will be in good company.