A practical, low-toxicity, step-by-step plan to eliminate fungus gnats in indoor plants and prevent repeat infestations.
Gardening insights
Get Rid of Fungus Gnats in Seedling Trays
Fungus gnats love damp seed-starting mix, but you can stop them safely. Learn how to identify them, break their life cycle with moisture control, traps, and BTI, and prevent a comeback.

Elena Rosales
Elena Rosales is a certified Master Gardener and lifelong plant enthusiast who believes anyone can cultivate a green thumb. After transforming her tiny urban balcony into a thriving plant oasis, she moved to a half-acre homestead to grow her own food and flowers. Today, she shares practical, hands-on gardening advice to help the Hortello community bring more green into their lives.
Published September 29, 2026
Updated September 29, 2026
If you have ever leaned in close to admire tiny seedlings and spotted little black flies zigzagging above the tray, you have met fungus gnats. They are annoying, multiply fast, and always seem to show up right when you are feeling proud of your seed-starting setup.
The good news is this: fungus gnats are very manageable, and you can get rid of them without harsh chemicals or risking tender baby plants. You just have to tackle what they want most, which is consistently damp potting mix.
And if you are wondering where they came from, do not beat yourself up. They often hitchhike in potting mix, pop out of nearby houseplants, or wander in through a door or window and quickly discover your perfectly moist trays.
What fungus gnats are
Adult fungus gnats look like teeny black mosquitoes with long legs. The adults are mostly a nuisance, but their larvae live in the top inch or two of damp growing mix. Larvae feed on fungi and decaying organic matter, and when populations get high, they can also nibble on root hairs and tender stems at the soil line.
Seed-starting conditions can be a five-star resort for them:
- Constant moisture: Seedlings need even moisture, and many of us understandably overdo it.
- Warmth: Heat mats and cozy indoor temps speed up the gnat life cycle.
- Organic seed-starting mixes: Peat and coir blends hold moisture and grow the fungi and microbes larvae feed on, which makes an ideal habitat.
- Sheltered indoor environment: Fewer natural predators than outdoors.
Quick check
Before you treat, confirm the pest. Fungus gnats are often confused with fruit flies.
- Fungus gnats: Usually hover near the soil surface and seed trays, rest on the mix, and fly in short erratic bursts when you water.
- Fruit flies: More interested in kitchens, compost pails, and overripe produce. They tend to be rounder-bodied.
If you lightly tap the tray and a few tiny dark flies lift off from the potting mix, it is almost always fungus gnats.
Break the life cycle
Fungus gnats go from egg to adult quickly indoors, commonly about 3 to 4 weeks. In warm, moist conditions, it can be closer to 2 to 3 weeks. To actually solve the problem, you want to hit multiple stages at once:
- Reduce egg laying by drying the surface and blocking access to damp mix.
- Catch adults so fewer eggs are laid.
- Kill larvae living in the potting mix.
Think of it like closing the buffet, locking the door, and escorting the guests out.
Step 1: fix moisture
If I could only give one piece of advice, it would be this: let the surface of the mix dry slightly between waterings. Not bone dry, not crispy, just not constantly wet.
Water without inviting gnats
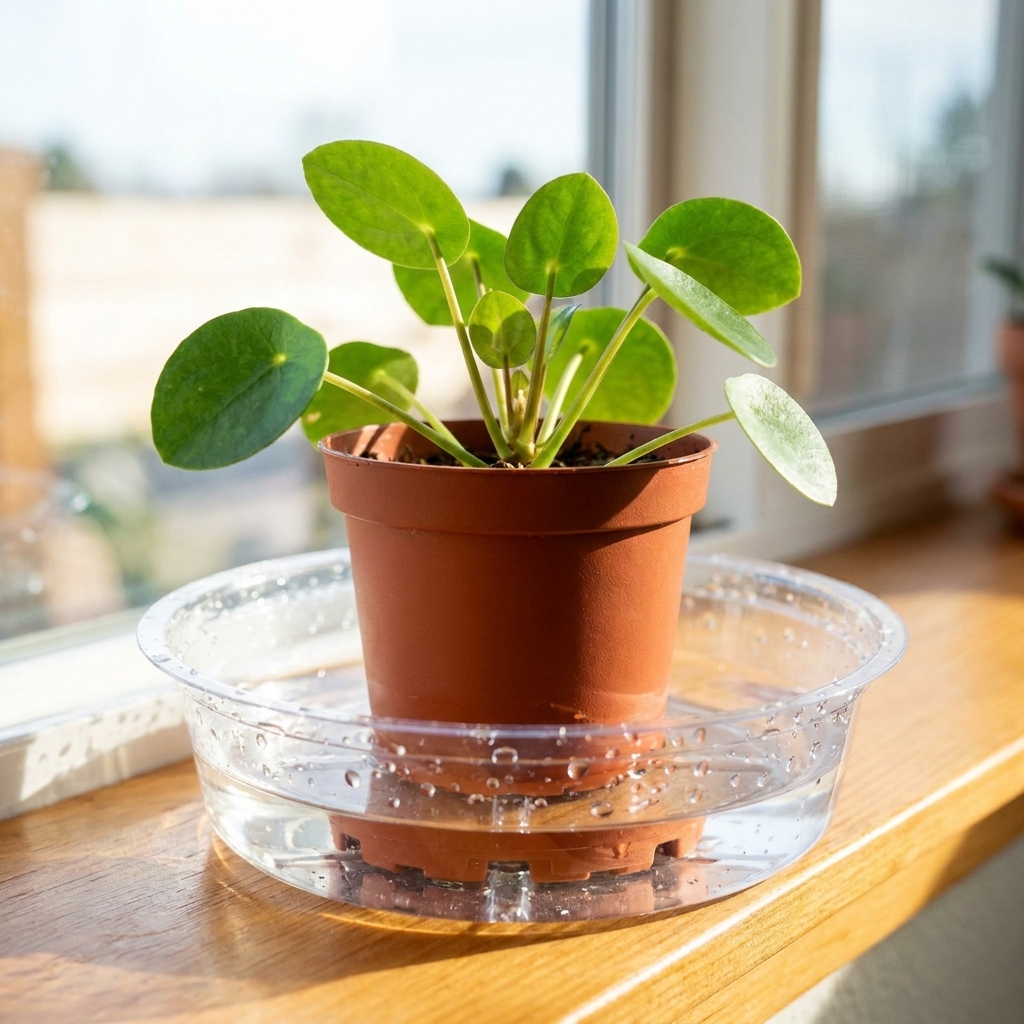
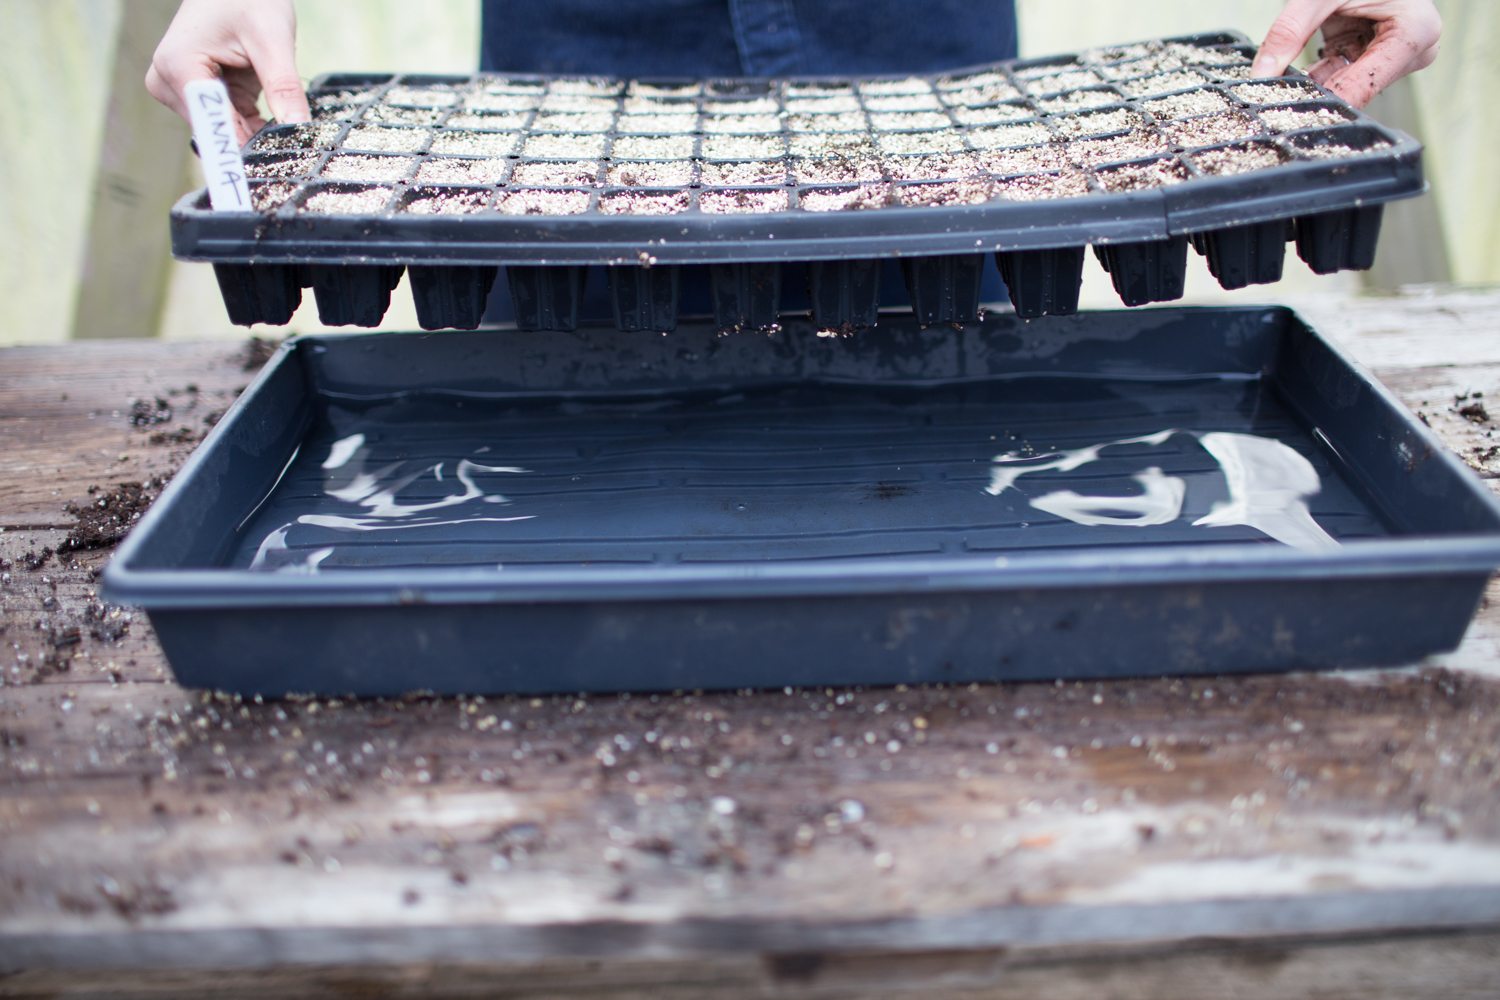
- Bottom-water when you can: Add water to the tray, let cells soak for 10 to 20 minutes, then pour off excess. This keeps the top layer drier, which fungus gnats hate.
- Water early in the day: The surface has time to dry a bit before nighttime.
- Check moisture with your finger: If the top 1/4 inch feels wet, wait. Seed-starting mix can look dry on top but still be moist underneath, so actually touch it.
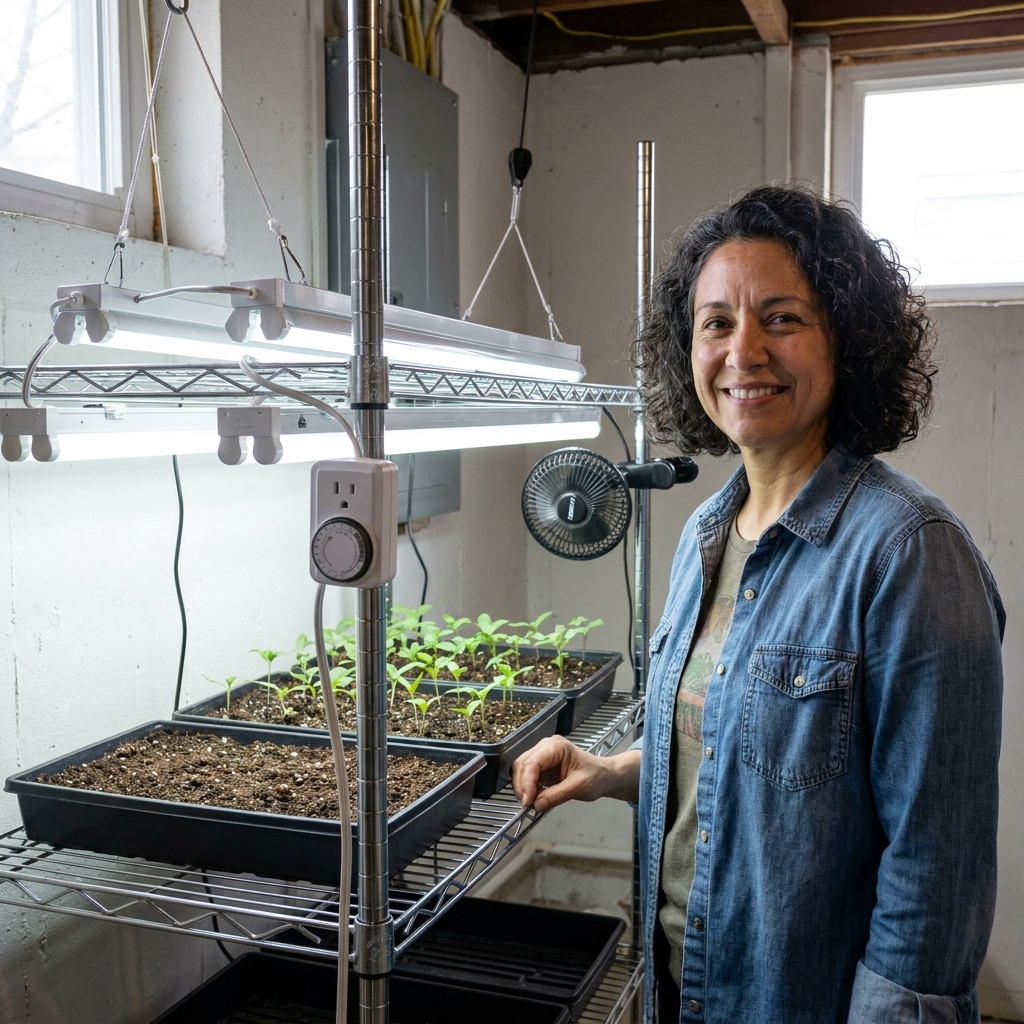
- Improve airflow: A small fan on low (not blasting seedlings) helps evaporation and discourages fungal growth.
Seedling safety note: Some seeds and fresh sprouts truly need steady moisture. In that case, keep moisture appropriate for germination and lean harder on sticky traps and larvae controls until you can let the surface dry a bit more.
Step 2: trap adults
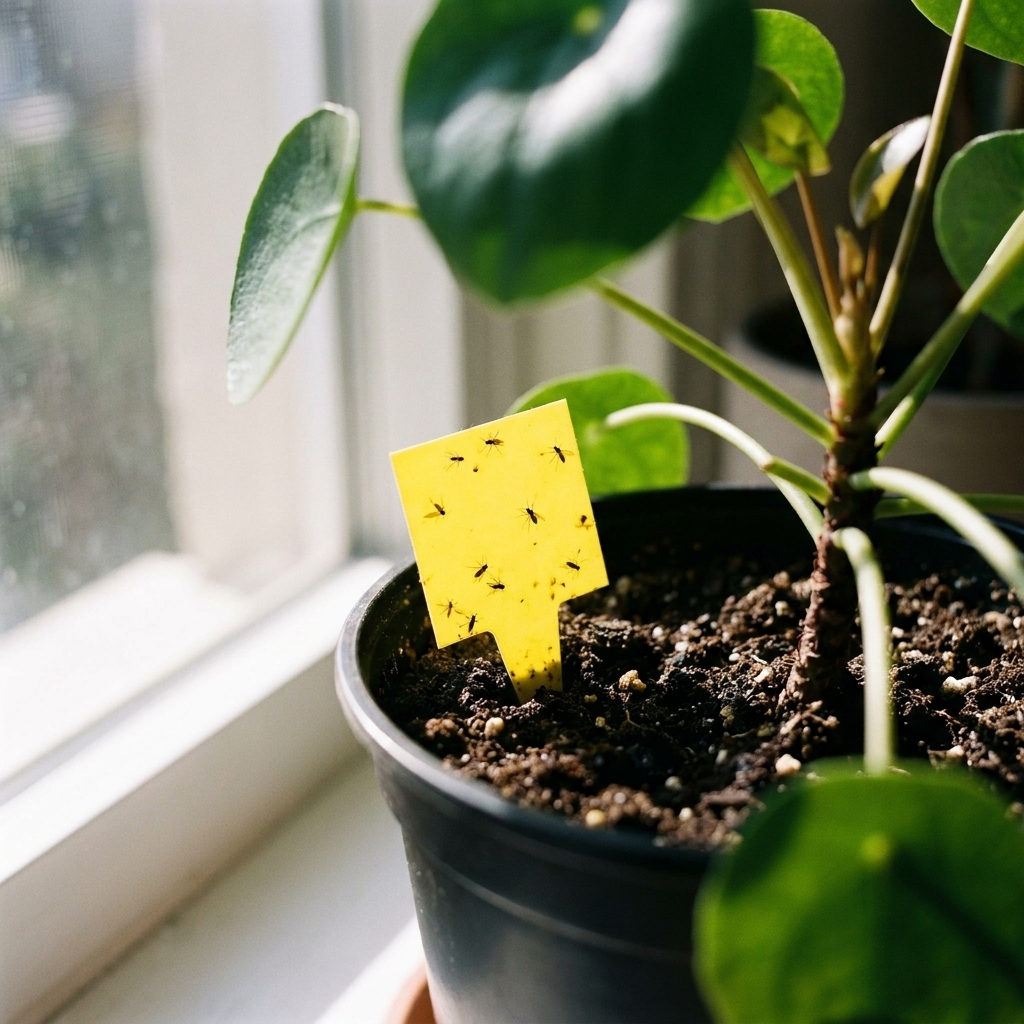
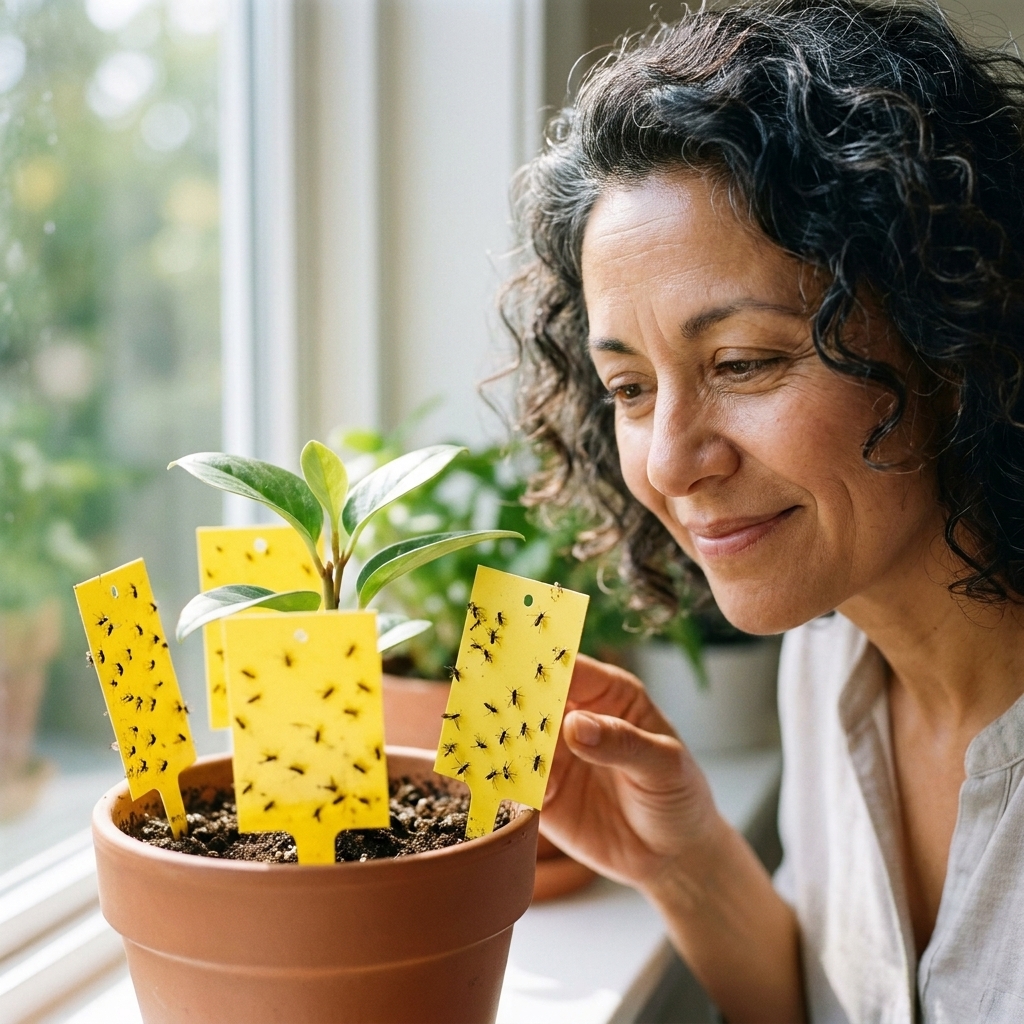
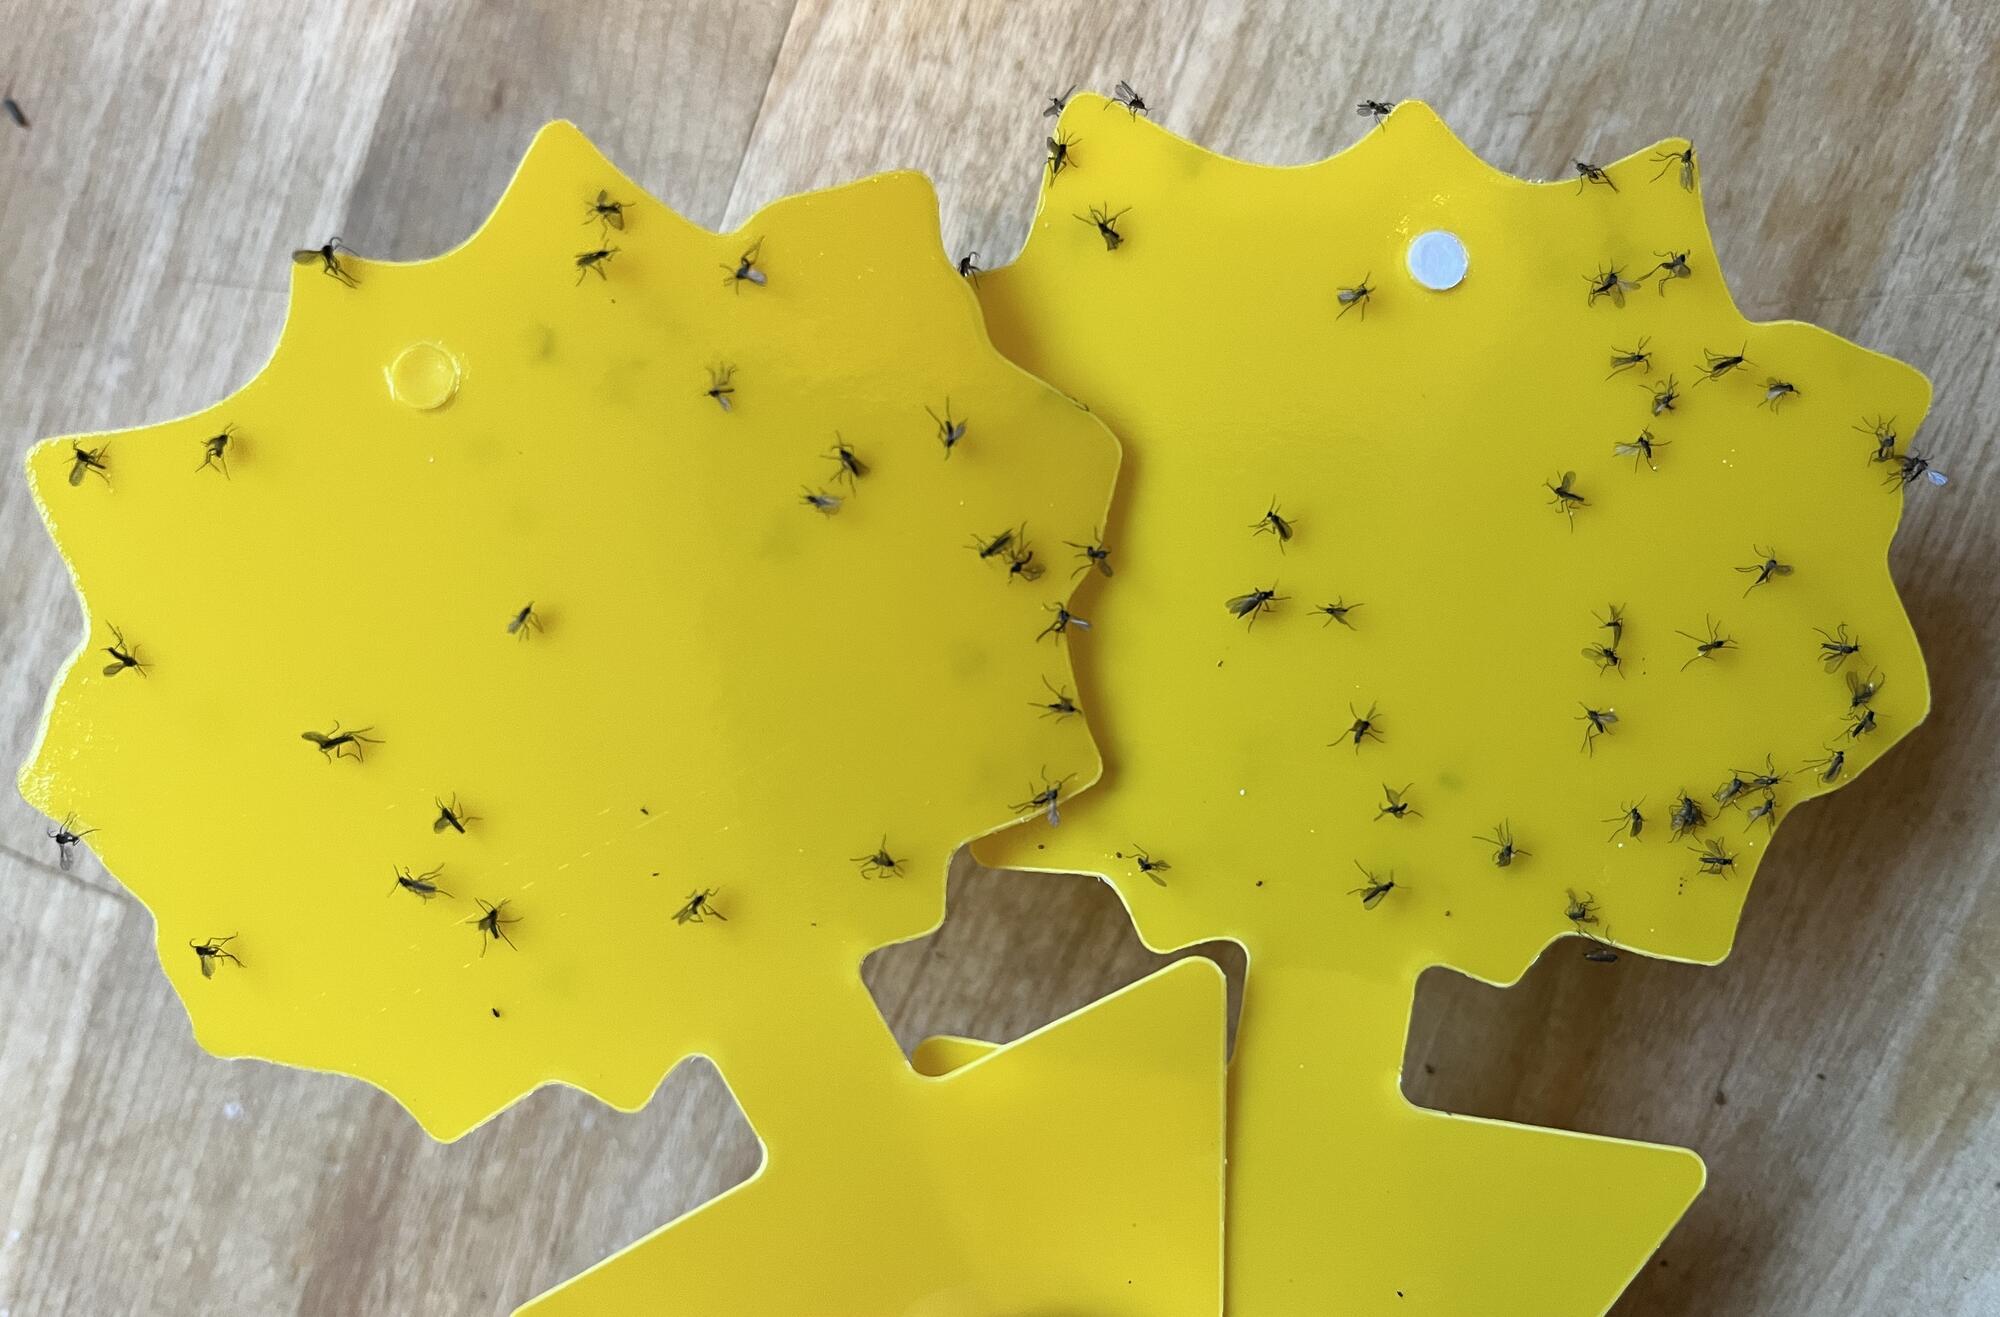
Yellow sticky traps are my favorite low-effort tool because they are inexpensive, non-toxic, and immediately satisfying. They do not fix the problem alone, but they reduce the flying adults so the population stops exploding.
Use sticky traps effectively
- Place traps right at soil level near the trays, not across the room.
- Use more than you think. For a standard 1020 flat, I often use 2 to 4 small traps.
- Replace when covered with gnats or dusty. A fresh sticky surface catches more.
If you see traps filling up quickly, that is a clue larvae are active in the mix and you should add Step 3.
Step 3: kill larvae
Larvae are the engine of the infestation. Here are the seedling-friendly approaches I trust most, from very gentle to more aggressive organic options.
Option A: BTI
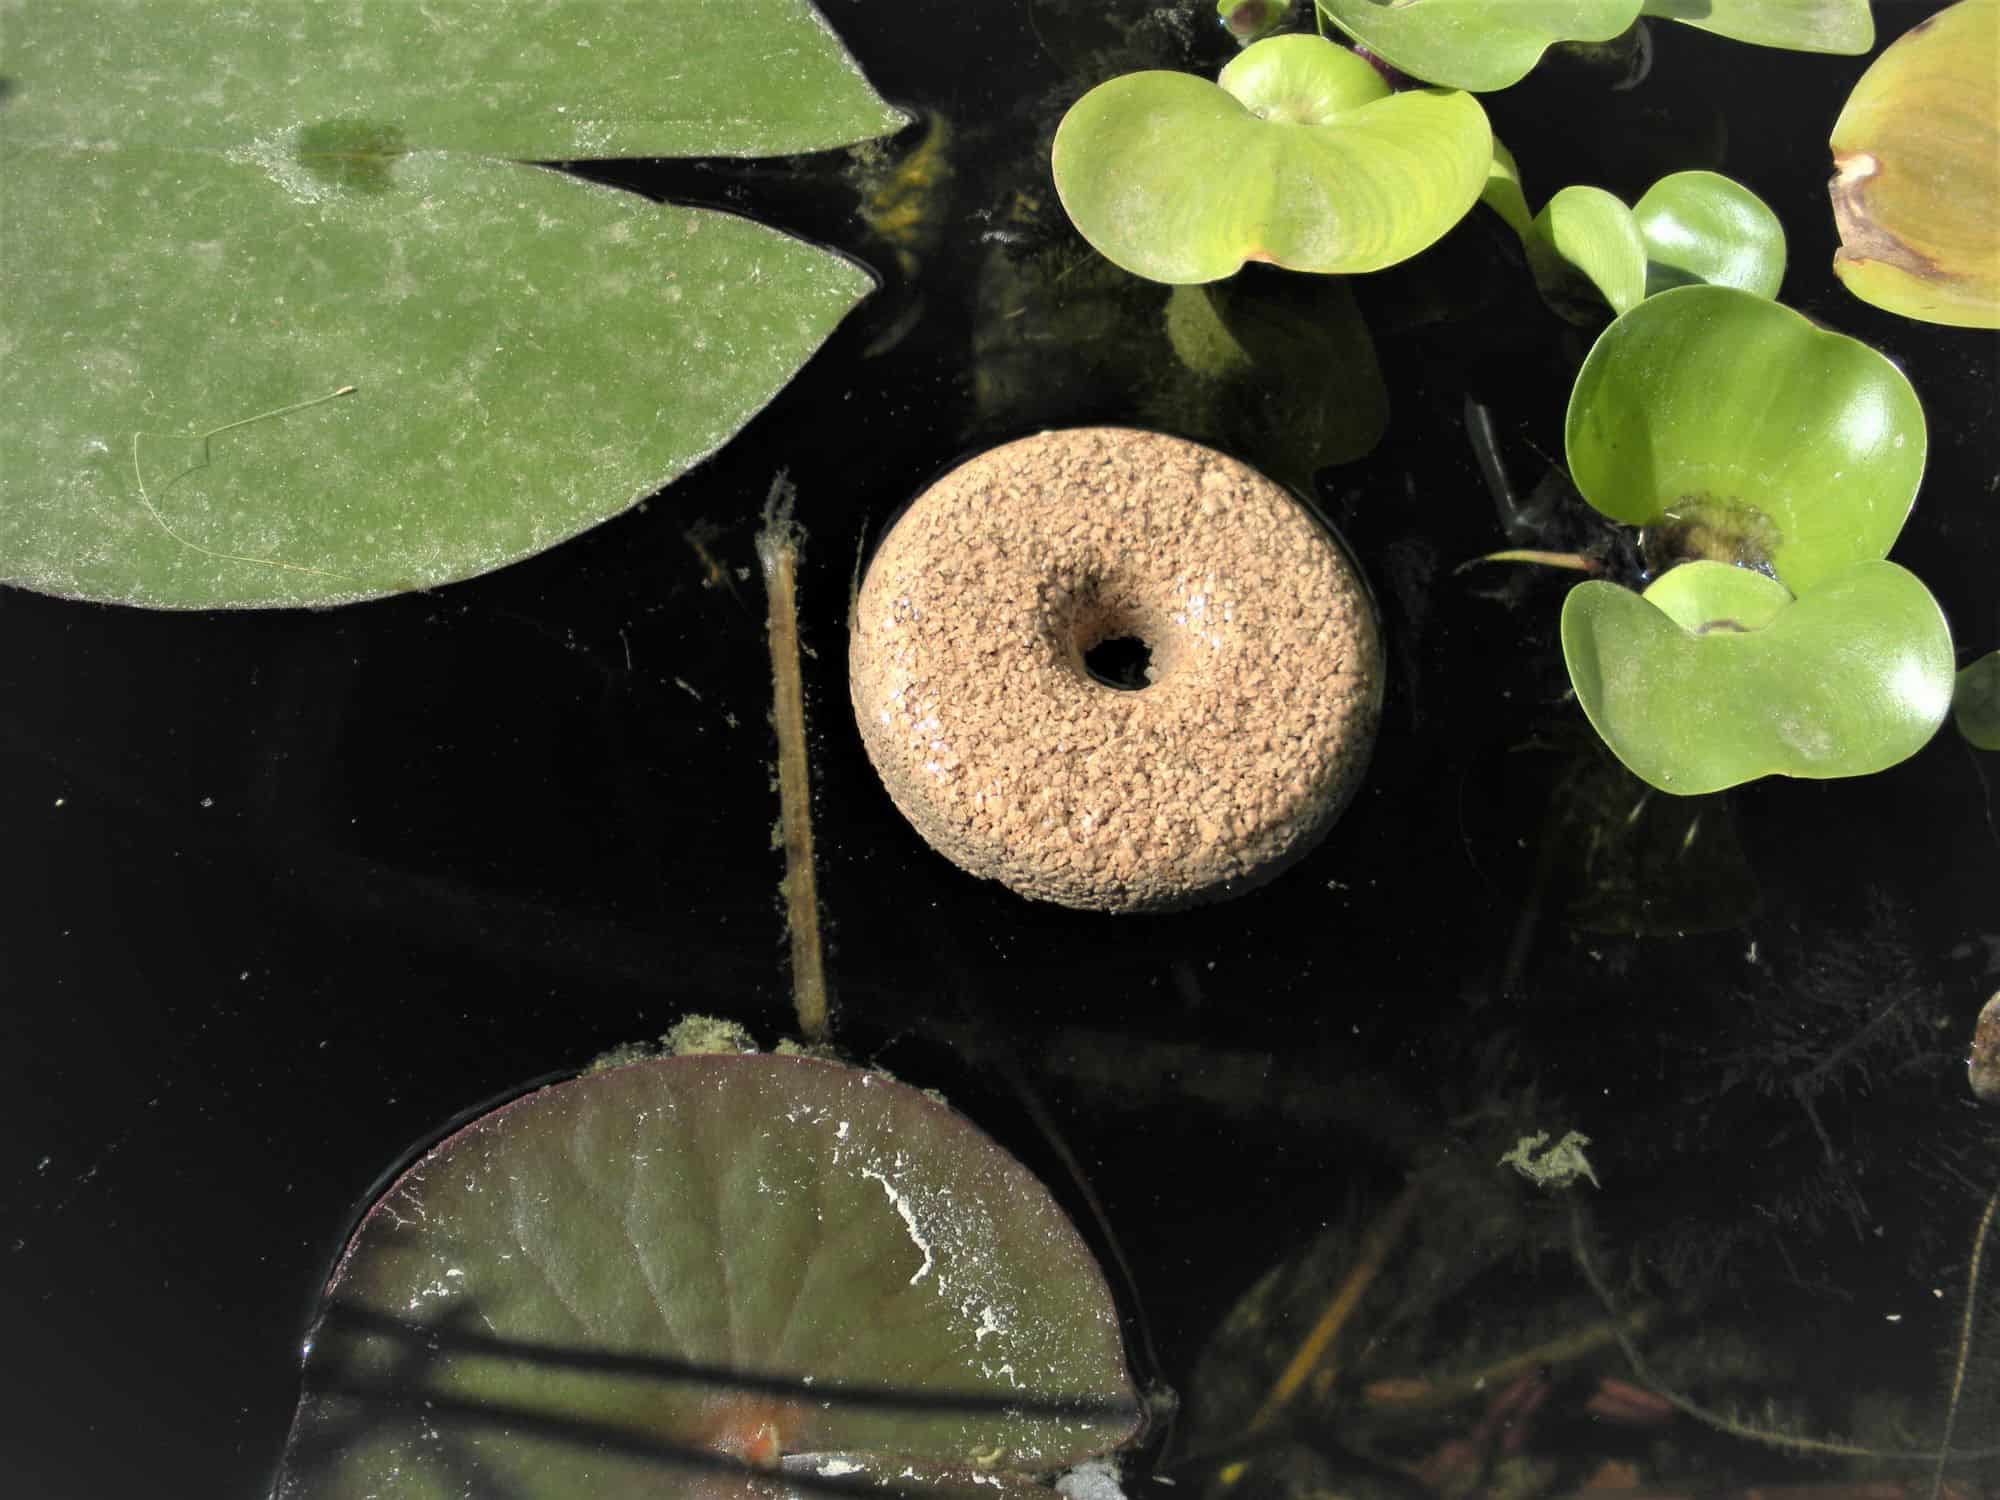
BTI (Bacillus thuringiensis israelensis) is a naturally occurring soil bacterium used to control fungus gnat larvae and mosquito larvae. It is highly targeted, which is exactly what you want around baby plants.
- Look for BTI sold as dunks, bits, or granules intended for gnats or mosquitoes.
- Soak or dissolve per the label, then water it into the tray so it reaches larvae in the top layer.
- Repeat as directed. One treatment rarely gets every hatchling.
- Storage note: BTI products can lose potency over time. Store sealed, cool, and dry, and use within the manufacturer’s recommended timeframe.
Option B: beneficial nematodes
Beneficial nematodes (often Steinernema feltiae) are microscopic organisms that hunt fungus gnat larvae in moist media. They are effective, but they are living creatures, so follow storage and application instructions carefully.
- Apply to moist mix, then keep lightly moist for several days so they can move through the media.
- Storage note: Buy from a reputable source, store as directed (often refrigerated), and use promptly. Heat and long storage can reduce effectiveness.
- They are especially useful if you frequently start seeds indoors and want longer-term control.
Option C: hydrogen peroxide (use with care)
A diluted hydrogen peroxide drench is sometimes used to knock back larvae, but seedlings can be sensitive, and peroxide can be hard on beneficial microbes. I consider this an occasional tool, not my first choice.
- If you use it, stick to a clearly defined dilution and spot-test first. A common home-gardener mix is 1 part 3% hydrogen peroxide to 4 parts water, applied as a one-time drench.
- Do not use higher concentrations, and do not repeat frequently.
- If you are unsure, skip peroxide and choose BTI or nematodes instead.
What I skip for seedlings
- Strong chemical insecticides: Often unnecessary indoors and risky around young plants.
- Thick layers of diatomaceous earth: It only works when dry, and seed trays rarely stay dry on top. It can also become a gritty mess.
- Apple cider vinegar traps: They can catch some adults, but sticky cards work better near soil level.
Step 4: top-dress
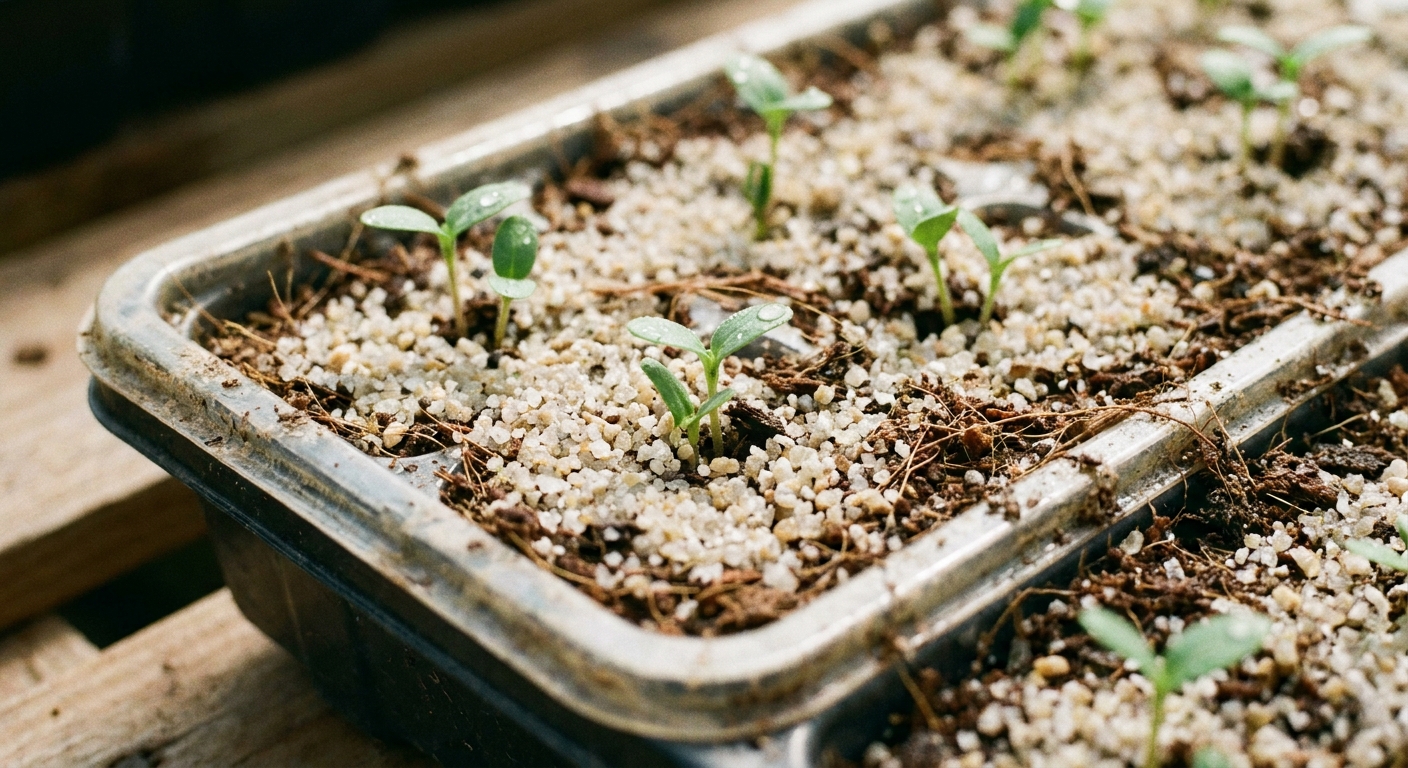
Top-dressing is one of the most overlooked tricks. It can help right away by changing the surface environment where adults prefer to lay eggs. It works best paired with moisture control. If the mix stays wet underneath, top-dressing alone will not solve it.
Top-dressing options
- Coarse horticultural sand: A thin layer can help the surface dry faster and makes it harder for adults to reach damp mix.
- Fine gravel or grit: Works similarly, just keep it light so you do not smother tiny stems.
- Vermiculite (thin layer): Helps keep the surface more evenly dry while still allowing airflow.
How thick? Aim for about 1/8 to 1/4 inch. For very tiny seedlings, apply carefully so you do not bury stems.
Clean up and prevent
Once you get the population down, prevention is mostly about removing breeding sites and keeping your setup tidy. This part is not glamorous, but it works.
Cleanup checklist
- Dump standing water: Do not let flats sit in water-filled trays longer than they need.
- Scrub and sanitize trays: At the end of a round, wash with hot soapy water. If you reuse trays, a quick soak in a dilute bleach solution (then rinse well) helps remove algae and residue that gnats love.
- Clean up spills: Potting mix on the shelf under the lights can stay damp and become a nursery for gnats.
- Store potting mix sealed: A loosely rolled bag in a warm room is an open invitation. Use a lidded bin if you can.
- Watch nearby houseplants: Gnats often bounce between seed trays and indoor plants. Treat both if needed.
7-day rescue plan
If you want an easy, realistic plan that does not require you to become a full-time gnat detective, here is what I suggest:
Day 1
- Place yellow sticky traps in every affected tray.
- Switch to bottom-watering and pour off excess.
- Add a thin top-dressing (sand, grit, or vermiculite).
Day 2 to 3
- Apply BTI according to label directions, especially if traps are catching multiple gnats per day.
- Run a small fan on low nearby for airflow.
Day 4 to 7
- Let the top surface dry slightly between waterings.
- Replace sticky traps if they are covered.
- Repeat BTI as directed to catch new hatchlings.
By the end of a week, you should see far fewer adults. Full control usually takes a couple of life cycles, so stay consistent for 2 to 3 weeks if the infestation was heavy.
Troubleshooting
Seedlings are wilting but mix is wet
This can happen when larvae damage roots or when the mix stays too soggy and roots cannot breathe. Let the surface dry slightly, improve airflow, and consider BTI or nematodes to reduce larvae pressure.
I cannot let trays dry yet
Totally fair. Keep moisture appropriate for germination, but lean harder on sticky traps + BTI, and top-dress as soon as seedlings can handle it. Once most seeds sprout, transition to bottom-watering.
Gnats keep coming back
Recurring gnats usually mean one of these is still happening:
- A nearby houseplant is acting as the reservoir.
- Potting mix is stored open and already contains eggs.
- Trays are consistently wet on top, often from frequent misting.
- Algae is growing on the surface or in the tray from constant moisture and light.
When to escalate
If seedlings are collapsing at the soil line, stalling badly, or you suspect damping off, step up your response. Consider moving the healthiest seedlings into fresh, clean seed-starting mix in sanitized cells, then run BTI and sticky traps on everything nearby. If you want a diagnosis, your local extension office is a great resource.
FAQ
Will fungus gnats kill my seedlings?
A few gnats usually will not, but a heavy infestation can damage roots and slow growth, especially for very young seedlings. If seedlings are stalling or collapsing at the soil line, take action right away and also rule out damping off disease.
Are fungus gnats a sign my mix is bad?
Not necessarily. High-quality organic mixes can still attract gnats if they stay constantly moist. It is more about conditions than the brand.
Can I use cinnamon on the soil surface?
Cinnamon is often suggested because it has antifungal properties, but results are inconsistent for fungus gnat control. If you like it, treat it as a minor helper, not the main plan. Moisture control, sticky traps, and BTI are more reliable.
Do I need to throw out my seedlings?
Almost never. In most cases, you can keep seedlings, treat the trays, and recover just fine. I have rescued plenty of flats that way, including during my own chaotic seed-starting seasons when I was juggling too many zucchini varieties and not enough patience.
The takeaway
Fungus gnats show up because seed-starting conditions are damp, warm, and full of organic material. The safest fix is not a single magic product, but a simple combo: dry the surface a bit, trap the adults, and treat the larvae. Add a light top-dressing and a quick cleanup routine, and you will stop the cycle so your seedlings can get back to doing what they do best: growing.